Easy Korean Kelp Recipe
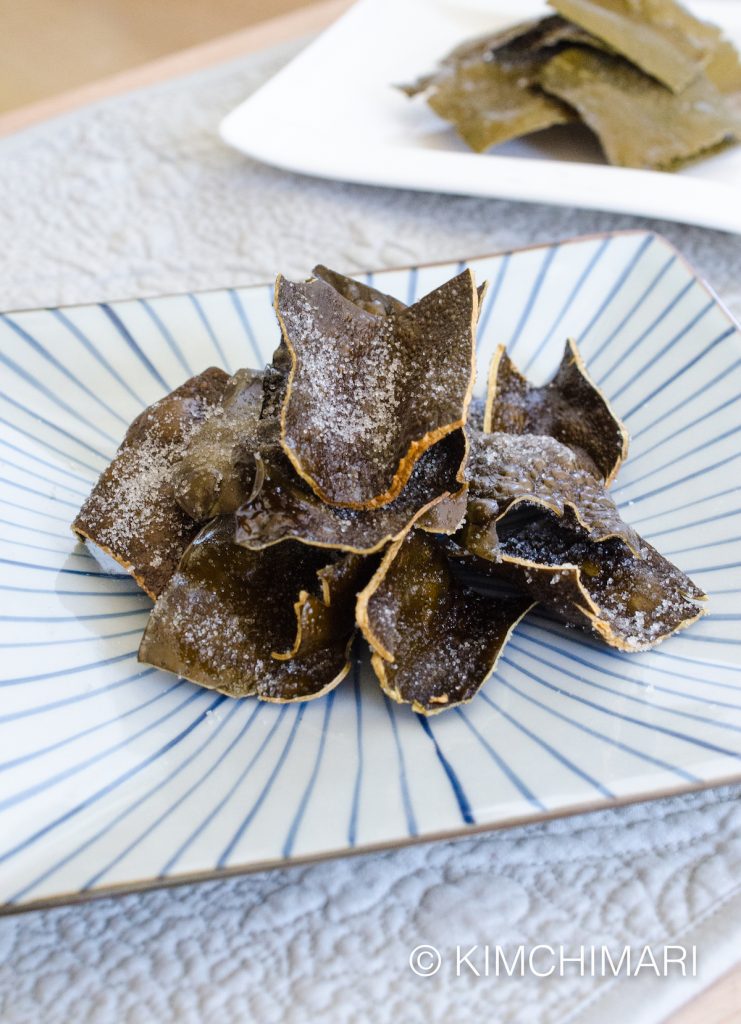
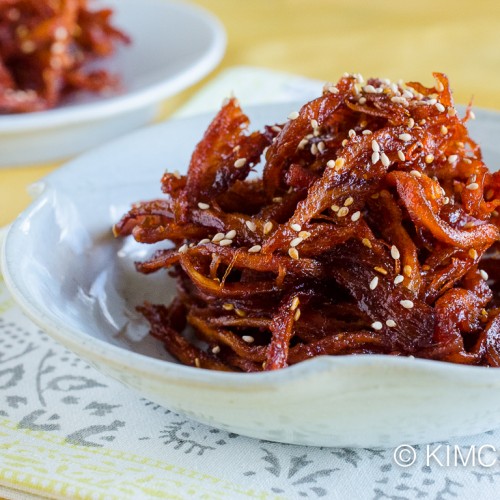
Fried Kelp Chips (Dashima Twigak 다시마 튀각) is a Korean kelp recipe that you can make very easily at home. I was reminded of this wonderful dish during my recent visit to Seoul and I said I will be making some when I returned home. So here it is!! For this easy Korean kelp recipe, dried kelp chips are first deep fried then sprinkled with sugar – and that’s basically it! As simple as it is to make, the flavors are certainly not. These nutty, crunchy, sweet and salty chips are full of umami flavor (note that ‘umami’ flavor was first scientifically identified by a Japanese scientist from dashi broth made from kelp).
I had shared on my FB post in March on how the hotel breakfast buffet had 3 kinds of Bugak 부각 as banchan: Gochu bugak, gim bugak and dashima bugak. BTW, I have to admit that I was not totally accurate in my description because the Dasima bugak was actually Dasima twigak. So here’s a quick Korean food lesson for this post so that you learn it the right way.
Difference between Twigak 튀각 vs Bugak 부각
Although the two words are often used interchangeably (just like I did) in everyday conversations, to be precise, they are actually not the same thing. They are similar in that they are both referring to dried vegetables that are deep fried. But we use the term Bugak when vegetables are coated with sweet rice paste or grains before they are dried and fried. Twigak are dried vegetables that are fried directly without any sweet rice coating. Interestingly, kelp or dasima is one sea vegetable where it is made both ways – as twigak and as bugak. The kelp recipe that I am sharing with you today is Dasima Twigak.
In case you are curious, here are some common twigak and bugak dishes –
Kinds of Korean Bugak: Dasima (kelp), Gochu (chili peppers), Kkaetnip (perilla leaves), Gim (seaweed), Deulkkae songyi (perilla flowers), Wooeong (burdock root)
Kinds of Korean Twigak: Dasima (kelp), Yeongeun (lotus root), Miyeok (sea mustard)
Kelp Nutrition and more
Similar to Miyeok, Kelp has lots of Iodine, Calcium and Potassium and has been used to treat diseases like goiter since the medieval times. And in 2010, “a group of researchers at the University of Newcastle found that a fibrous material called alginate in sea kelp was better at preventing fat absorption than most over-the-counter slimming treatments in laboratory trials”. (wikipedia) So, kelp is not just delicious, it is also good for you!
Kelps or Dasima are made up of over 30 types of species of brown algae called Laminara. The most common type of Laminara that is used as food are Laminara Japonica, L. Ochotensis, and L. Religiosa. Dasima is also called as Sea Tangle, Kelp or Sea Cabbage. In cooking, it is usually called by its Japanese name – Kombu (昆布 in Japanese, and 海带 in Chinese – source).
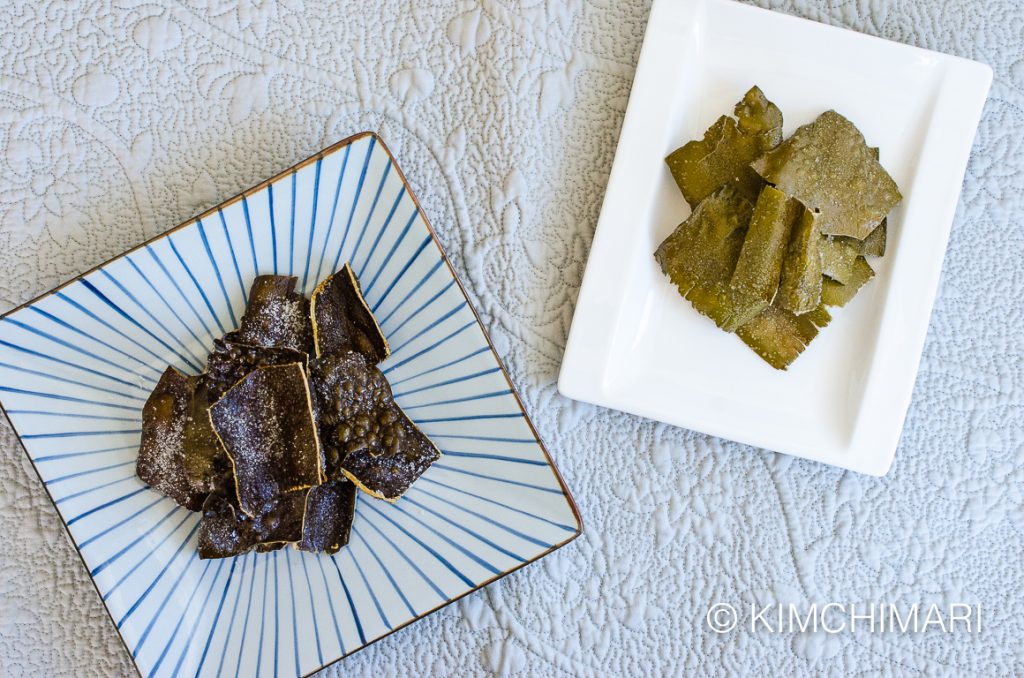
Different Kelps – Good vs Better Dasima
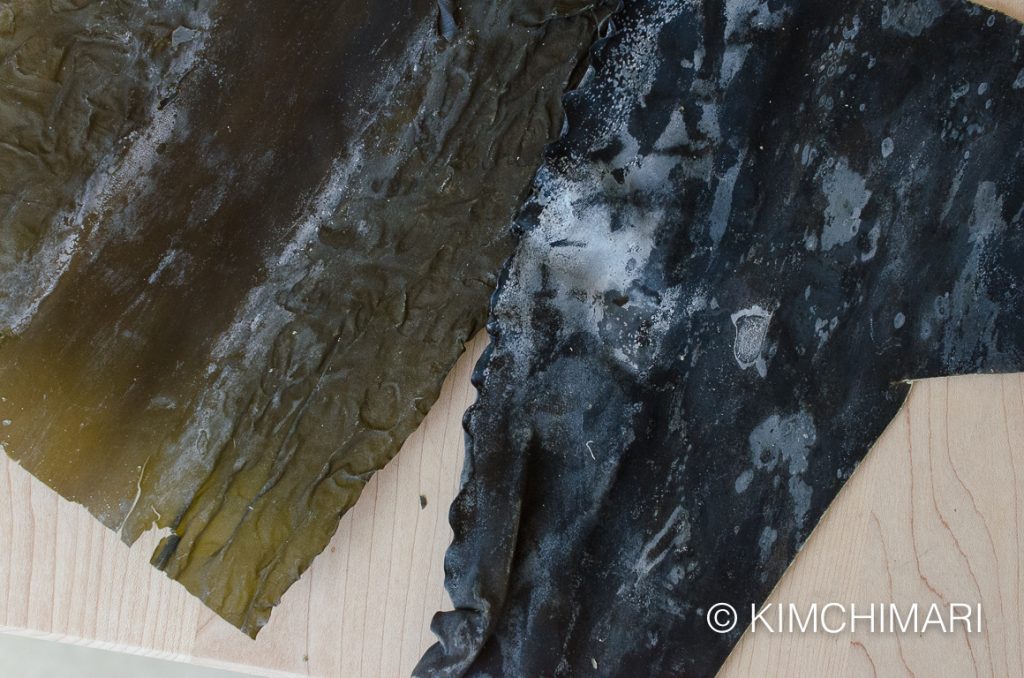
Here is a picture that I took of 2 different kelp/dasima that I have. The left one is definitely thinner and greener. The right one is thicker and darker. The right one is of better quality, definitely for making broth. But, just to test, I used both kelps in my kelp chip recipe below and you can see how different they look. In terms of taste, I have to say that I actually almost prefer the thinner kind. The thinner kelp resulted in lighter and crispier chips while the thicker variety made meatier chips.
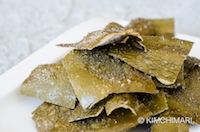
Compare the closeup picture below of the thinner kelp chip below and the picture of the thicker kelp at the top of the post.

In the US, you may have a hard time finding the thicker kelp (I actually brought this one back from Korea) but try different kinds and see which one you like. I also tested a bag of Kombu squares (Seamama brand) that I got from whole foods (also available online) and that came out great too. It’s convenient that it is already cut but it takes longer to wipe all the individual pieces. 😉
OK. Now back to my easy kelp recipe for making some awesome Dasima chips!
Fried Kelp Chips Recipe
Yields: 60 chips Cooking Time: 10 minutes Difficulty: Easy
Ingredients
- one 9”x15” sheet of Kelp (Dashima) or equivalent size
- 1 ½ cup vegetable oil
- 4 tsp sugar
- Heat vegetable oil in a fryer or a deep frying pan.
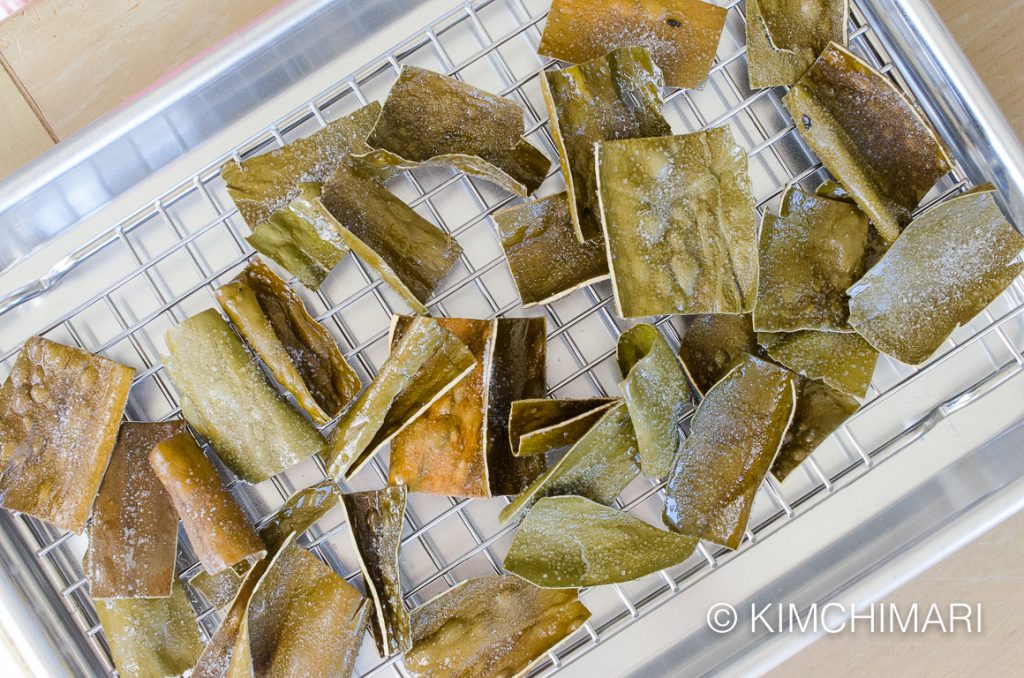
- While oil is heating up, wipe both sides of kelp with a wet towel to remove any extra salt residue. Depending on your kelp, this may or may not be necessary. Take care not to use too much moisture. Squeeze out as much water as possible from the towel before wiping. Kelp should dry up almost immediately after.

Wiping dried kelp dashima - Cut kelp into 1.5 x 1.5 inch squares with scissors. Of course, you can cut it bigger or smaller but I find this size works best. The kelp I had was one large sheet about the size of 9 x 15. Which means I had about 60 squares.
- Prepare a plate lined with paper towel or fryer basket right next to the fryer.
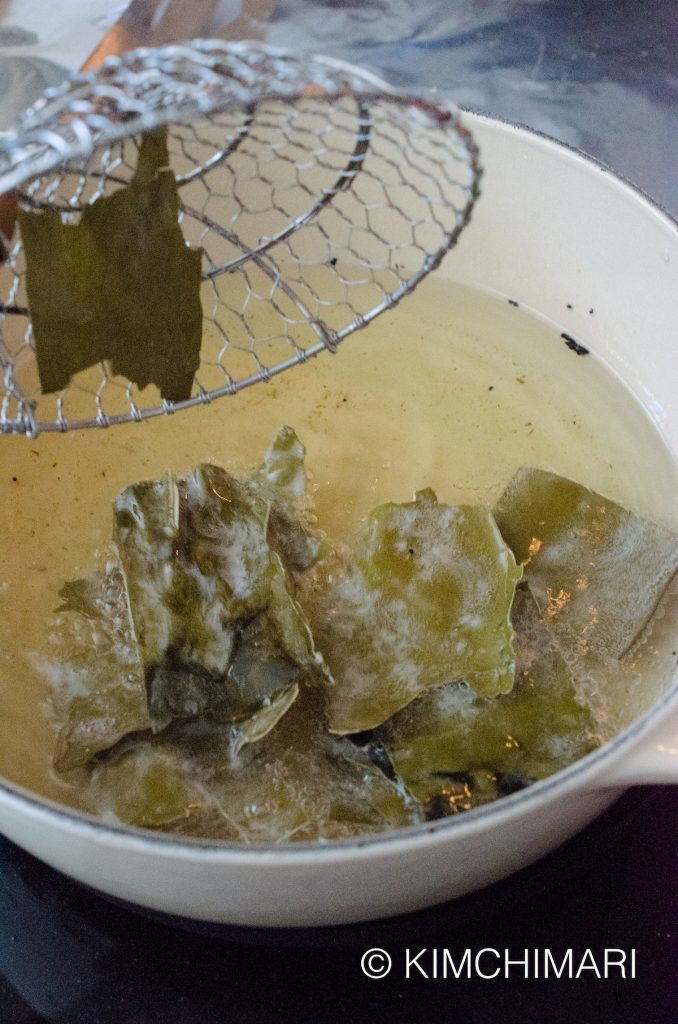
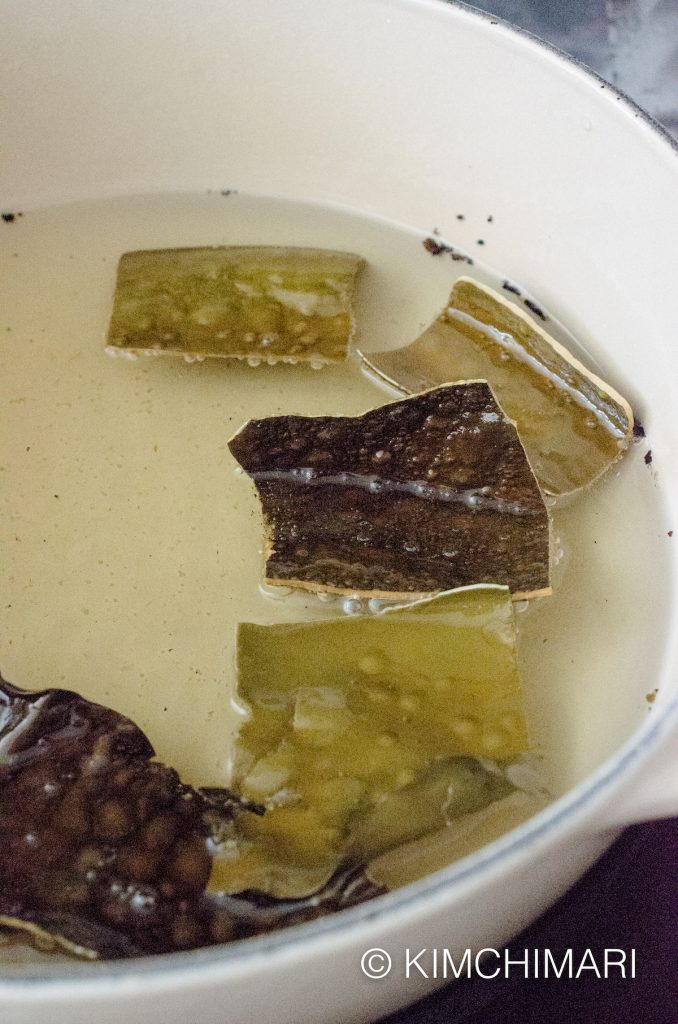
- When oil is heated enough (150°C/300°F) throw in a handful of kelp pieces and start frying. The kelp pieces should balloon or flower in just seconds. When they have floated to the top, leave them to fry a couple more seconds and using a spider or a fryer basket, take them out. Once in the basket, toss the kelp pieces in the air to drain away any extra oil. Then transfer them to the prepared plate in 4.

Kelp deep frying Dashima Twigak chips Two kinds of Kelp Dashima frying – ready to be picked up! - Once it’s cooled a little, sprinkle sugar generously on both sides.
Fried Kelp Chips Recipe (Dasima Twigak) - And there you go!
Dasima Twigak (fried kelp chips) – two kinds of kelp Korean Fried Kelp Chip Recipe (Dasima Twigak)
Korean fried kelp chips (Dasima Twigak) is a very traditional recipe that has been around for hundreds of years. It is a great side dish and also as a snack. Kelp has great health benefits with added minerals and anti-fat absorbing properties.Prep: 10 minutesCook: 5 minutesTotal Time: 15 minutesserves: 60 squaresIngredients
- 1 dried kelp, one 9”x15” sheet (Dashima) or equivalent size
- 1 ½ cup vegetable oil
- 4 tsp sugar
Instructions
- Heat vegetable oil in a fryer or a deep frying pan.
- While oil is heating up, wipe both sides of kelp with a wet towel to remove any extra salt residue.
- Cut kelp into 1.5 x 1.5 inch squares with scissors.
- Prepare a plate lined with paper towel or fryer basket right next to the fryer.
- When oil is heated enough (150°C/300°F) throw in a handful of kelp pieces and start frying. The kelp pieces should balloon or flower in just seconds. When they have floated to the top, leave them to fry a couple more seconds and using a spider or a fryer basket, take them out onto plate prepared in step 4.
- Once it’s cooled a little, sprinkle sugar generously on both sides.
Nutrition Information:
Calories: 5kcal

Tips
- No need to refrigerate. Great as side dish or as snack.
- These kelp chips or Dashima Twigak should be crispy and crunchy so make sure you store them away from moisture, in an air-tight container AFTER they are completely cooled.
- For additional flavor, sprinkle chopped pine nuts or sesame seeds in addition to sugar.
- Where to buy dried dasima or kombu – in addition to your local Asian/Korean grocery store, I have found 3 brands that I know that are good and added to my store.
Hope you enjoy making these!
XOXO ❤️
JinJoo


Have you ever tried doing this in an air fryer?
No, I have not! Would love to hear about it if you succeed! Thank you.