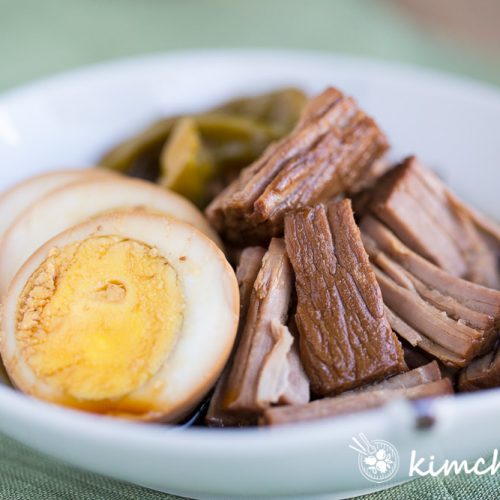
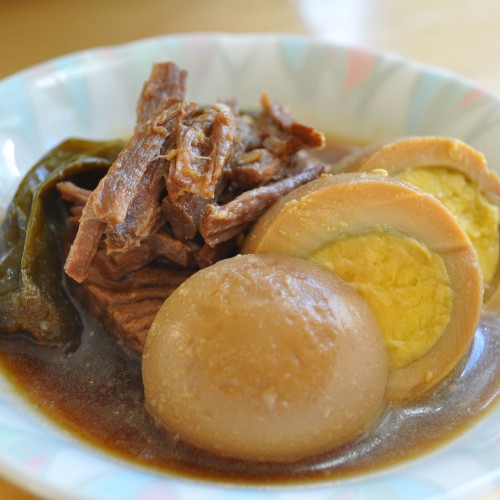
This Pressure Cooker Jangjorim is an adapted recipe of my classic Korean soy-braised beef side dish that’s delicious warm or cold and perfect for dosirak (lunchboxes). This recipe is so simple yet just as tasty as the regular recipe.
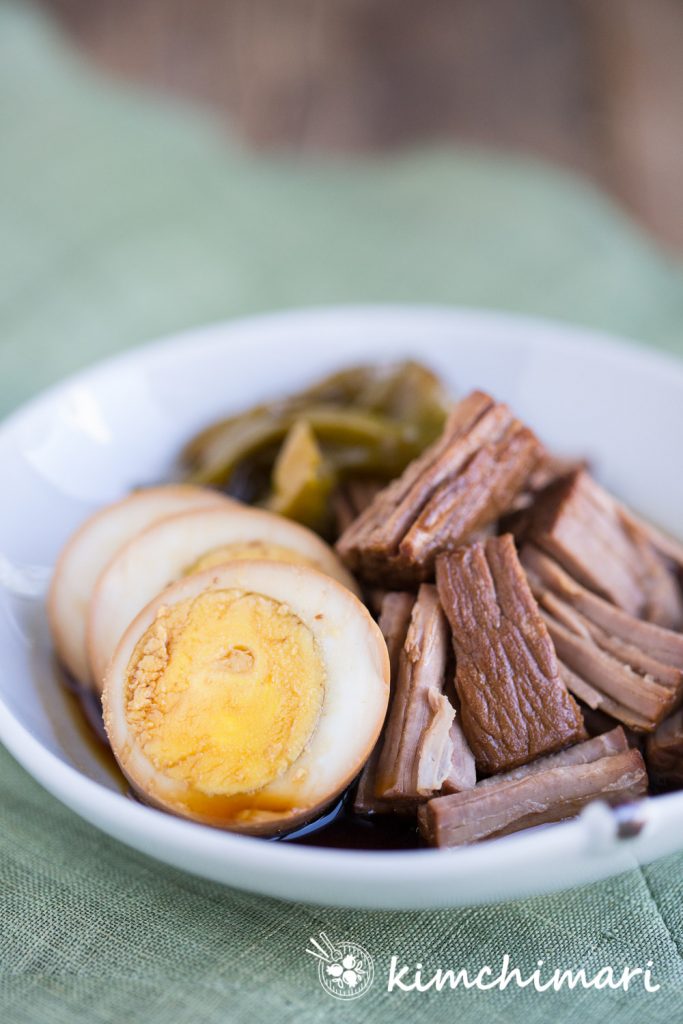
Jangjorim is a Korean soy braised beef side dish that has always been my favorite side dish in my lunchboxes as a kid in Korea but now, in this time of SIP, this pressure cooker Jangjorim has become a staple menu item. Having to come up with menu ideas every day, this salty, sweet and savory beef banchan has been a lifesaver for me and my family.
We often make rice bowls with it – with some egg and sometimes even butter added on top! YUM!! It’s great for breakfast or lunch when you really don’t want to cook something. You can also make bibim noodles with it – just add some sesame oil, sesame seeds and some green onions..
So these days, I make Janjgorim in big batches in my Instant Pot (here’s my stovetop version) and store it in my kimchi fridge for longer storage. In addition to the fact that you can store this for days and that it’s yummy just straight out of the fridge, it’s a side dish that just keeps on giving.. haha.. you can do much more with it than just having it as banchan.
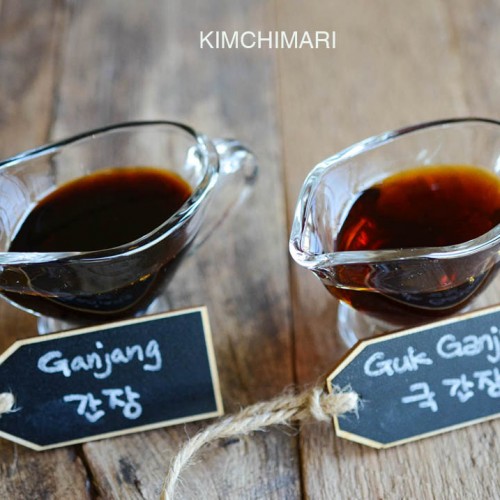
And DON’T THROW AWAY leftover Jangjorim Ganjang (soy sauce) but utilize it in your cooking!
Chef’s Tips for Pressure Cooker Jangjorim
- What beef cut is best? Eye of round, brisket or any cuts of meat that can be easily shredded is best for Jangjorim. But, you can even sub stew meat or chuck, it will just become a bit hard and you will have to slice it (against the grain) with a knife instead of tearing it with your hands
- How long will it last in the fridge? Because my recipe is less salty than some, it will keep for about a week. But you can re-boil the sauce and meat to make it last longer. Once you re-boil it (just a few min), it should last another week or longer.
- Can I freeze Jangjorim? Yes, you can – but the egg will not be as good when defrosted and reheated.
- Recipe variations – I like to use shishito peppers and egg in mine but you can omit both. You can also make it a spicier version with peppers like Jalapeno. Use quail eggs instead of regular.
- Vegan Jangjorim? Yes, you can veganize it by using meaty mushrooms like King Oyster Mushrooms, Oyster Mushrooms or Shitake. My mother-in-law used to make Songyi (송이 Pine/Mastutake) Jangjorim and it was to die for.. of course, these mushrooms are crazy expensive but it certainly is amazing..use some Dashima (kombu) in broth when you make it.
- Use sauce in cooking – use it simply as a dipping sauce with some vinegar added or other seasoning added. It’s less salty and more flavorful than a plain soy sauce. Make rice bowls with it (how-to tips below) and use the sauce to make Myeolchi Bokkeum, Gungjung Tteokbokki, Odeng (fish cake) Bokkeum, Gamja Jorim.. any dish that has a sweet soy sauce flavor.
- Use Gluten-Free soy sauce for Gluten Free version.
What if I want to increase or double the recipe?
You can double the recipe (to 2 lbs) of meat but no need to double the sauce amount because my recipe already has a lot of liquid. Don’t increase water amount but increase seasoning by adding 2 – 4 Tbs soy sauce, 2 – 3 Tbs sugar and maybe add 3-4 cloves of garlic and 1/2 knob of ginger. This is because more meat means, more seasoning will be absorbed by each meat, making the sauce blander overall.
Basically, you want to increase the seasonings by 1.5. No need to increase the cooking time as pressure cooking time is dependent upon the size of the meat, not the total weight. However, it will take longer to come to pressure as there are more items to heat up. And of course, the SAUTE time will be the same.
Jangjorim is too watery?
Jangjorim is one of those dishes where every family has their own version in terms of how much liquid it has, how salty or sweet it is and what you add to it (eggs, peppers, mushrooms, etc). While I think my version is absolutely delicious, I know it may not be what you at growing up. My version is on the side that has a lot of liquid and is also not too salty. So, please feel free to reduce it further or add less water if you’d like.
As my mom always used to say, “it’s always easier to fix a less salty dish than to fix a dish that’s already too salty.“
Step-by-Step Instructions
Servings: 8 Cooking Time: 50 minutes Difficulty: EASY
Equipment Used – 6 qt Instant Pot
Ingredients
- Beef – Eye of round or brisket
- garlic cloves
- ginger
- soy sauce
- sugar
- water
- eggs, shishito peppers (optional)
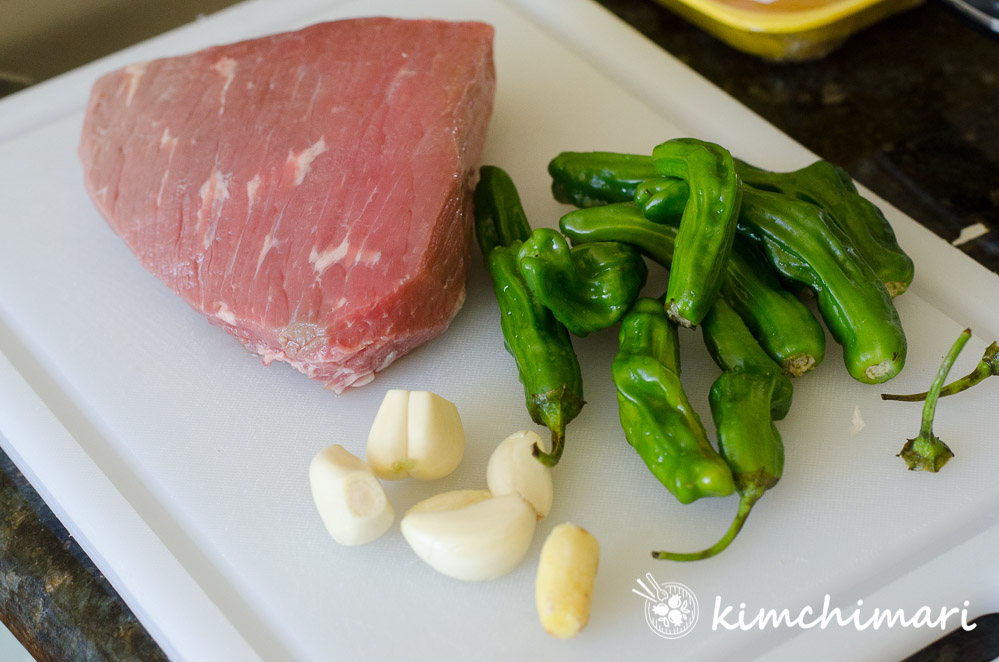
** NOTE – if you have just one Instant Pot, it’s best to cook the eggs ahead of time or cook eggs on the stove.
- Hard boil eggs (skip this step if not adding eggs).
- Instant Pot – Add 1 cup water to a 6-qt Instant Pot® or 1 1/2 cup water to 8 qt Instant Pot. Gently add eggs on top of a metal trivet. Select Manual at High pressure, and set time for 5 minutes. Quick-release pressure and cool eggs in an ice bath for 1 min. Peel eggs. Here’s a full recipe by mindfullmom.
- Stove Top – Boil a pot of water (enough to cover eggs) and when it comes to boil, turn heat off and immediately add eggs (room temp preferable) to pot. Cover and leave it for 10 minutes. Cool eggs in an ice bath for 1 min and peel.
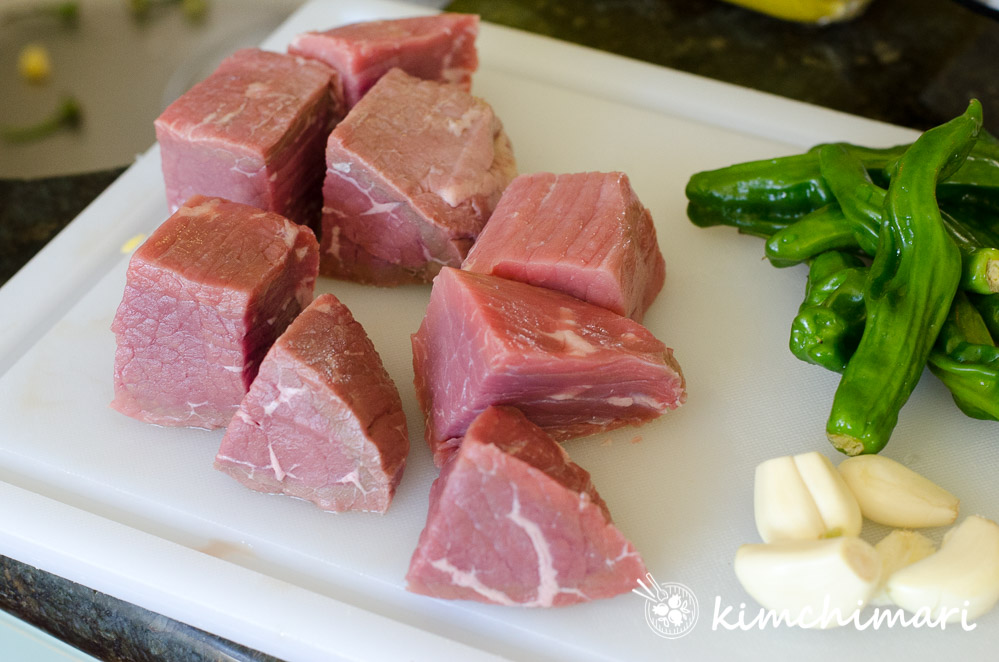
- Cut your meat into 2 – 3 inch cubes.
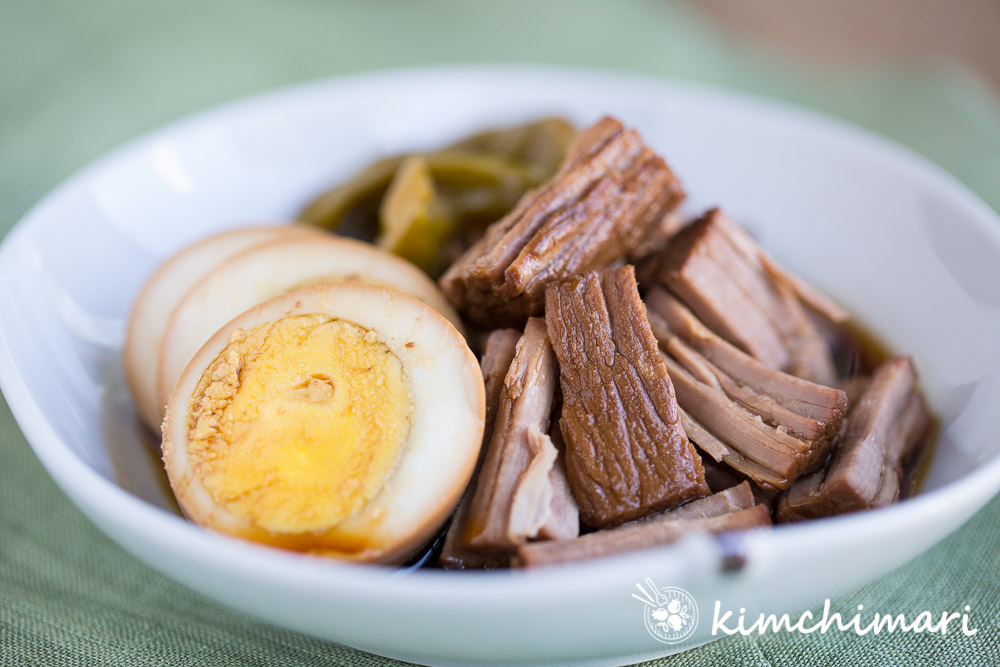
STORAGE – refrigerate up to a week or so. Re-boil Jangjorim in a pot or SAUTE HIGH in the Instant Pot for 3-5 minutes to extend the shelf-life. Freeze but the eggs won’t be as good.
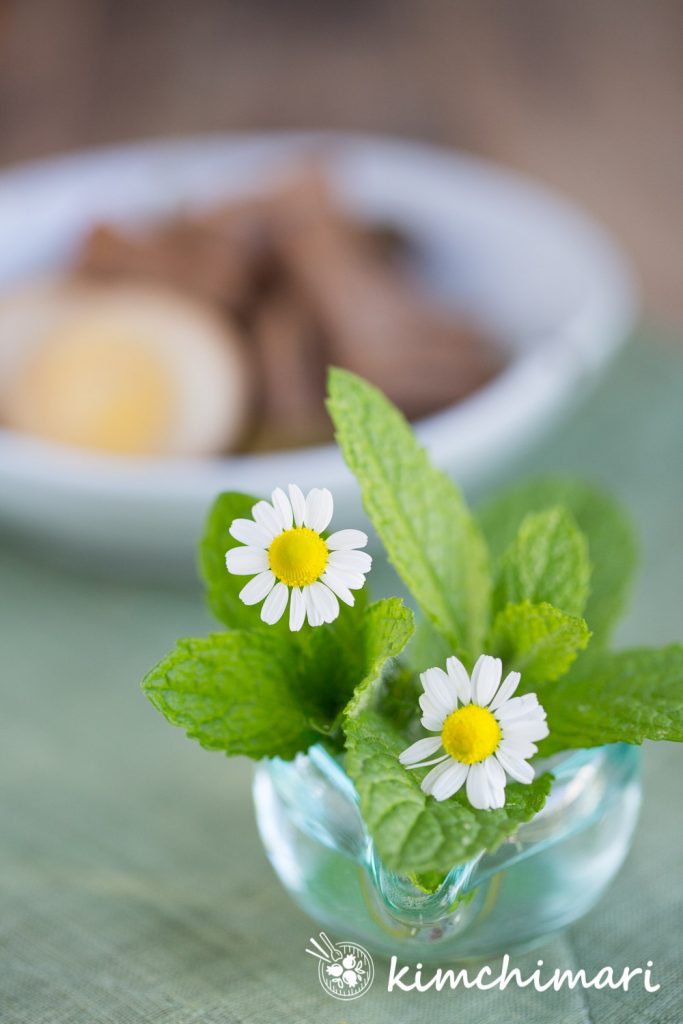
Here’s a pretty shot with my lovely chamomile flowers and mint! 😍
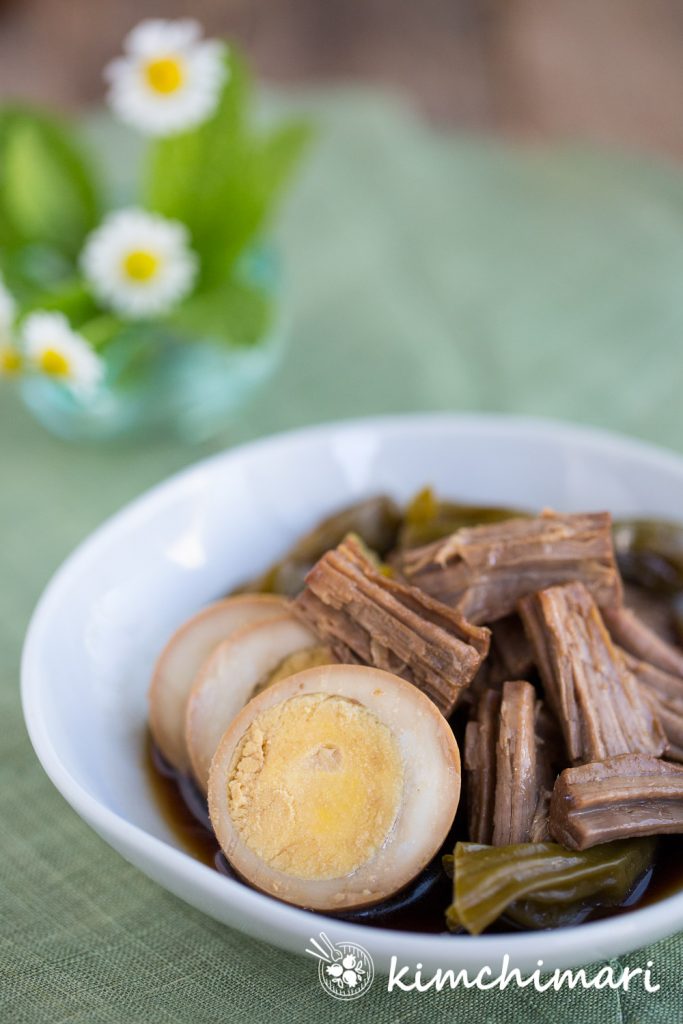
I grew chamomile for the first time this year and I’m just loving picking the flowers every day for some very relaxing tea with mint. 💕🍵 They are calming and also anti-cancer!
Quick Jangjorim Bibimbap in 2 min!
As I said above, our family is really enjoying making a simple rice bowl for lunch. Just add slices of the Jangjorim egg (or fried egg) on a bowl with warm rice. Then top it with some meat, sauce, peppers, little butter (or sesame oil) and mix it all together!!
Add a generous amount of sauce and no need to heat it up because the rice is warm. BTW, the picture below is missing the meat but it was still yummy!!!
Enjoy with some Kimchi or Danmuji radish pickles and you have a quick but very satisfying meal! Kids will LOVE this dish! (minus the peppers of course. 😉)
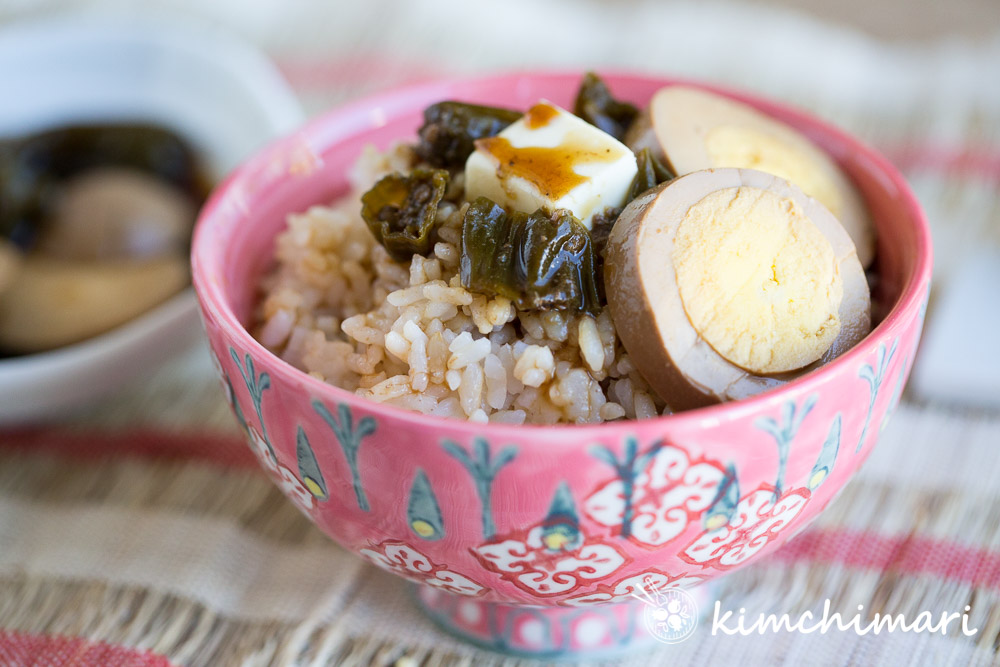
You can also make Bibimbap, Kimbap – just replace the beef with the Jangjorim meat. One less thing to cook. 😍Try it!
Stay well!
XOXO ❤️, JinJoo
☆ Did you make this recipe? I hope you can give me a 5 star rating below!
You can also FOLLOW ME on YouTube, FACEBOOK, PINTEREST and INSTAGRAM or join my FACEBOOK GROUP to see, ask and share everything about Korean food with others just like you!
Pressure Cooker Jangjorim (Soy Braised Beef with Egg)
Ingredients
- 1 lb Beef Brisket or Eye of Round
- 4 cup water
- 6 each garlic cloves
- 1 knob ginger
- 3/4 cup soy sauce (jin ganjang) (kikkoman, sempio, tamari)
- 6 tbsp sugar
- 5 eggs
- 8 shishito peppers (add as much as you want!)
Instructions
Hard Boil Eggs
- Choose one of the two methods below.
Instant Pot Method
- Add 1 cup water to a 6-qt Instant Pot® or 1 1/2 cup water to 8 qt Instant Pot. Gently add eggs on top of a metal trivet. Select Manual at High pressure, and set time for 5 minutes. Quick-release pressure and cool eggs in an ice bath for 1 min. Peel eggs and set aside.
StoveTop method (you can do this while meat is cooking in IP)
- Boil a pot of water (enough to cover eggs) and when it comes to boil, turn heat off and immediately add eggs (room temp preferable) to pot. Cover and leave it for 10 minutes. Cool eggs in an ice bath for 1 min and peel.
Prepare other ingredients
- Cut brisket or eye of round into cubes (about 2-3 inch cubes)
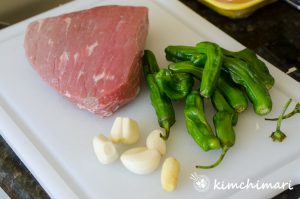
- Peel garlic and ginger. Clean shishito peppers by rinsing in water (be sure to clean dirt in between the creases of the peppers) and then snapping off the top stem. Don't cut or no need to make holes in the peppers – they will soak up the sauce without a hole.
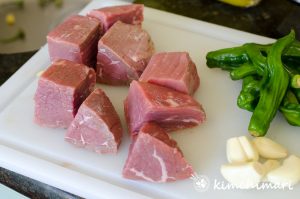
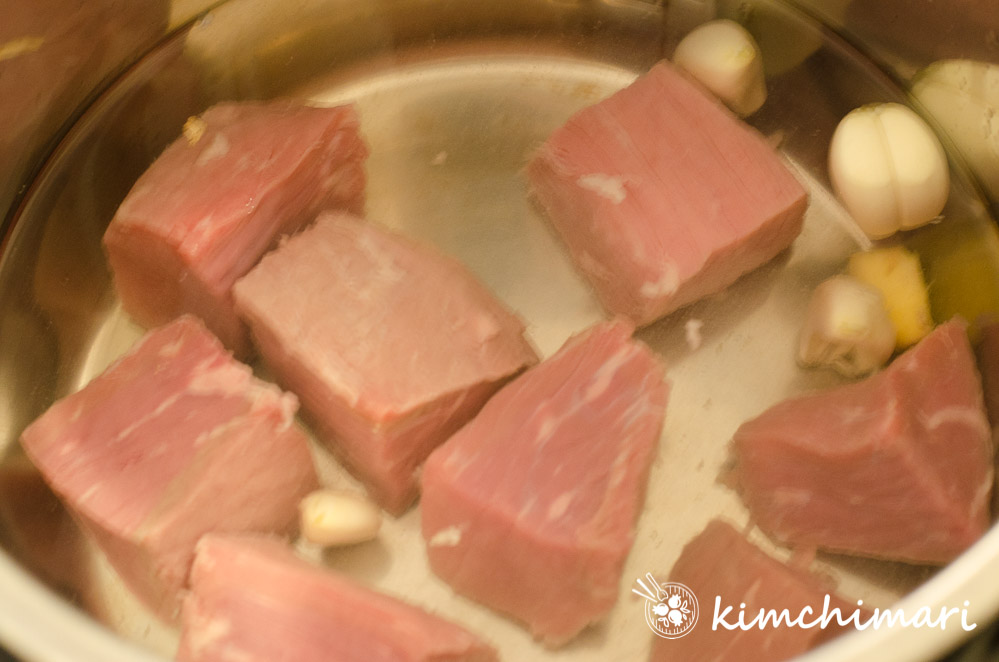
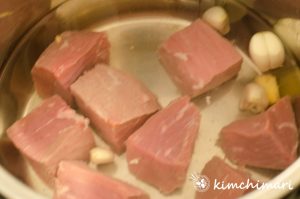
- In the Instant Pot, add water, beef cubes, garlic cloves, ginger. Cover and close the vent and cook Manual at Low pressure for 18 min. Natural Release for 10 min and Quick Release to open. Meat should be nice and tender.
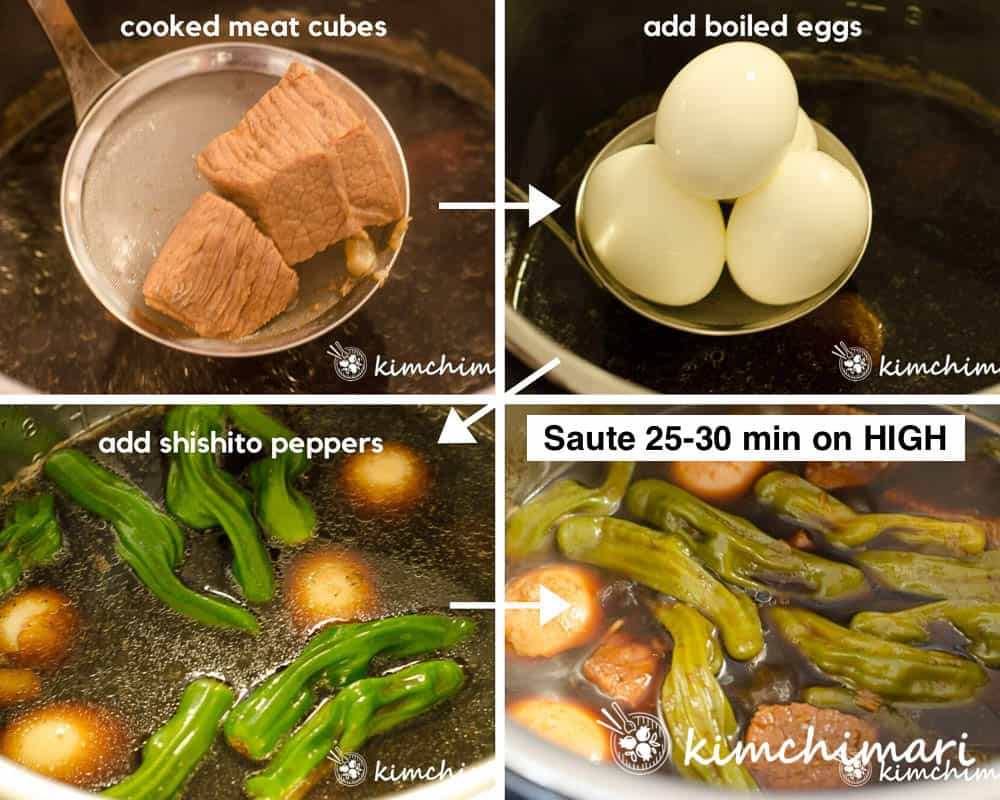
- To pot with cooked beef and broth, add soy sauce, sugar, boiled egg and shishito peppers.
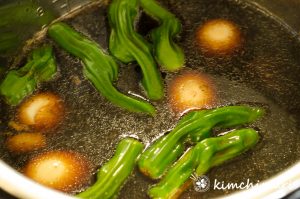
- With the cover off, start the SAUTE function at HIGH temperature for 30 minutes. The sauce should reduce and the meat and eggs should be nicely seasoned.
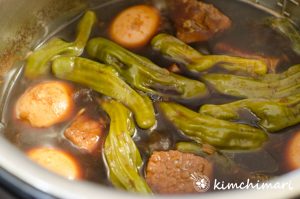
- Turn heat off, let it cool.
- Serve warm on the first day of cooking, store leftovers in the refrigerator and then Jangjorim can be enjoyed cold right from the refrigerator OR can also be warmed up in the microwave.
Equipment
- Instant Pot
Tips & Notes:
- NOTE about Nutrition – the sodium level is REALLY high because it calculated ALL the sauce. But obviously, you would not be drinking 1/8th (about 1/2 cup) of sauce in one sitting. I had to do 8 servings based on the meat amount, not the sauce. Usually, it would be about 1-2 Tbs at most, if that. So.. 1 Tbs of sauce would be about 20 mg of sodium – Daily Recommended Sodium intake should be less than 2300 mg.
- STORAGE – store in the refrigerator up to a week. Boil for 2-3 minutes after a few days to extend shelf-life. Freeze for longer storage but eggs won’t be as good.
- Ways to enjoy Jangjorim –
- make Kimbap with it – use Jangjorim meat instead of ground beef
- mix rice with it – mix rice with Jangjorim, a little sauce and it’s delicious. Some like to add butter for extra richness.
- Gyeran Bap – Fry an egg, sunny side up or over easy. Mix a bowl of rice with the egg, Jangjorim and sauce.




Hi JinJoo,
The recipe looks great! I’m going to try it tonight.
If I want to add Korean Daikon, when should I put it in?
Thank you!
You can try adding it kind of mid way – so that radish has time to cook.
I’ve made this so many times now and the whole family loves it!!! However today I have frozen meat. How long do you think I need to cook it in the instant pot? Hope you can reply soon 🙏🏻 Thank you!!!
Hi Gie,
I have not personally made it with frozen meats so I’m not 100% confident but I’m quite sure it can be done. Just try cooking about 22 min (instead of 18 min) in the 1st phase of cooking the meat. Good luck!
Tried this recipe with low sodium soy sauce and it was PERFECT. Best recipe in my pressure cooker (I have Breville so I set the pressure to auto MEAT) and it came out perfect.
That’s awesome to know – thank you so much for the feedback.
Hi, I’m trying this recipe right now with chicken gizzards because I loved the way my mom made them braised in a similar sauce, but I can’t find a recipe online, regardless of whether it’s pressure cooked or not. so I adapted your recipe for jangjorim for the chicken gizzards. so far, the braising sauce is delicious.
Question – why can’t you just pressure cook the meat in the seasoned liquid from the beginning, rather than doing the saute/boil step with the seasoned (soy sauce, sugar) liquid after pressure cooking the meat?
thank you and I’m going to check out the rest of your blog!
Oh how fun! Sounds yummy! Let me know how it turns out. I think I answered a similar question before – while it’s not a must that you saute with the lid open as you can just start with less liquid and pressure cook everything, I find the process of reduction (allowing the sauce to reduce through simmering with exposure to air to allow evaporation) really concentrates the flavor of these sauce in a delicious way. If you dont’ want to bother with it, you can just start with less water and pressure cook all the way. Hope that helps!
thank you, i’ll try that, since i’m so lazy! btw, my gizzards were delicious and will definitely make them this way again.
have you ever tried adding the dried jujubes? i know they traditionally go into kalbi jim, but I have some on hand and wondered what they might taste like in this recipe.
Sorry for the late response Debby! So awesome to hear that your gizzards were delicious! I’m gonna have to try it sometime. No I have never added dried jujubes but it totally would be find to add. Jujubes just adds a tiny bit of sweet flavor and is good for you so go for it! Take care!
Hi! Asking for some clarification. In Step 6 of the recipe, you say “With lid uncovered, select SAUTE HIGH for 25 to 30 minutes.” However, in the graphic beneath this instruction line (the grid of 4 photos) it says “Saute for 15 minutes.” Which is the correct info? I assumed it was supposed to be 15 minutes because after step 4 in the recipe, the meat is already fully cooked. Can you confirm which time amount is the correct one? Thank you!
HI Emily, so sorry for the confusion!! It should be more like 30 min. Not sure what happened but I’m going to fix the graphic right now. Thank you so much for letting me know. If you want to reduce the time, you could use less water to start with but I do find that 30 min of jorim does make a difference in flavor.
Thank you so much for answering my question! 🙂
You are welcome!