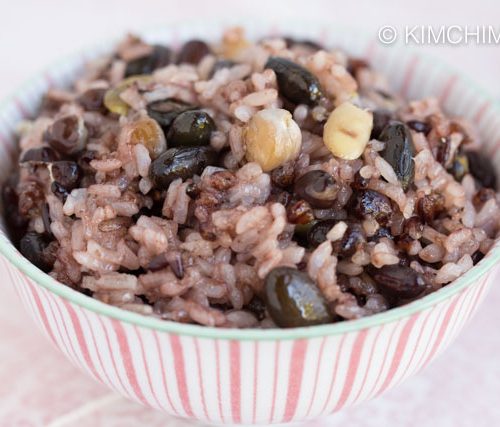
Instant Pot Yaksik (Korean Sticky Rice Dessert) recipe that comes out perfectly soft and chewy. A perfect balance of sweet, salty and nutty!
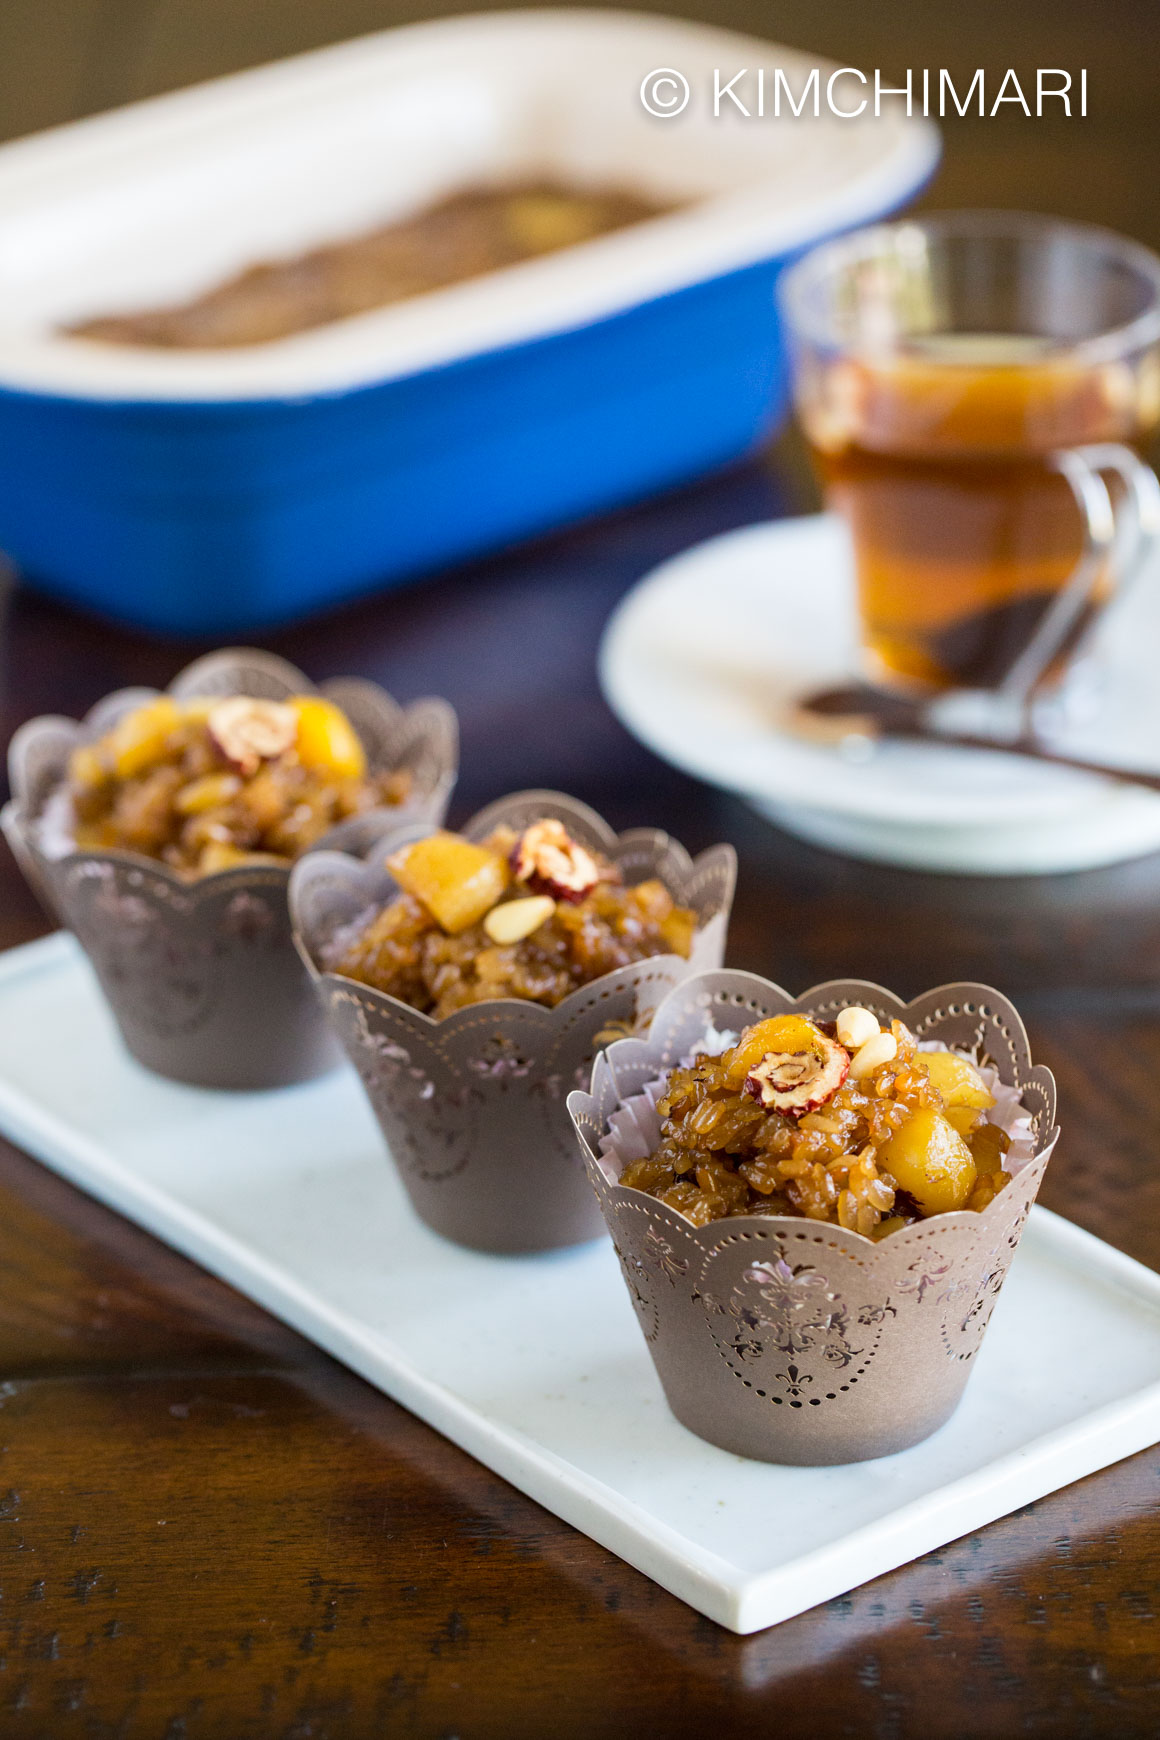
Instant Pot Yaksik is not something I was planning on making anytime soon until recently a wonderful reader posted a request for Instant Pot Yaksik recipe in my Facebook group – Korean Food with Kimchimari. BTW, please come and join us if you want to talk, ask and share anything and everything about Korean food!!
So this lovely woman called Jenny told me that she tried to make Yaksik in her Instant Pot and the sweet rice totally burned on the bottom and asked me what she was doing wrong. Honestly, I didn’t have any perfect answer at that time because I’m still pretty new to Instant Pot cooking and had never made Yaksik in the Instant Pot before. But I gave her some suggestions and she literally took a whole day to try out 4 different versions based on my suggestions and reported the results back to me afterwards!! Jenny you are so sweet to do that. 😍 Thank you. She did succeed in one version I remember but because I accidentally deleted the comment, I couldn’t remember what she exactly did…sigh..
Anyway, I promised Jenny that I would work on the recipe and here it is! I expected that I would have to go through at least a few tries but I was surprised that it came out perfect the first time! I guess I kinda know something about cooking.. hahaha..
Before we get into the recipe, for those of you who are NOT into Instant Pot, you can go to my previous regular Yaksik post for my recipe that you can make in your rice cooker. In the post, I also talk about the history of Yaksik and the benefits of sweet rice / sticky rice / glutinous rice. Did you know that Yaksik is actually a snack/dessert created by my husband’s ancestor some 45o years ago?? Don’t you ever wonder where and how a certain food came into being? Who came up with pizza? or the hamburger? Usually the story is not known but in the case for Yakwa and Yaksik, the origin is clear.
The story of Yakwa and Yaksik has been passed down in my husband’s (Suh) family for generations and has also been recorded in the history books. It’s really is an amazing story of perseverance, ingenuity and survival, so you should definitely check out my post and read about the story. Oh and by the way, if you don’t have an Instant Pot, you should really consider getting one 😉, it just makes Korean cooking so much quicker and easier without losing the traditional flavors.
Made the traditional way of steaming twice, it takes around 7 hours cook time not to mention 6 hrs of soaking. My rice cooker recipe takes about 1 hr cook time including cooking it twice. This Instant Pot Yaksik recipe only needs 8 minutes pressure cook time, probably total 25 minutes including the pressurizing and releasing times which means total 30 min cooking time. AND, you only cook once.
Finally, some quick nutritional info before we get into cooking –
SWEET RICE (찹쌀 Chapssal) – very easy on the stomach (it’s great for people who have digestion problems) and also coats the stomach which means it’s great for people who have frequent heartburn.
JUJUBE DATES (대추 Daechoo) – long been known to have calming effects that help with anxiety and insomnia. Jujube tea is also great for preventing colds (it keeps your body warm) and strengthening the liver.
CHESTNUTS (밤 Bam) – lots of vitamin C and vitamin Bs which help to also strengthen your stomach, especially with diarrhea.
Instant Pot Yaksik Recipe (Korean Sticky Rice Dessert) – Gluten Free (with GF soy sauce)
*** NOTE – this recipe works perfect for 6 QT IP. For 8 QT, increase the water amount to 1.5 cups to avoid burns.
Servings: 6-8 Prep Time: 1 hr Cook Time: 30 min Difficulty: EASY
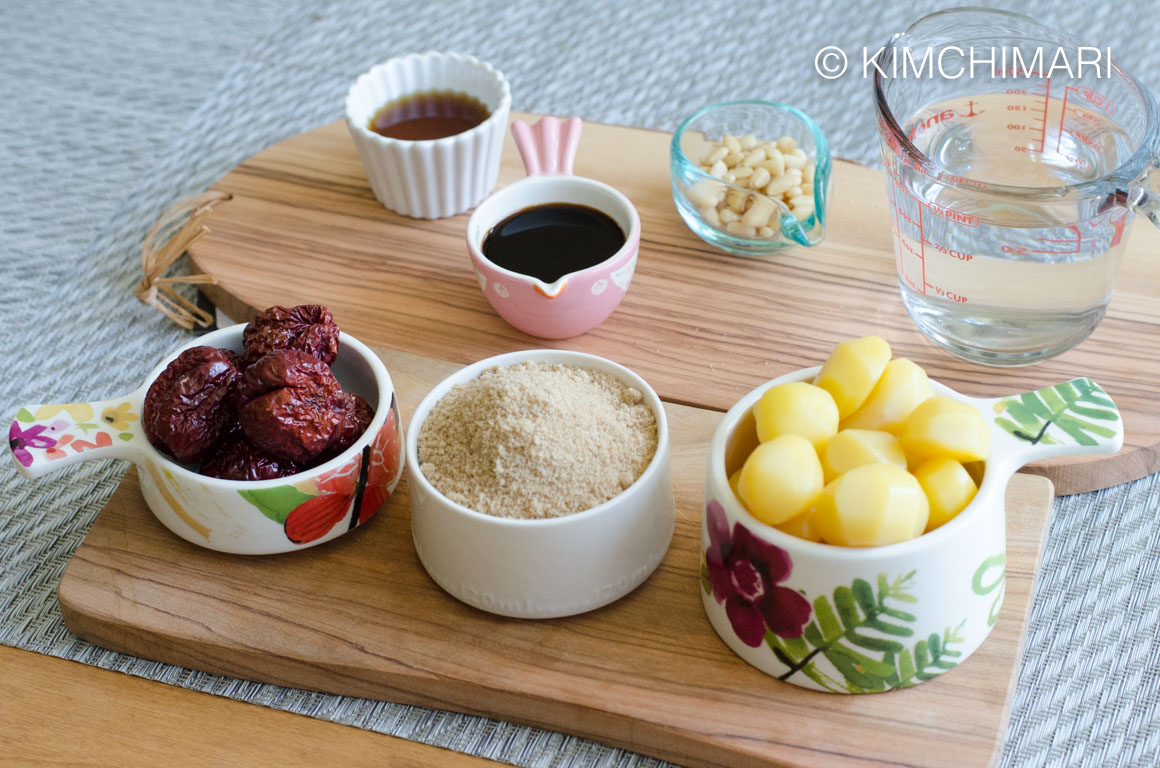
** Korean canned chestnuts work best but are optional because I know it is not always easy to buy this. You can use fresh chestnuts or roasted chestnuts too but personally I think the canned chestnuts retain the best crunchy texture after it is cooked.
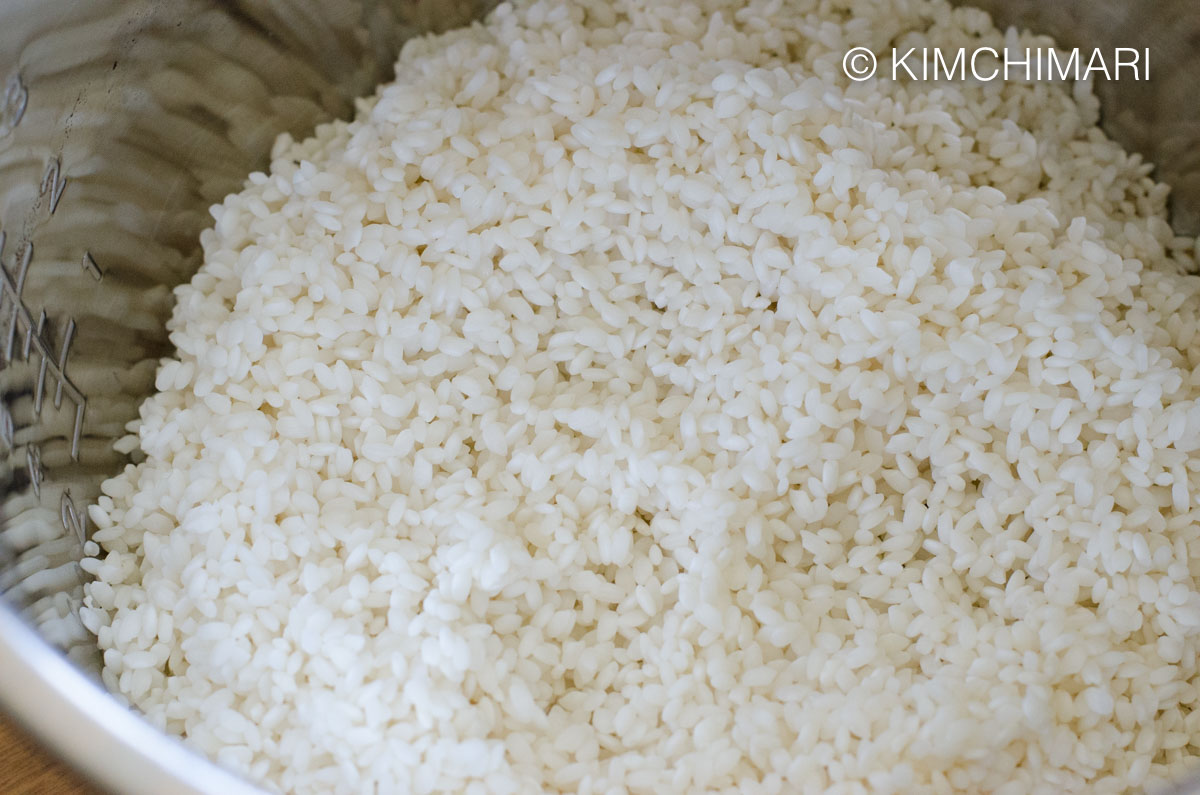
- Rinse and soak sweet sticky rice (chapssal) in water for at least 1 hr up to even 5 or 6 hrs. The more you soak, the softer your rice will be.
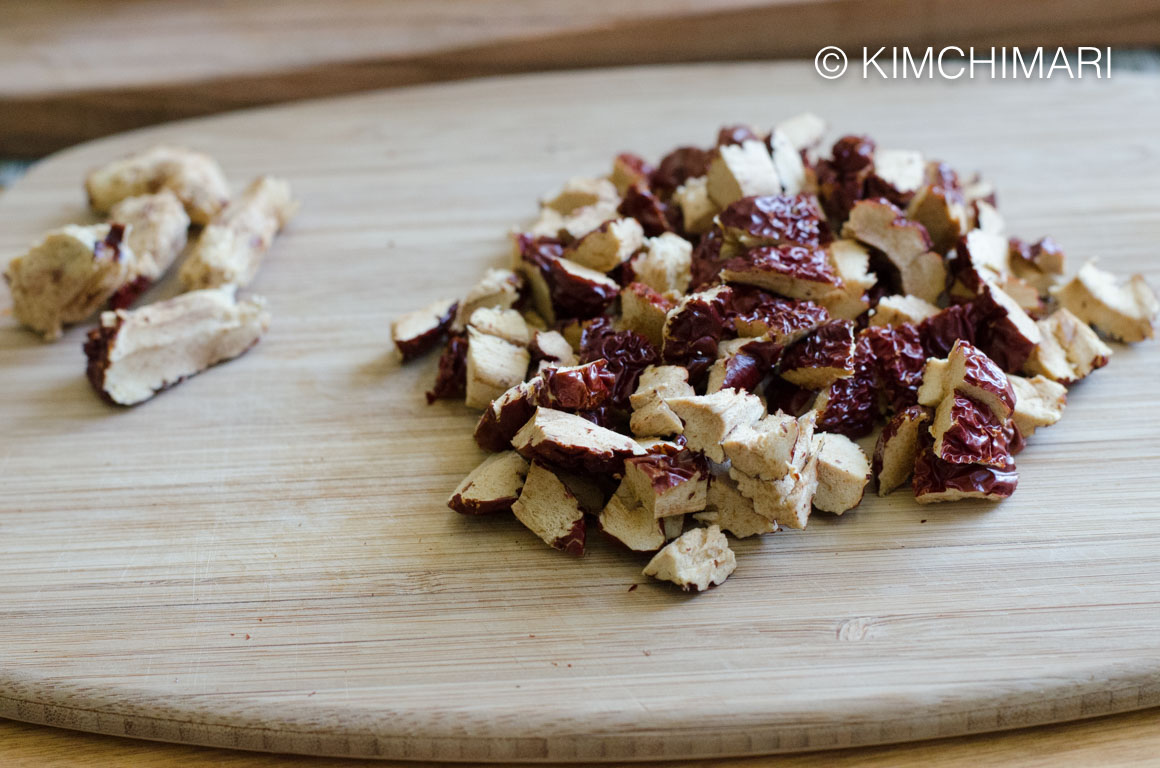
Soaked Sweet Rice for Instant Yaksik - Prepare jujube dates by rinsing under water and then with a knife, cut lengthwise to separate flesh from the pit. Cut flesh into smaller pieces like so.
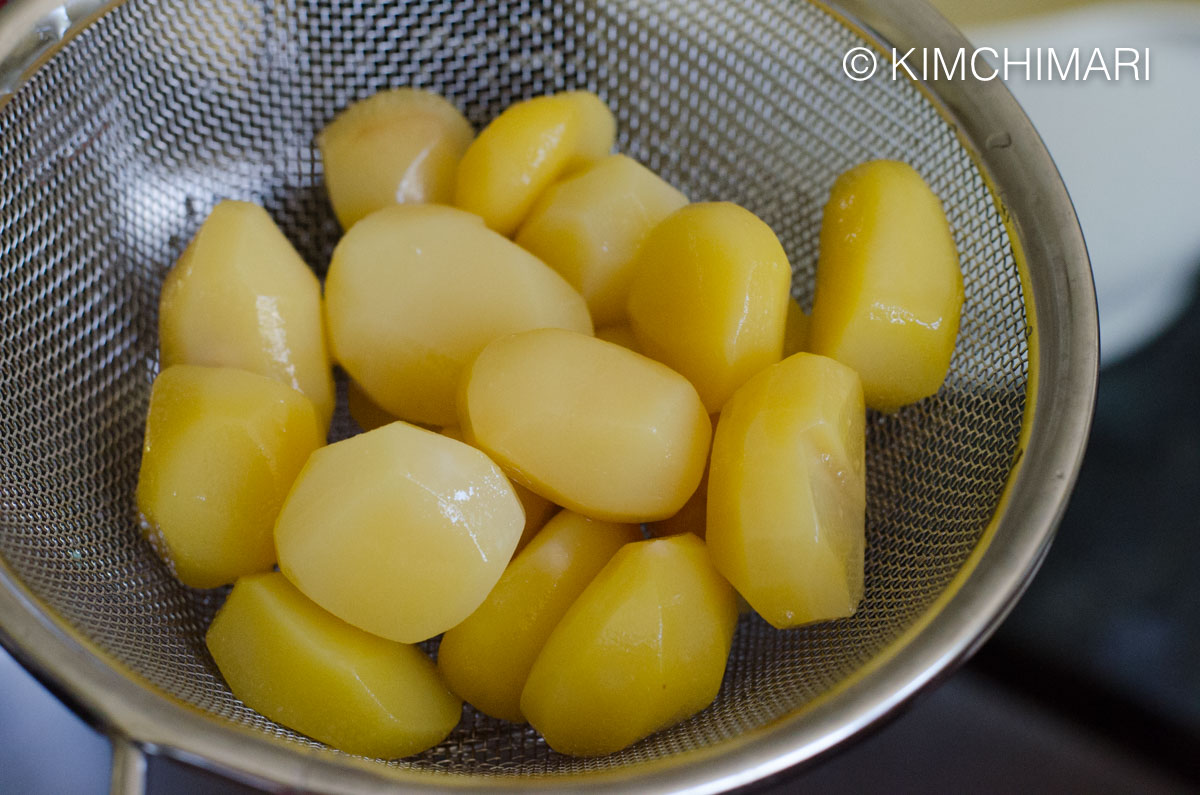
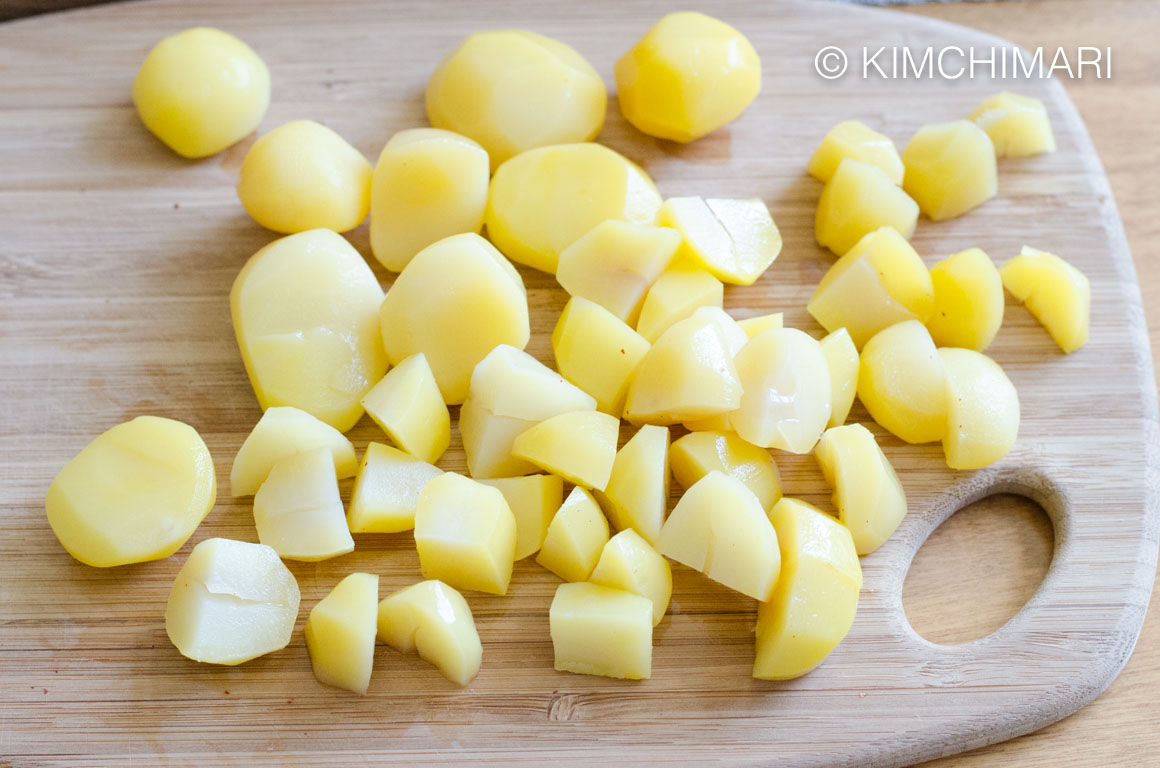
Jujube Dates for Yaksik Instant Pot - Open the canned chestnuts and drain. Discard the syrup. Cut chestnuts into quarters.
Canned Chesnuts draining for Yaksik Chestnuts Cut Instant Pot Yaksik - Let sticky rice drain for few minutes.
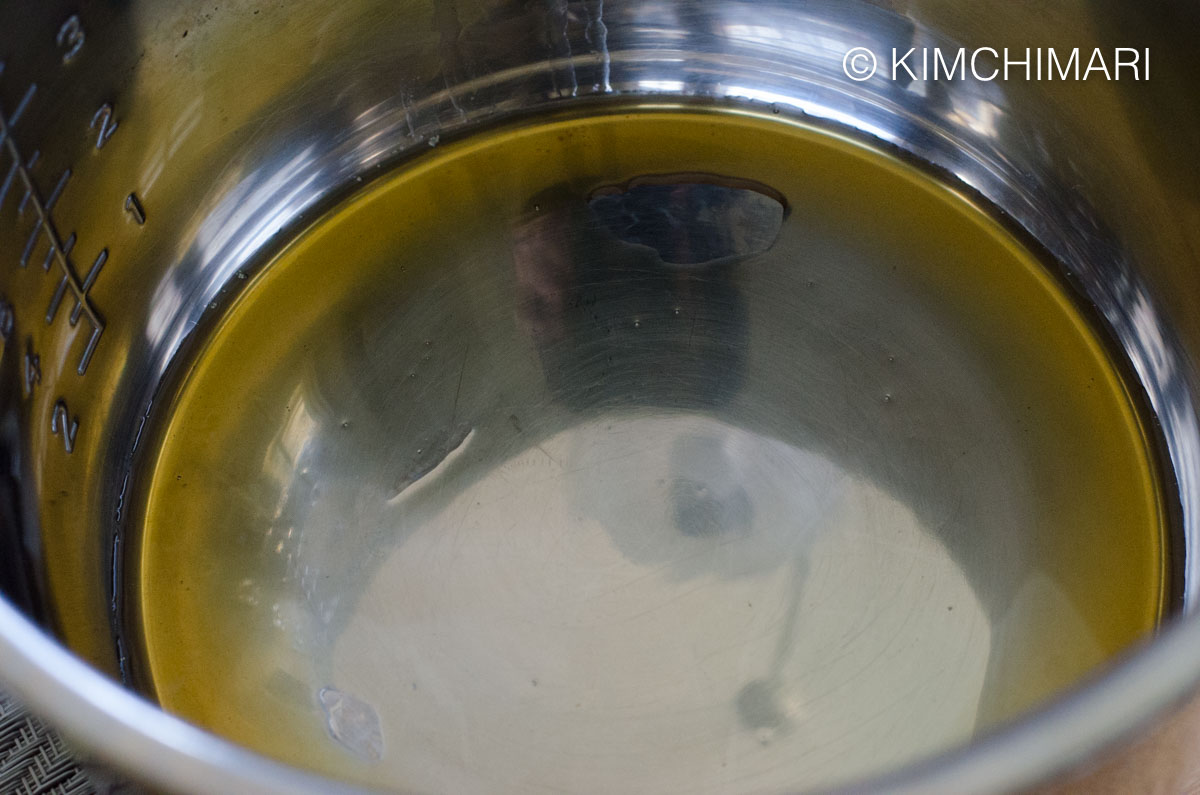
- Coat bottom of Instant Pot with sesame oil.
Sesame oil coating Instant Pot for Yaksik - Add drained sweet rice.
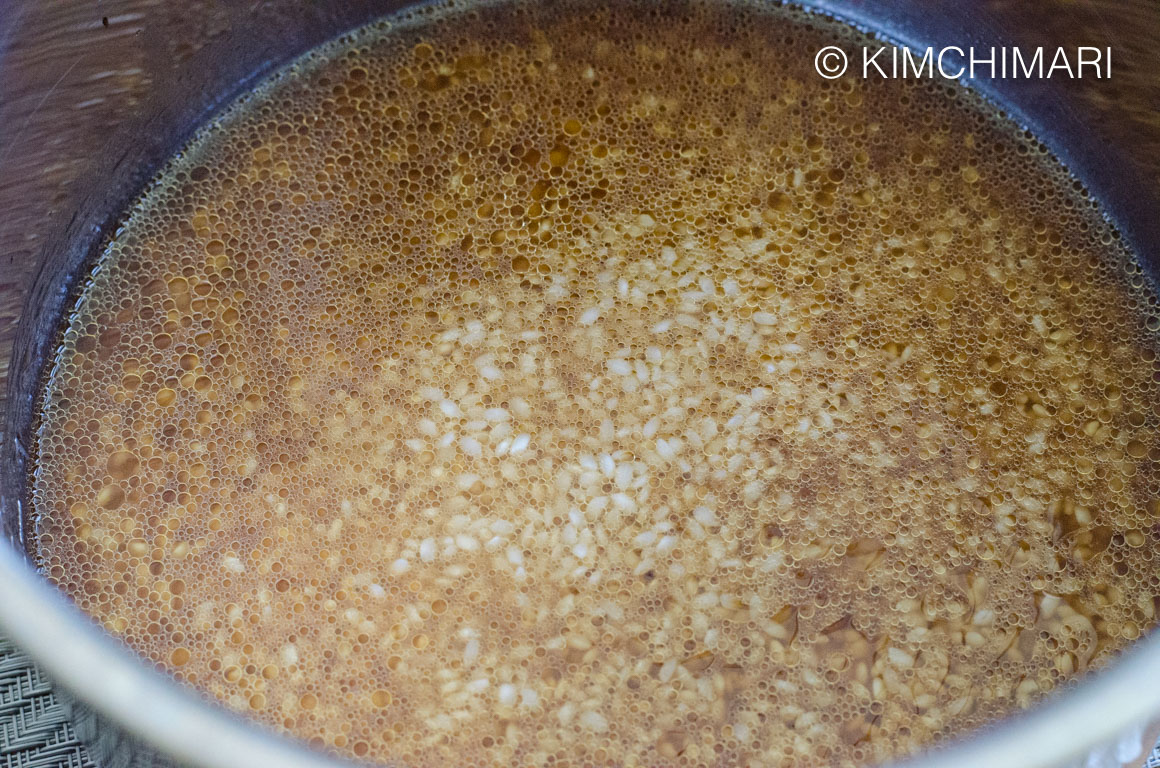
- Add soy sauce, sugar and water. Stir a few times to mix everything.
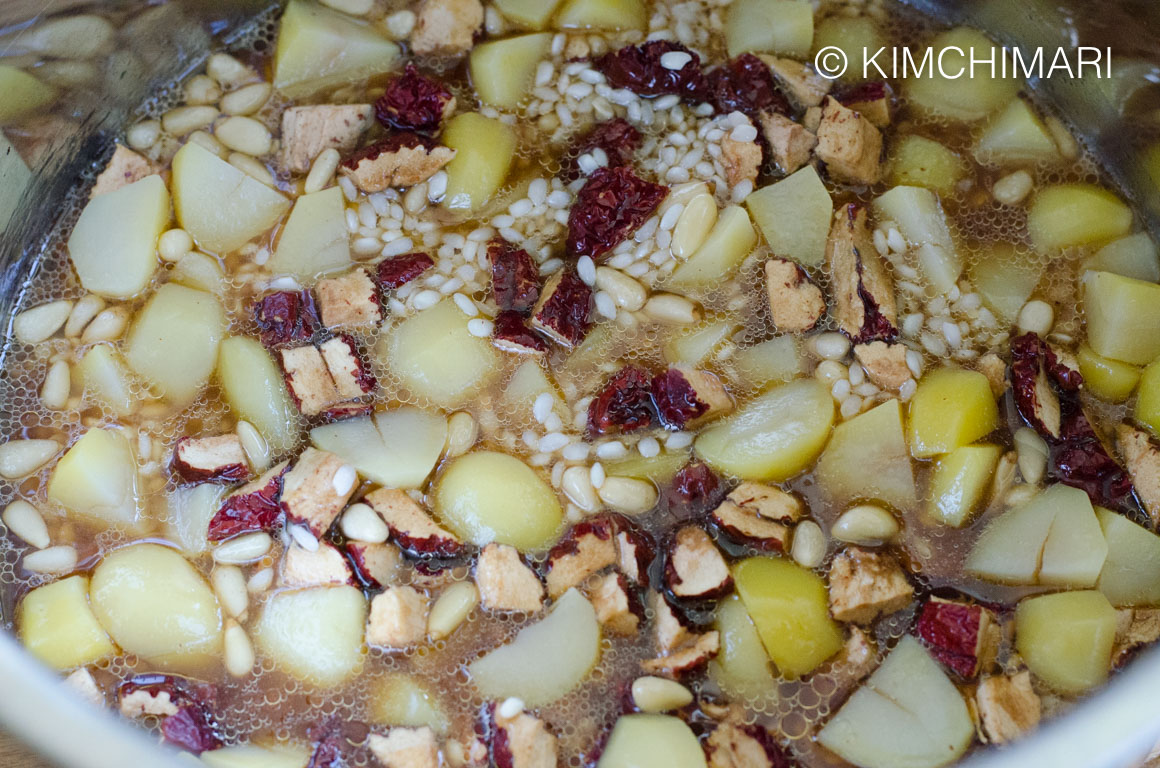
Sticky Rice Yaksik with Seasoning Ready to Cook in Instant Pot - Add chestnuts, jujube and pine nuts.
Yaksik ready to cook Instant Pot - Close the cover and set manual – 8 minutes at Low Pressure.
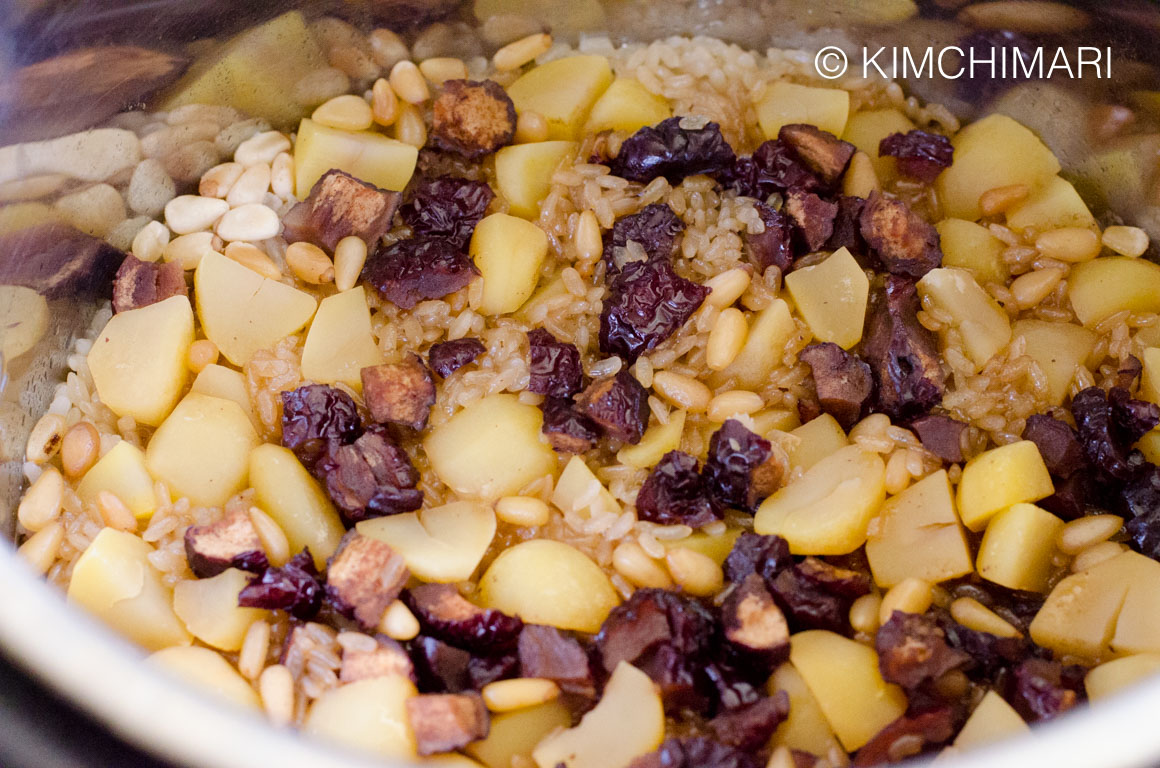
- Natural release (which takes about 20 min or so). And this is how it comes out!
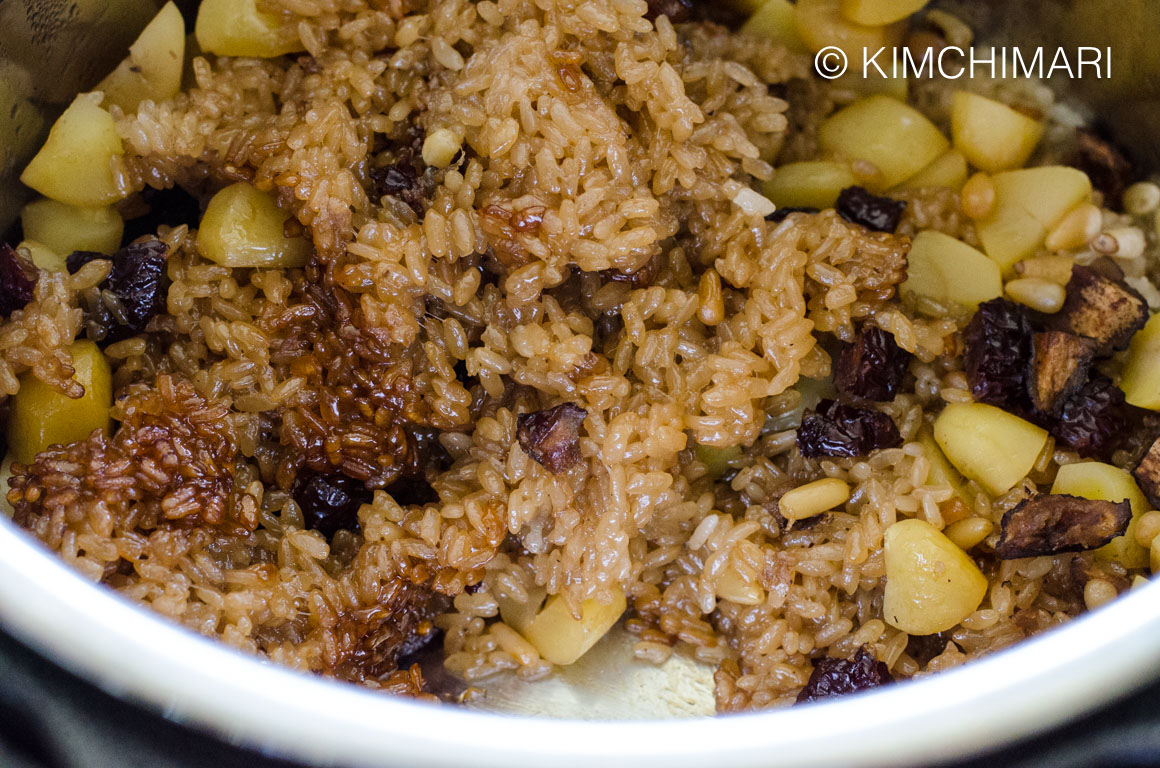
Yaksik cooked Instant Pot - Using a large wooden spoon, mix the cooked sticky rice so that everything is evenly mixed. You will find that when you first open, the rice looks a little pale than how it looks in my finished pictures. It’s because they haven’t been fully mixed. Make sure you mix the bottom parts because they will be the darkest.
Mixing cooked Yaksik in Instant Pot Once everything is mixed, it will get darker in a few minutes.
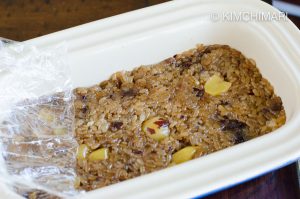
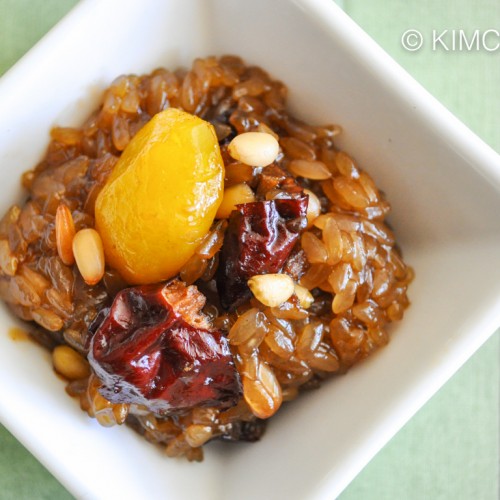
- Serve warm as is in a bowl or put it in a cupcake liner. For a more traditional style, pour yaksik into a bread pan and cover the top with plastic wrap.
Instant Pot Yaksik in mold Pressing Yaksik with hand into mold Yaksik after pressed into shape Then press everything down gently with your hands to flatten the top while molding yaksik into a bread like shape. Let it cool and then cut into thick slices and serve.
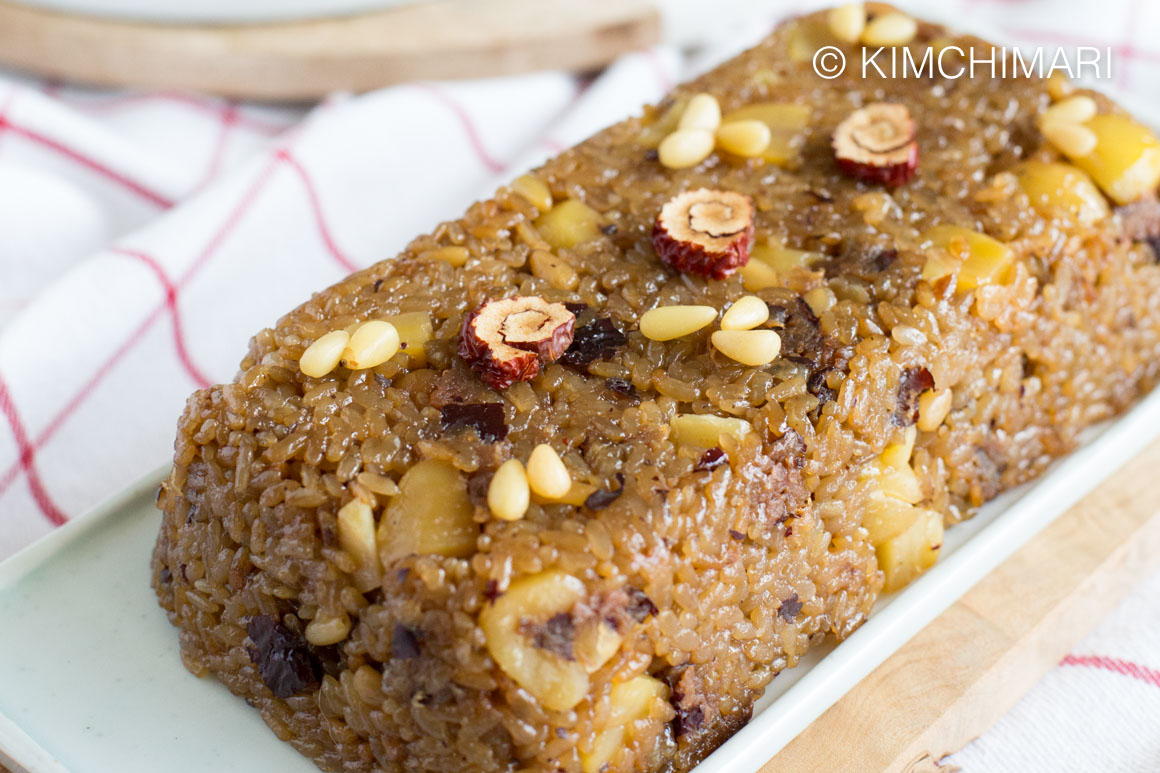
Instant Pot Yaksik Decorated Instant Pot Yaksik Sweet Sticky Rice Yaksik Korean Sticky Rice Dessert with Jujube Tea
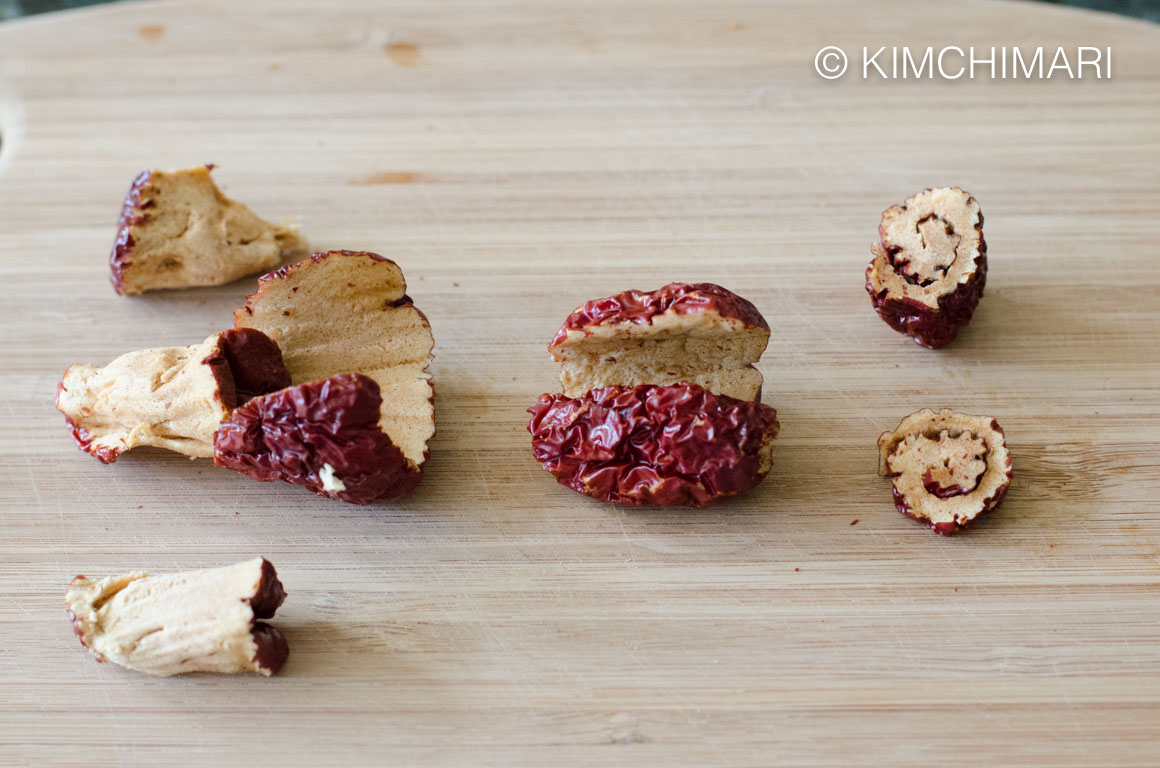
- Decorating – you can use additional pine nuts and also make a Jujube flower which is a traditional decoration that’s used for classic Korean desserts. Just cut into a jujube lengthwise and then peel around the seed in one continuous cut. Sort of like peeling an apple but peel with some of the flesh and not just the skin. Then you take that and roll it up like as you would a swiss roll. Then cut across. Hopefully this picture will help.
How to make flowers with Jujube Dates (Daechu) Instant Pot Yaksik - Korean Sticky Rice Dessert
Instant Pot Yaksik (Korean Sticky Rice Dessert) recipe that comes out perfectly soft and chewy. A perfect balance of sweet, salty and nutty!Prep: 1 hourCook: 8 minutesTotal Time: 1 hour 30 minutesserves: 6Ingredients
- 2 cups sweet rice (sticky rice or glutinous rice)
- 1 cup water
- 1/2 cup light brown sugar (up to 2/3 cup / 166.67 ml)
- 2 Tbsp soy sauce (jin ganjang)
- 2 Tbsp sesame oil
- 1/2 cup dried jujube dates (Daechu)
- 1 Tbsp pine nuts
- 13 oz chesnuts (Korean canned in syrup)
Instructions
- Rinse and soak sweet sticky rice (chapssal) in water for at least 1 hr up to even 5 or 6 hrs. The more you soak, the softer your rice will be.
- Prepare jujube dates by rinsing under water and then with a knife, cut lengthwise to separate flesh from the pit. Cut flesh into smaller pieces like so.
- Open the canned chestnuts and drain. Discard the syrup. Cut chestnuts into quarters.
- Drain sticky rice and let it drain for few minutes.
- Add sesame oil to Instant Pot and coat the bottom.
- Add drained sweet rice.
- Add soy sauce, sugar and water. Stir a few times to mix everything.
- Add chestnuts, jujube and pine nuts.
- Close the cover and set 8 minutes at Low Pressure.
- Natural release (which takes about 20 min or so).
- Using a large wooden spoon, mix the cooked sticky rice so that everything is evenly mixed. You will find that when you first open, the rice looks a little paler than how it looks in my finished pictures. Make sure you mix the bottom parts because they will be the darkest. Once everything is mixed, it will get darker in a few minutes.
- Serve warm as is or put it in a cupcake mold like I did. For a more traditional style, pour the content into a bread pan and then line the top with plastic wrap. Then press everything down gently with your hands to mold it into a bread like shape. Let it cool and then cut into thick slices and serve.
Tips & Notes:
- For 8 QT Instant Pot - my recipe was made for 6 QT IP. If using 8 QT, increase water amount to 1.5 cups to avoid burning.
- Sweet level - if adding canned chestnuts, use the lower amount of sugar because chestnuts come in syrup and even though you drain it, it will still add sweetness to it.
- Yaksik can be stored at cool room temperature for 1-2 days. Otherwise, it should be refrigerated or frozen.
- If frozen, you can thaw at room temp and enjoy it. If refrigerated, it is best to steam it or reheat it in the microwave.
- Additional ingredients - you can add various dried fruits like raisins, apricots and other nuts like walnuts. You can also add some cinnamon powder for additional flavor. Molasses also add a great caramel flavor so you can add some molasses and reduce sugar amount. Honey can also be used.
Nutrition Information:
Calories: 497kcal (25%)| Carbohydrates: 102g (34%)| Protein: 5g (10%)| Fat: 7g (11%)| Saturated Fat: 1g (6%)| Sodium: 313mg (14%)| Potassium: 476mg (14%)| Fiber: 1g (4%)| Sugar: 18g (20%)| Vitamin A: 15IU| Vitamin C: 27.2mg (33%)| Calcium: 48mg (5%)| Iron: 1.4mg (8%)
Notes on Instant Pot Yaksik
- Reduced Sugar Yaksik – Normally, this Korean sticky rice is sweet but you can also make it less sweet and it still tastes really good. I reduced the sugar amount to 1/2 cup + 1 Tbs and with no chestnuts (canned chestnuts are quite sweet) in my 1st test and it came out tasting almost not tasting sweet but it was still sooo good the way it was.
- Storing Yaksik – can be stored at cool room temperature for 1-2 days. Otherwise, it should be refrigerated or frozen. If frozen, you can thaw at room temp and enjoy it just like that. If refrigerated, it is best to steam or reheat in the microwave.
- Adding other ingredients – although not traditional, you can add various dried fruits like raisins, apricots and other nuts like walnuts. You can also add some cinnamon powder for additional flavor. Molasses also add a great caramel flavor so you can add some molasses and reduce sugar amount. Honey can also be used.
Enjoy!
XOXO ❤
JinJoo












I got the burn-alarm my first time making yakbap (maybe a year or two ago?) and it was my first time using an IP, so I was a little freaked out! I had to keep adding more time minute-by-minute because I had no idea how it would turn out! I followed this recipe and it came out right on the first try. Whew! I miss being able to buy it so easily in Korea, since it’s one of my favorite traditional treats. I’m so relieved to make this so much easier at home than before because it’s actually more convenient than going to the store in Seoul hahahaha
That’s wonderful to hear! yes, I am so glad I was able to come up with this recipe – it really does make things so much easier. Thank you soo much for leaving this great feedback.
Hello! I was wondering if you can substitute pitted dates from American grocery stores instead of jujube? Thank you!
Hmm.. honestly I have not tried it so I don’t know but I think flavor wise it should be fine. Texture wise, I’m not sure as dates skins are usually a little more tough. I would try not mixing the dates all throughout but just try adding it to a little bit of the yaksik and taste it before you add more. Good luck!
Hello! Today was my third time this week making yakshik in my 6qt IP. Today was also the first time I got a burn notice. The only difference today was that instead of letting my sugar dissolve in my soy sauce before mixing in with the rice, I rushed and just dropped it into the pot and mixed. I think this may be the problem rather than the water.
Hmm.. interesting. Thank you for letting me know. I will have to test that. Perhaps the sugar concentrated somewhere and started burning first?
Thank you for this recipe! My mom loves yaksik so she was overjoyed that I made it for her! I followed your recipe exactly and presoaked my sweet rice for about 1.5-2 hours. I did not get a “burn” notice on my instant pot and it was ready to open after about 10 mins of natural release. I also cut back a bit on the brown sugar and added a swirl of molasses and maple syrup. I also added some raisins and sunflower seeds and overall it was so delicious! 🙂
It sounds like you did all the right things. I actually like to use molasses in my yaksik too but wanted to keep this recipe as traditional as possible. So happy to hear that your mom was happy! Thank you for sharing your story. Enjoy!
Second time making it, followed recipe exactly in a 6qt, but got burn notice. I heard recent models are more sensitive. Did I trigger bc I mixed the toppings in a little before cooking? Would more water help? Taste is delicious but I’m having a hard time controlling cooking method Note – by the time I got burn notice it had reached pressure and was mostly cooked. Ended up just using it at that point.
Hi Amy, Hmm, I have made this countless times in my 6qt IP after I posted the recipe and have never gotten a burn notice. I know 8qt can give you burn notice if you don’t increase the water amount to 1.5 cup. Maybe you could increase the water amount a little bit (if your model is newer and more sensitive) by 2-3 Tbs? Try that and let me know! Thank you so much for asking.