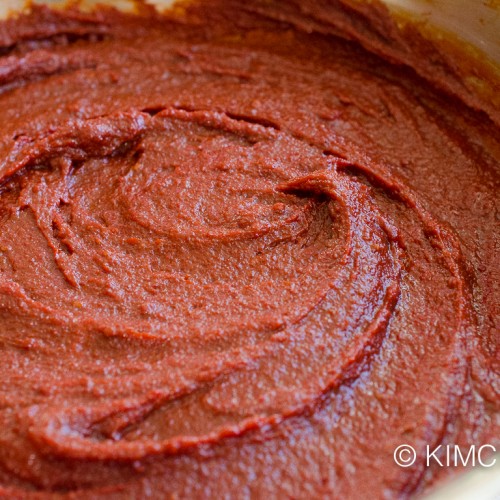
This is how Korean moms make Gochujang at home every year in spring. This is a very authentic and traditional way to make Korean chili paste! If you have the ingredients and some time, this somewhat long process is totally worth it!
What is Gochujang?
Gochujang is a Fermented chili paste and NOT a sauce.
Yes, Gochujang is NOT a sauce ladies and gentlemen. The one you add on Bibimbap IS a gochujang sauce because the Gochujang paste is mixed with vinegar, sugar, water and any additional seasoning to make a sweet gochujang sauce.
An authentic fully fermented Korean Gochujang is made from fermented soybean powder (meju garu 메주가루), korean red chili powder (gochugaru 고추가루), sea salt, rice syrup (jocheong 조청), malted barley powder (yeotgireum garu 엿기름가루) and sweet rice flour. Additional ingredients like maesil cheong syrup, rice flour, barley can be added to make different variations.
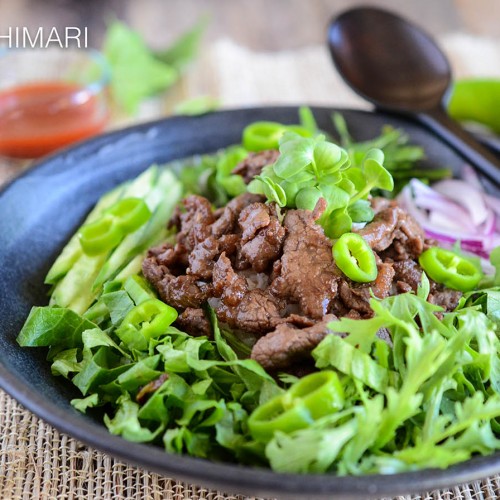
Gochujang is a fermented red chili paste that Koreans love to add to sauces, marinades, stews, soups.. just about on everything. Make a sweet & sour gochujang sauce by mixing vinegar, water, sugar or syrup then use this on your bibimbap or just toss any fresh or steamed vegetables.
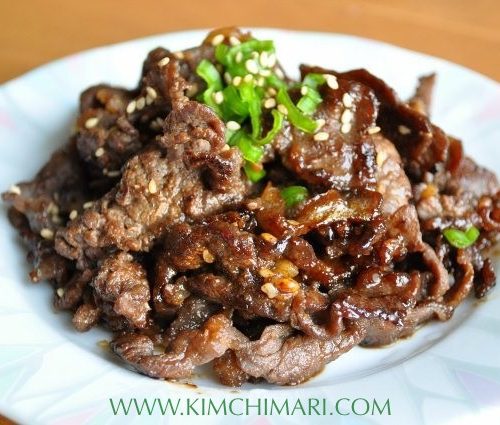
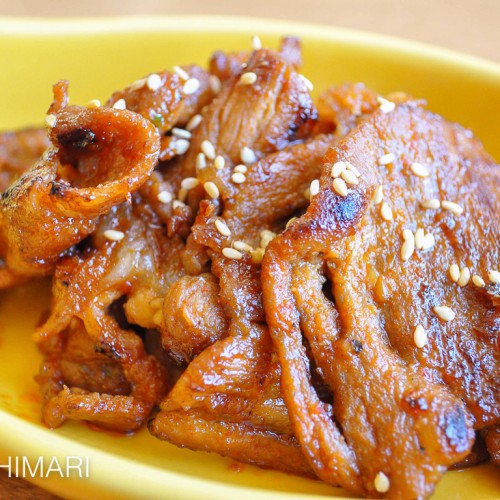
Most popular Korean dishes that use Gochujang is Tteokbokki and Spicy Pork or Chicken Bulgogi. I also have a Gochujang Oven Baked Chicken that’s my simplified version of the original.
WHAT DOES GOCHUJANG TASTE LIKE?
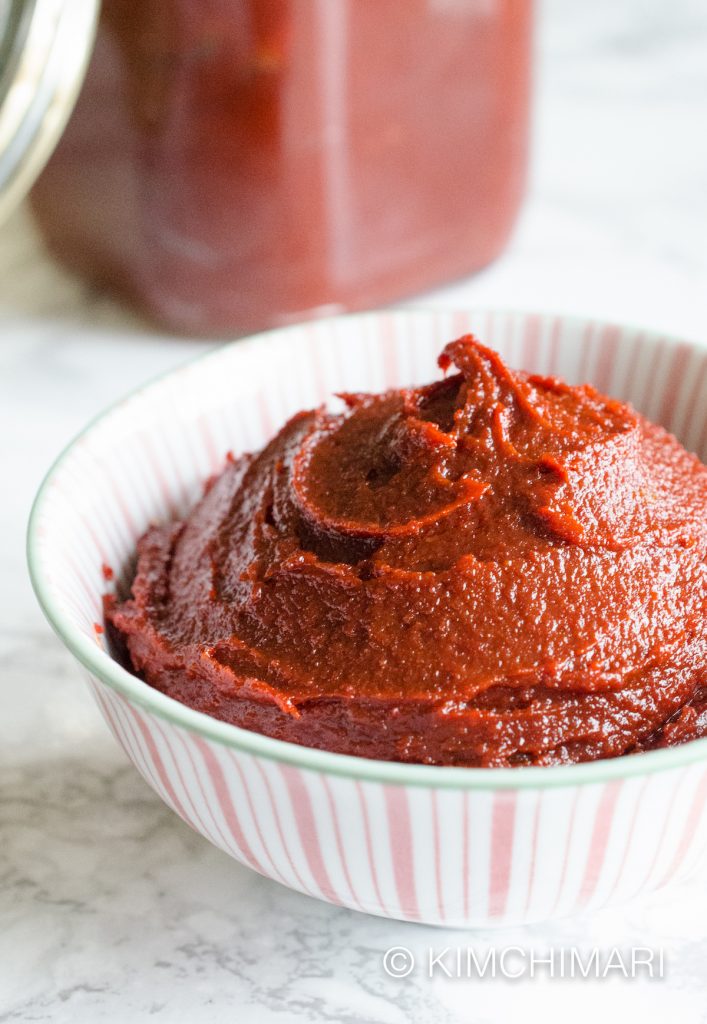
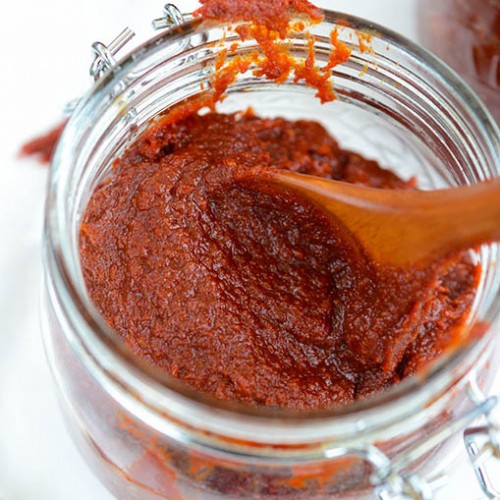
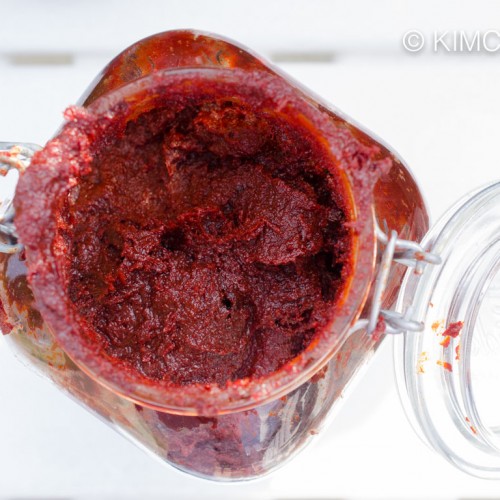
The gochujang paste itself is spicy, salty and slightly smoky and funky with just a hint of sweet flavor. Chances are, you probably have never tasted the full glorious flavor of the raw gochujang paste itself but rather sauces with gochuang in it.
The gochujang tubs you buy from the grocery store is much sweeter than my home fermented gochujang because the manufacturers add corn syrup to it. In fact, if you look at the ingredient list, sadly, corn syrup or starch syrup is usually the first ingredient which means that is the major ingredient.
GOCHUJANG VS SIRACHA
How is Gochujang and Siracha different?
Siracha and Gochujang are both spicy but Siracha is a mix of red chili, garlic, sugar, vinegar while Gochujang is a 6 month fermented chili paste. So while Siracha is fresher and tangy tasting as you can imagine Gochujang is a lot more complex and has deeper flavors full of umami + mild funky flavor.
In addition to spicy flavors, Gochujang is salty while Siracha is not. So be aware that when you add Gochujang, you are not just adding spicy flavors but also saltiness.
Is Gochujang hotter than Siracha?
Well.. that’s not very simple to answer because Gochujang comes in different spicy levels from mild to extremely very hot! Siracha is made with Siracha peppers and depending on the crop, it is said to have anywhere from 1000-1500 SHU (scoville heat units) on the Scoville scale.
Recently, CJ announced that their Haechandeul 해찬들 Gochujang will be made in 5 different levels of spiciness with the range of SHU numbers: mild 순한맛 (300-600), slightly hot 약간 매운맛 (600-900) , medium hot 보통 매운맛 (900-1500), very hot 매운맛 (1500-2000), extra hot 아주 매운맛 (2000 and above). So just from this, one can say that Siracha would be comparable to medium hot Gochujang but maybe more spicy or less spicy than some.
How Spicy is Gochujang?
Well, as you can see from above, Gochujang spicy level can range from mild to very hot with their SHU levels going from 300 all the way to 2000 and plus. But the average one is around 900-1500 SHU which is quite mild in the scale of chili peppers. In my personal opinion, much like anything, if you add a lot of it, it will be spicy while if you add just a little bit of Gochujang, it will add great complex flavor while not making it too spicy.
If you asked me 5 years ago, whether I make my own Gochujang, my response would have been something like – “No…..I don’t do that…that’s too much work.. oh, only our mothers did that.”
But here we are, in my 6th year of blogging; I have already attended two Gochujang making classes (in Korea last February) so that I could make it at home this year. During my recent stay in Korea, I got to taste some great homemade gochujang and deonjang and I realized store bought gochujang and homemade gochujang is just not the same. In addition, I have also discovered that not all gochujang sold at stores are the same.
WHICH GOCHUJANG SHOULD I BUY?
Did you know that often a not-so-good gochujang has corn syrup, starch syrup and even hydrolyzed vegetable protein as part of their ingredients??? A good quality gochujang should have minimum ingredients – only have chili pepper powder (gochukaru), fermented soy bean powder (mejukaru), sweet rice/rice/brown rice/barley/wheat flour, rice syrup, malt barley syrup or powder and salt.
And even if it has corn syrup, at least don’t buy one that has corn syrup as it’s first ingredient. I mean..imagine.. how much corn syrup that is!! Sometimes some alcohol is added to stop the fermentation process but that’s it. So please read the gochujang ingredients carefully.
In Korea, there are many great quality gochujang in the market but sadly almost none of them are sold in the US… or outside of Korea.
The Ingredients needed to make Gochujang
FINE KOREAN RED CHILI POWDER (고운 고추가루 GOEUN GOCHUKARU)
Gochugaru or Korean red chili powder is the most important ingredient for this wonderful hot pepper paste. As you probably know, each chili has a different level of spiciness but also a different flavor profile. Korean red chilis have the perfect balance of spicy and sweet flavor to really make the best gochujang so please do try to use a Korean one.
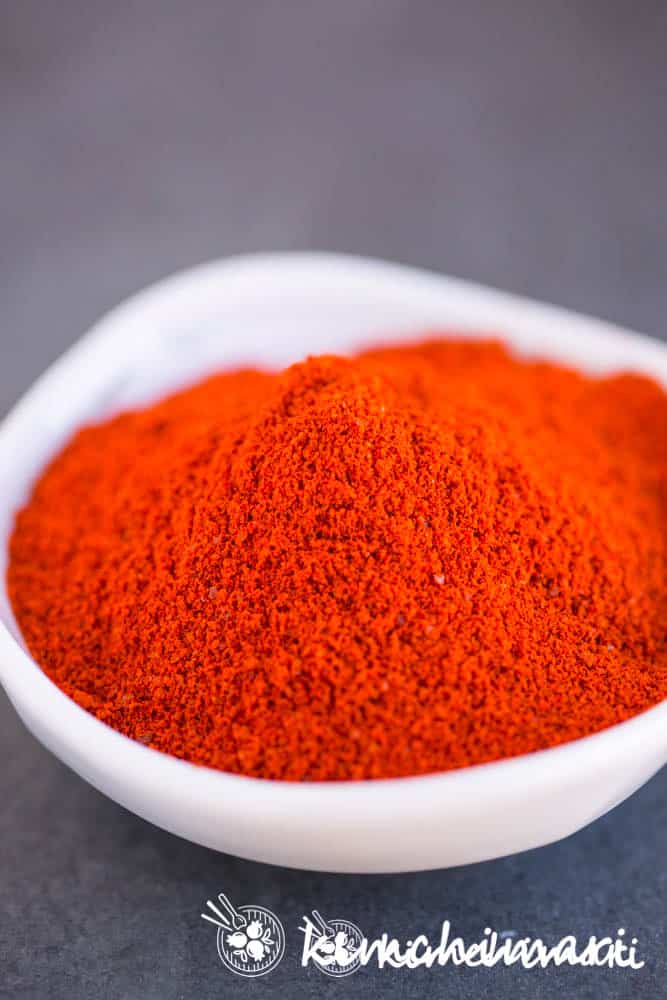
We use both COARSE and FINE gochugaru in Korean cooking. Below you can see the 2 different kinds. FYI, the left one is darker in color because they are last year’s crop. Gochugaru becomes darker in color when they are over 1 year old. The fresh crop Gochugaru has brighter and more orangish red color.
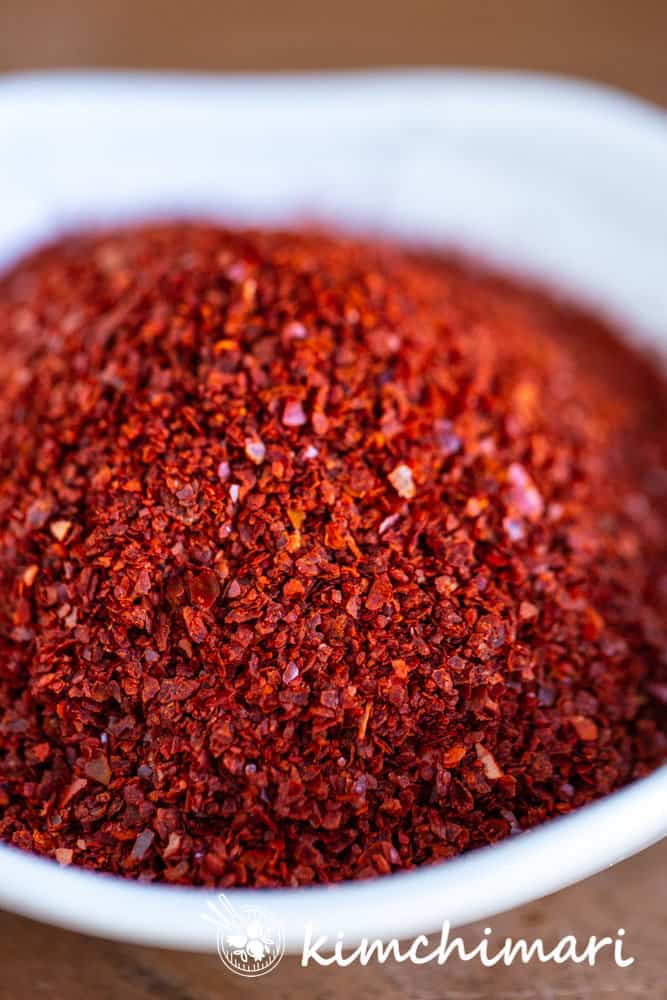
Coarse Korean red chili powder (Gulkeun Gochugaru 굵은 고추가루) is what is used the most in Korean cooking these days and over 90% of Gochugaru sold at markets is probably coarse. Traditionally coarse red chili powder was used in making all kinds of Kimchi except for water Kimchi (mul kimchi 물김치). Coarse gochugaru gives you brighter red color and has a cleaner flavor with even a bit of a zing. It is also used to make jjigae, guk and namul.
Fine Korean red chili powder (Goun Gochugaru 고운 고추가루) is definitely needed in making gochujang and then for mul kimchi. Look for bags that say “고추장용” which means it’s for making Gochujang. Also used to make refined sauces and sometimes used for making more elegant moosaengche. Fine gochugaru produces less clean almost kind of a muddy taste and thus not usually used for fresh vegetables but can be used for stews and soups.
If you want to make a hotter gochujang, try substituting a part of the chili powder with some red Cheongyang chili pepper powder.
MEJU POWDER (메주가루 FERMENTED SOYBEAN POWDER)
Meju is a block of cooked soybeans that are fermented with salt and water to make soy sauce and Korean soybean paste (Doenjang). Meju powder is the crushed and powdered form of the soybean blocks. So the meju powder is the ingredient that gives real authentic gochujang its funkiness.
FYI, Japanese miso is very similar to Deonjang and so I know there are recipes out there that use miso paste as the base for making Gochujang. Please know that miso paste is NOT used in traditional Korean Gochujang recipe. It’s just a quick way to make something similar. It will totally miss the funky complex awesomeness a properly fermented gochujang will have.
You can READ MORE about Deonjang in my Know your Doenjang post.
YEOTGIREUM GARU (엿기름가루 MALTED BARLEY POWDER)
The role of the Yeotgireum Garu is to break down the starch of the sweet rice flour (or other flours like barley or wheat if used) into simple sugars with its enzymatic activity. Once the starches are broken down the various bacteria from the meju powder and air will ferment the gochujang over 6 months.
My favorite to use is the Korean malted barley powder that’s still coarse enough for you to see the barley husks. If you need to buy a substitute for Yeotgireum Garu, then try to buy diastatic malt barley powder where the enzymes can be reactivated once hydrated.
KOREAN SEA SALT (천일염 CHEONILYEOM)
You may think salt is a salt.. no..
Did you know that different salts based on where they are sourced (land vs sea), how they are produced (boiling, drying in sun etc) the salinity per volume is different and also the flavor profile is different.
Korean sea salt have a more earthy and slightly bitter taste than other salts while having lower sodium than most. So if you used a non-Korean salt, you will need to adjust the amount based on the different amount of salt. To see how different salts can be, you can read my Best Salt for Kimchi post where I compare 12 different salts. Also, just because it’s Korean salt, doesn’t mean they are the same so be sure to use the Coarse Solar Sea Salt (Cheonilyeom).
RICE SYRUP (조청 JOCHEONG)
Korean Rice Syrup is made by first breaking down cooked rice with malted barley powder soaked in water. The resulting liquid is similar to Sikhye and then this is boiled until it is reduced to syrup consistency. Commerical gochujangs add corn syrup instead of Jocheong because that’s less expensive but traditionally this syrup is added to add sweetness.
Equipment needed for Gochujang Making
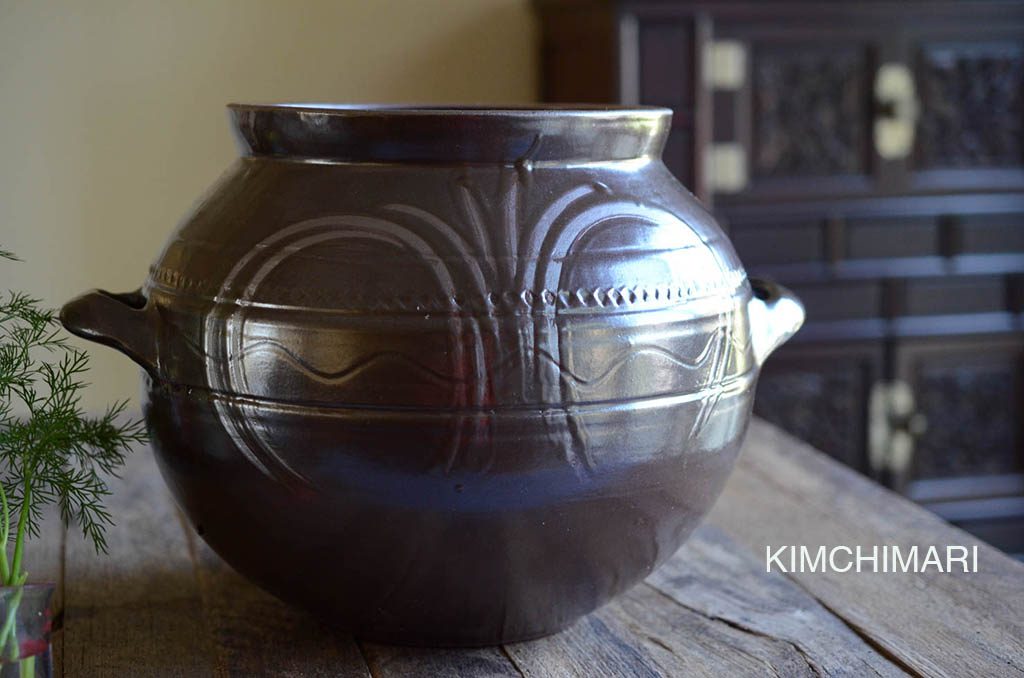
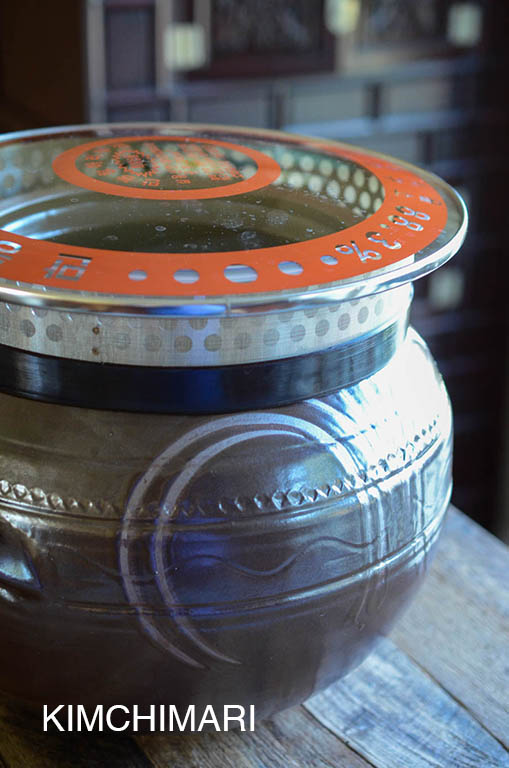
- 1 5 quart or larger Korean gochujang hangari (항아리)/onggi (옹기) = glazed clay vessel or pot that can hold liquid but is porous for it to breathe
- 2 large bowls (5 quart or bigger)
- fine sieve or medium grade (#50) cheese cloth
- 1 large pot (5 quart or larger)
- 1 fine mosquito net or fine mesh fabric to cover top of gochujang pot
- 1 string to tie mesh fabric
- coals, sesame seeds, metal bowl (optional)
Traditionally, Koreans make Gochujang only at certain times of the year!
Gochujang is typically made in the colder winter months between the end of November to February in Korea. It is because the 4~6 month fermentation needs to occur in FULL SUN but BEFORE the very hot and rainy summer starts in Korea.
For California, I thought February would be a great time since by then hopefully rain is getting lighter and there are more sunny days. So when I was getting ready to move back to the US in 2014, I bought and shipped Korean gochukaru (고추가루 red chili powder), mejukaru (메주가루 fermented soybean powder) and cheonilyeom (천일염 solar sea salt) via sea with our moving stuff so I could make it in CA.
And most importantly, I also purchased a Korean hangari/onggi vessel where I could ferment the gochujang in. This particular vessel was made by one of the few remaining Korean artisans who is deemed by the government to be part of Korean’s national heritage.
GLUTEN-FREE GOCHUJANG WITHOUT MALT BARLEY POWDER
If you need to be gluten-free and don’t want to use the malt barley (Yeotgireum Garu) or if you can’t buy malt barley powder, you may want to use my Easy Homemade Gochujang Recipe which doesn’t use malt barley but just rice syrup (Jocheong 조청).
WHERE CAN I BUY INGREDIENTS ONLINE?
You can buy all the ingredients from my store HERE. And look under the Gochujang Ingredients list.
Traditional Homemade Gochujang Recipe
Makes: 4 quarts Prep Time: 6 hrs Cook Time: 6 hrs Difficulty: Medium
Ingredients
See Recipe Card below for scalable ingredients —
Step-by-Step Instructions on How to make Gochujang at home
- 1-2 DAYS BEFORE: Sterilize your ghochujang hangari or onggi (Korean glazed clay vessels aka earthenware for fermentation) by pouring hot boiling water inside and out and drying them. OR you can use coals that have turned into white embers by putting them in a metal bowl and turning over the hangari on top so that the hangari gets filled with HOT smoke which will also sterilize the pot. I used both methods just to be sure. Here is a picture of how it was done:
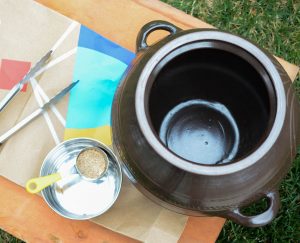
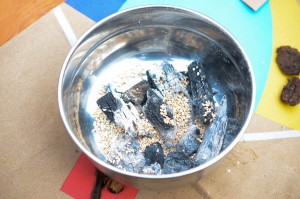
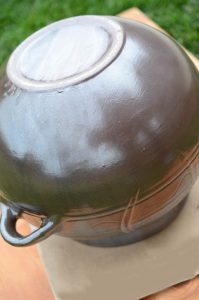
The hangari will smell very smoky at first, but it will go away as you air it for a day or two. It is also the intention to have a little bit of sesame seed smoky flavor. If you don’t want this, just use hot water.
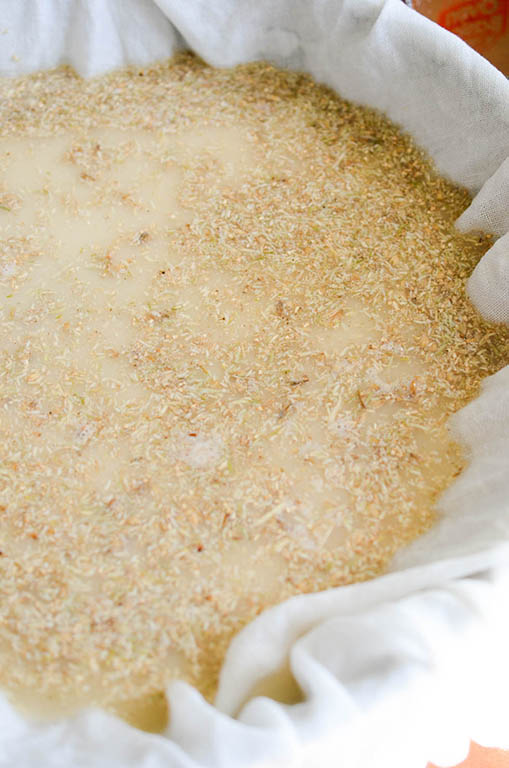
Malt barley (yeotkireum) in cheesecloth
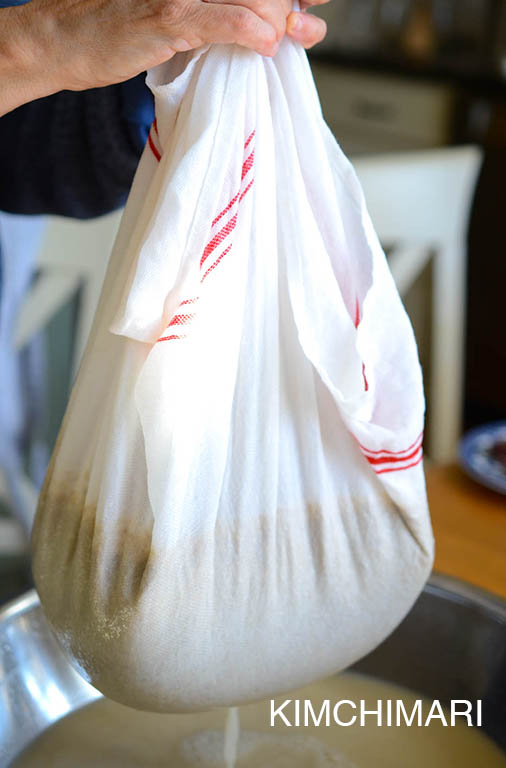
Malt Barley liquid strained using cheesecloth
It made me happy just looking at them, smelling the beautiful and familiar smells – the spicy gochukaru tickling my nose and then the very endearingly stinky deonjang smell from the mejukaru taking me back to my childhood..to the days when moms made everything at home.
And I hope to share with you how my gochujang turns out under the California sun in the next 6 months.
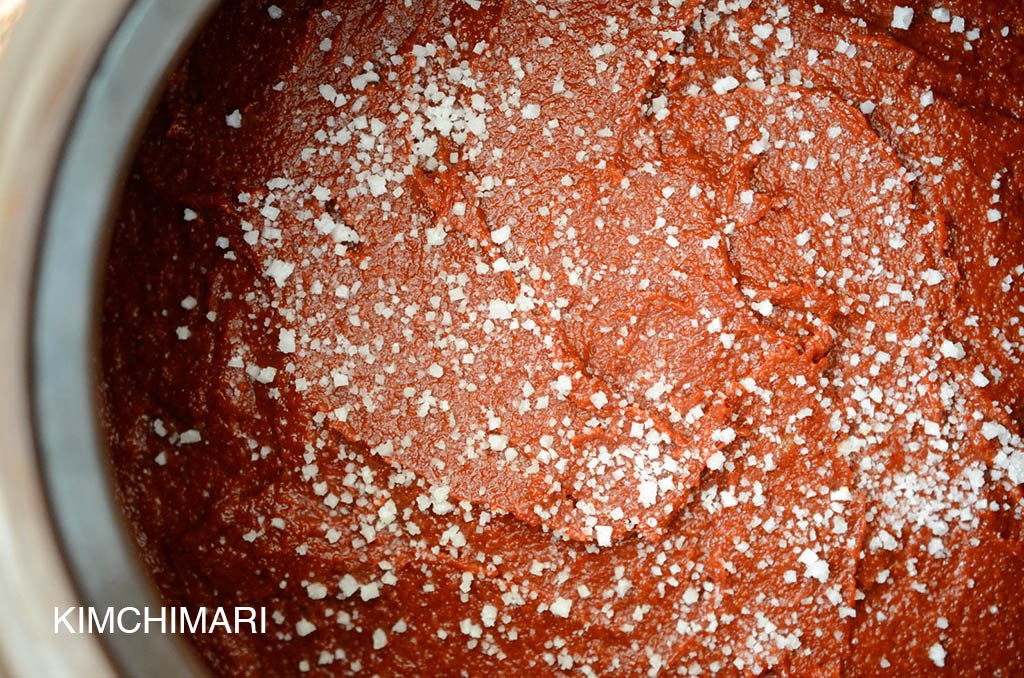
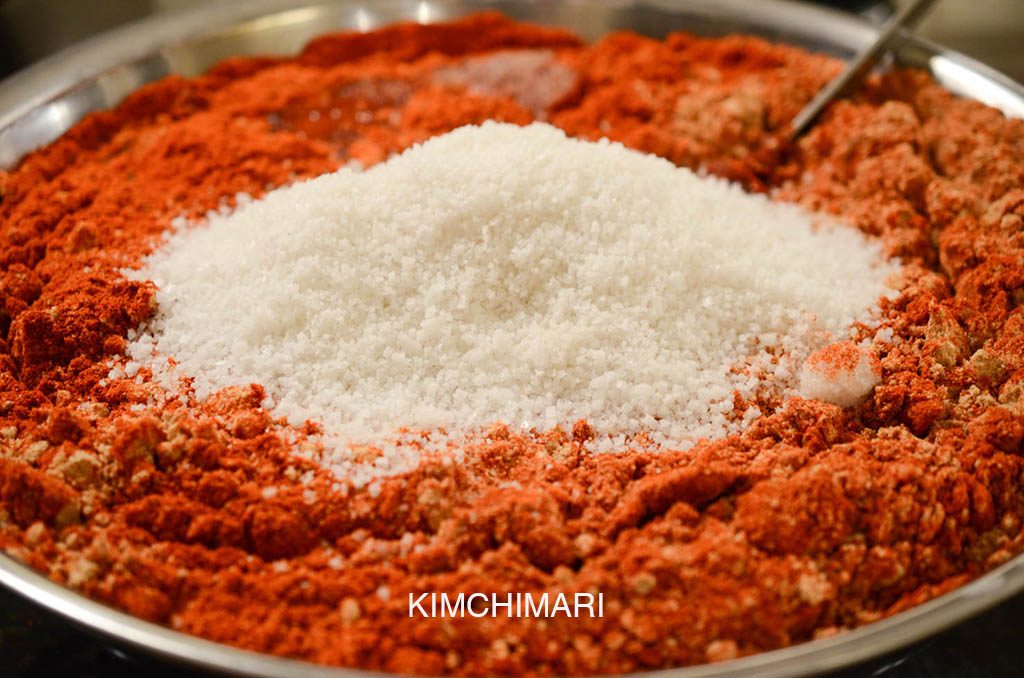
The salt crystals are like little diamonds~~ love love love..♥♥♥
Well, I know this is probably not something you can make easily and you need various special ingredients and vessels but I thought I would share it with you so that at least you get to experience and know what is involved in making the amazing gochujang the traditional and authentic way.
- You can also buy Korean Traditional Earthenware for fermentation on Amazon.com. The size is not very big so you may need more than one but it should work. I have selected a few below.
- If you REALLY want to buy the Korean Hangari/Onggi in the US, try visiting a larger Korean grocery market.
- A HUGE THANK YOU to my friend Judith for asking me to post a Gochujang recipe and then also coming to my house to help me make this wonderful paste.
Here’s my new Video on how to make Gochujang at home!
XOXO
JinJoo ❤️
How to make Gochujang at home
Ingredients
- 1.5 kg Fine Red Chili powder (Goun Gochukaru 고운 고추가루) (1.5kg = 3.3 lb)
- 500 g Fermented Soy Bean powder (Meju Karu 메주가루) (500g = 1.1 lb)
- 1 kg Sweet Rice (made into powder – Chapssal Karu 찹쌀가루) (1 kg = 2.2 lb)
- 750 g Milled Malt Barley (Yeotkireum Karu 엿기름가루) (750g = 1.65 lb)
- 750 g Sea Salt with bittern removed (Cheonilyeom 천일염) (750g = 1.65 lb)
- 1 kg Rice Syrup (Jocheong 조청) (1 kg = 2.2 lb)
- 5 liter cold water (5 litre = 5.2 quart)
Instructions
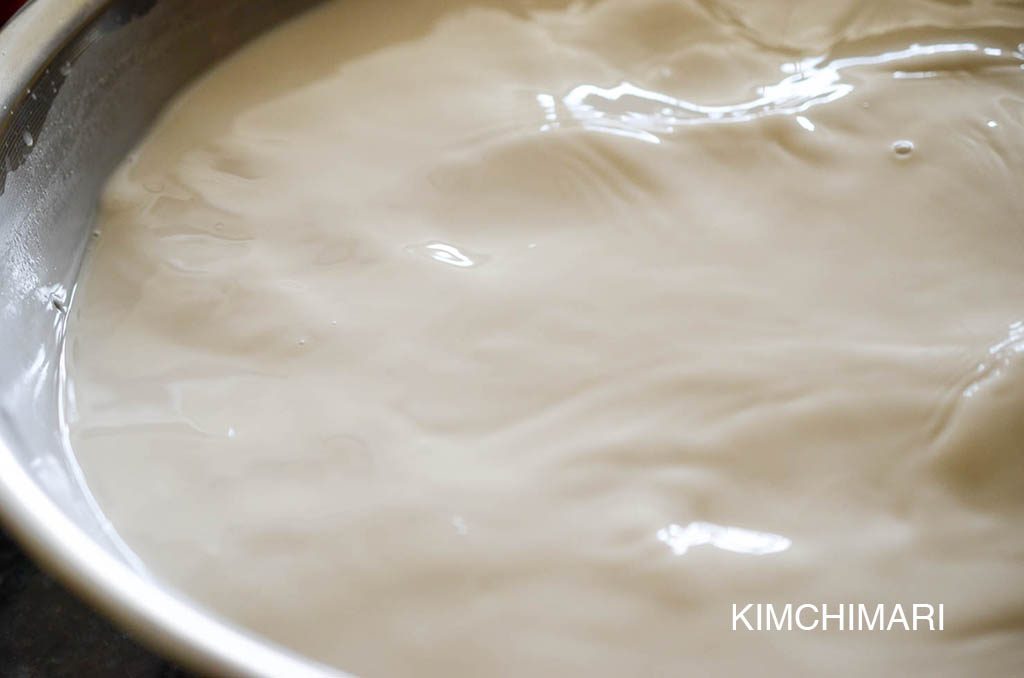
- THE NIGHT BEFORE: Soak 750 g Milled Malt Barley (Yeotkireum Karu 엿기름가루) in 5 liter cold water for 5 hrs or more.
- THE NIGHT BEFORE: Soak whole 1 kg Sweet Rice (made into powder – Chapssal Karu 찹쌀가루) in water for 3-4 hrs or more.
- NEXT MORNING: Strain soaked sweet rice through a colander and remove all excess water.
- Grind sweet rice with a blender or chopper as fine as you can make it. Set aside.
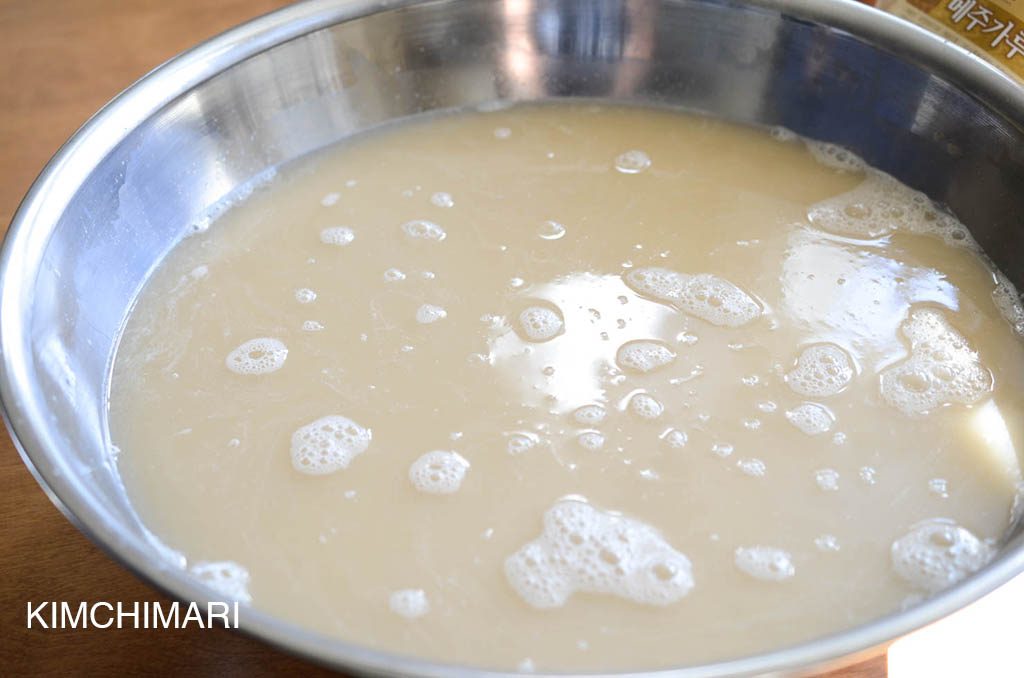
- Strain malt barley through a fine sieve or medium grade cheese cloth to just get the liquid and some fine white sediments. Discard the malt barley.
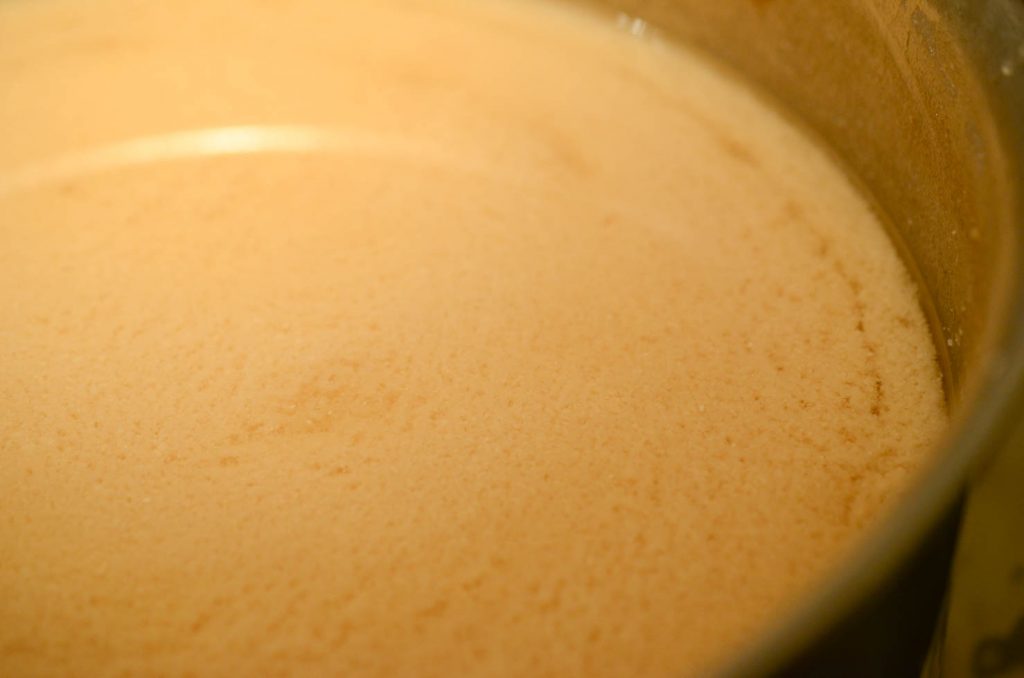
- Add sweet rice powder to strained liquid from above.
- Leave mixture in the oven with a temperature of about 60°C (140°F) for 5 hrs.
- Remove malt barley + sweet rice mixture from oven and cook on stove top.
- Start at medium high -> medium heat until liquid has reduced by about 20%. Let it cool.
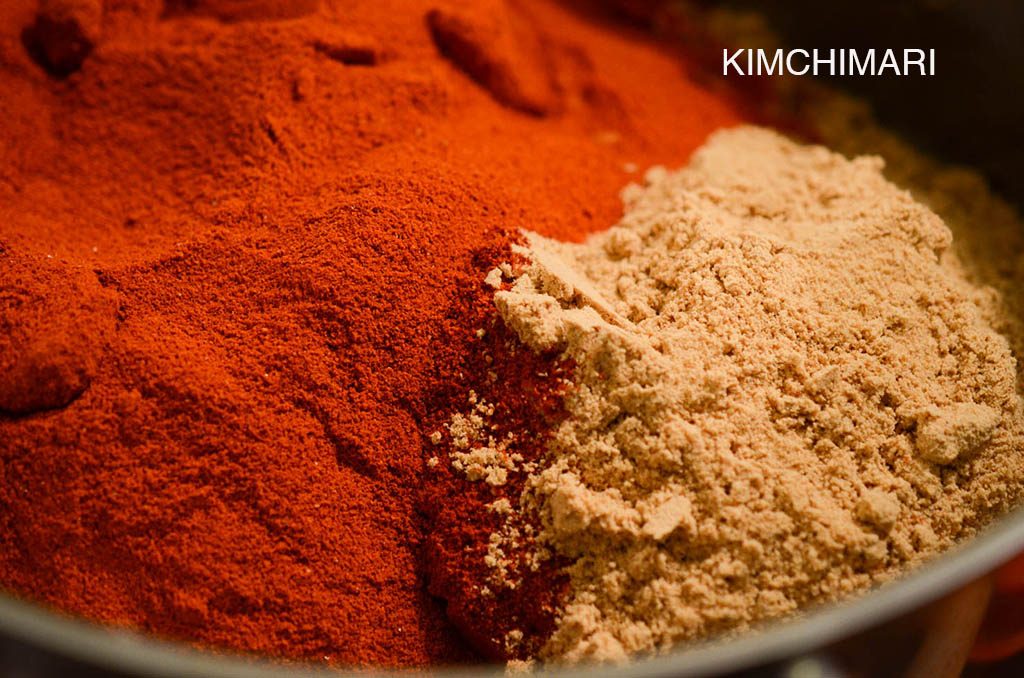
- Once liquid is cooled, add 1.5 kg Fine Red Chili powder (Goun Gochukaru 고운 고추가루), 500 g Fermented Soy Bean powder (Meju Karu 메주가루) and 750 g Sea Salt with bittern removed (Cheonilyeom 천일염).
- Add 1 kg Rice Syrup (Jocheong 조청) – add more or less to your taste.
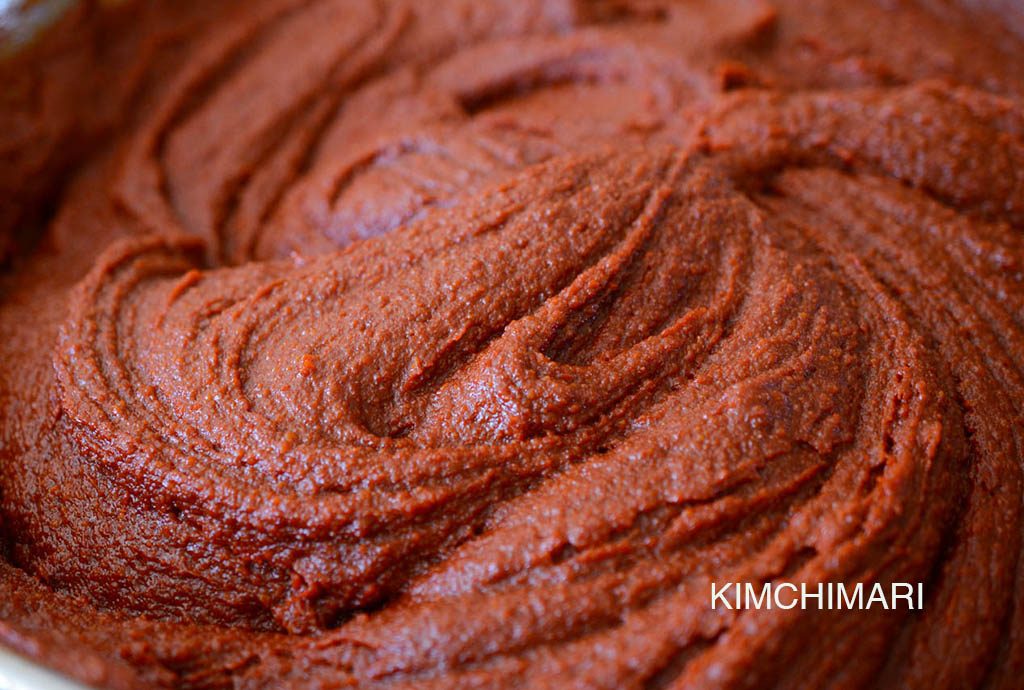
- Mix everything well.
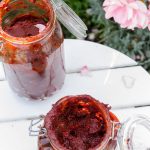
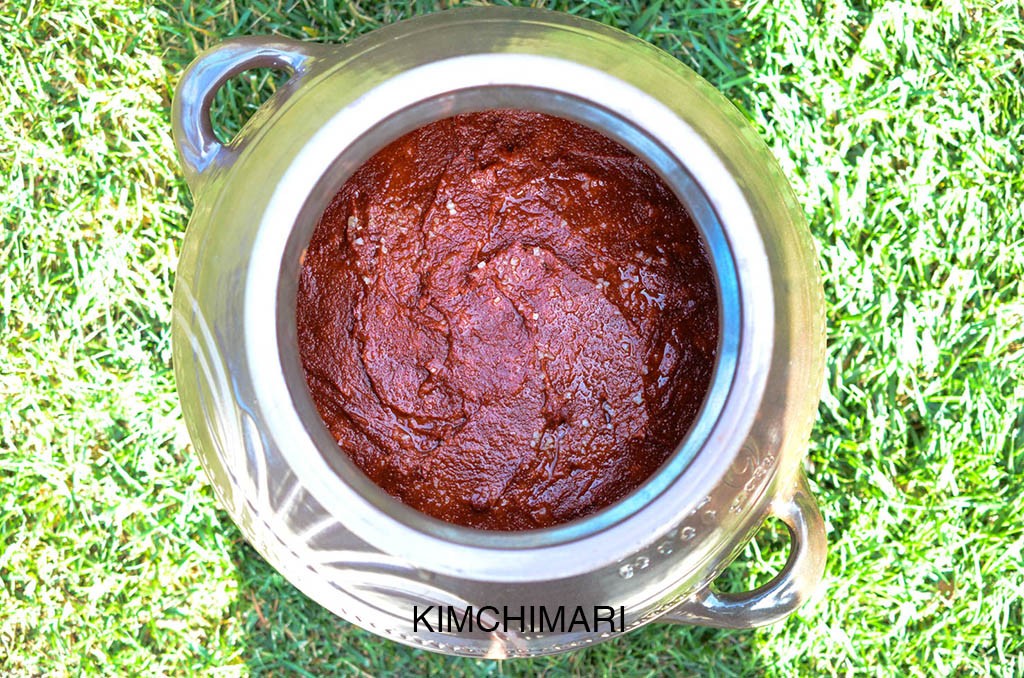
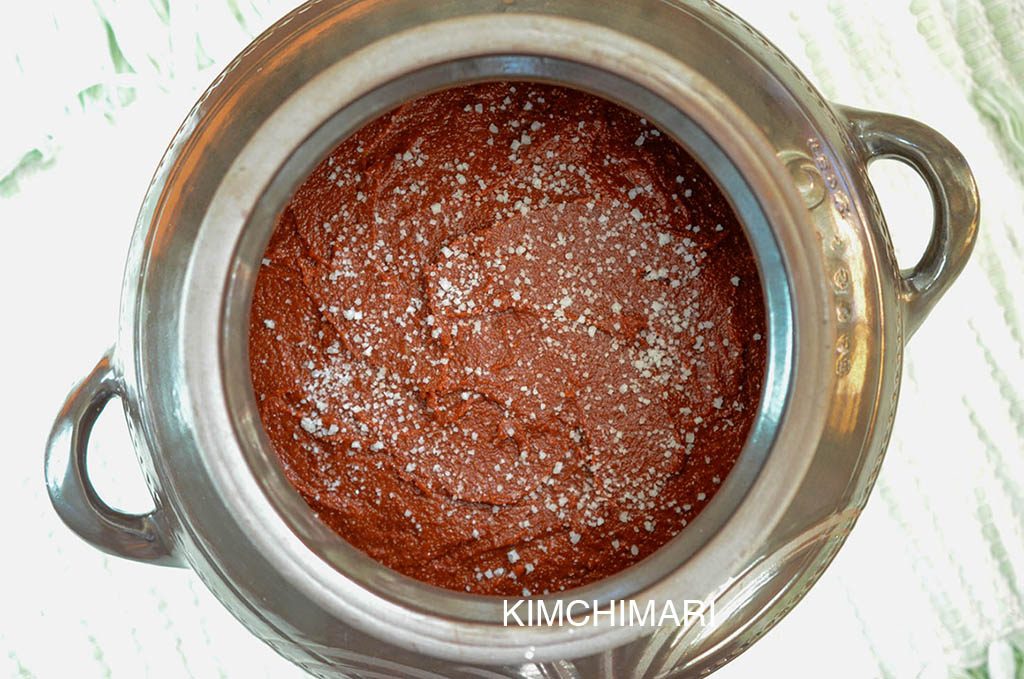
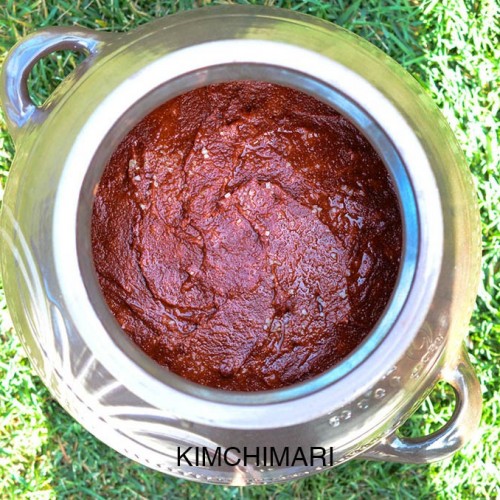
- Transfer gochujang into the prepared, sanitized clay pot (hangari 항아리).
- Sprinkle top with handful of sea salt.
- Leave in full sun for 6 months.
Tips & Notes:
Please check out my blog post for more details on how to sterilize the pot 1-2 days before.


How many servings is it in the video?
Honestly, I can’t remember exactly, but I think it was probably the double amount of the recipe I posted. So it would be around 8 quarts. I can’t say how many servings since you don’t eat Gochujang like a meal.. haha.. Let me know if you have more questions thank you.
Thanks so much for sharing this! Even though I will likely never make this the fully traditional way, it’s so great to know the accurate traditional ingredients and process as a starting point to whatever shortcuts we may choose.
Thank you for your appreciation!
Hi JinJoo
Thank you for this recipe.
I messed up my timing and put the malt to soak overnight. But I can’t complete the process this morning (unexpected event). Would like to know how long I can let the malt soak in water, and should I change water maybe ?
Thank you !
Hi Cam, no it should be fine as is. Don’t change the water because all that’s in the water is what you will need. Soaking longer shouldn’t be a problem as long as it wasn’t too warm for too long. Just continue the process and it should work out. Good luck!
Thank you for answering so fast !
You were right, no issue with the malt soaking longer. Your recipe were easy to follow, thanks to your very detailed instructions !
Now, the most difficult part starts : the 6-month wait.
Of course! I knew you were probably worried – and yes, 6 month wait is hard but that day will come! Just make sure no rain gets into it and stir it every now and then. If you ever get mold on top, just remove it, sprinkle a little salt and continue on. Good luck!
This recipe is amazing!!! We made it in February and just pulled it today. How do you store it when you’re finished? I want to make doenjang as well, and will need my Hangari for that. Thank you
Wow – so happy to hear that you made it!! You can store it at room temp for months if you added the full amount of salt. But you can also keep it in the fridge for longer storage. I usually leave out a jar to use everyday and store the rest in the fridge until I need more. I need to make a Doenjang recipe as well. Hopefully next year. Good luck and enjoy!!
Thank you so much for this wonderful recipe and the detailed description and video. So helpful. I’ve been looking for all natural gochujang here in Europe for so long without any success and finally decided to make my own after studying your recipe^^ I bought an onggi from South Korea via etsy (along with a lovely glass lid) and made my very first batch yesterday. The thing is, we have unusually high temperatures for May this year – it gets easily up to 26-29 degrees celsius, so I was wondering, do I still leave it outside in full sun or should I find a different solution? Can the higher temperatures spoil the whole batch or does it “just” ferment faster? Thanks so much for all your insights!
Yes, you can still leave it out in full sun. Higher temperature will be fine but you may want to watch to see if it’s evaporating too fast before it’s fully fermented. Normally, in Korea, we will have finished the fermentation by early summer. What you have to make sure is that it doesn’t get rained on. It should not get wet. Hope that helps!