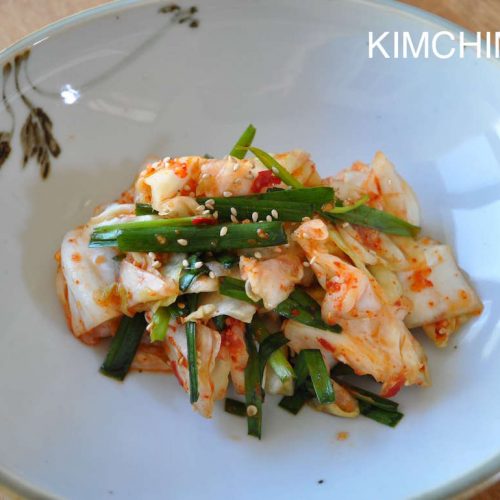
Green Cabbage Kimchi (Yangbaechu Kimchi) is simple and easy kimchi to make, especially if you are a beginner to kimchi-making.

Whenever I think about making Kimchi, it reminds me of the days when I was still a newlywed. Since my husband and I were both students, we had to save money whenever we could. And there were many student friends who were in the same boat. One early Saturday morning, a very active neighbor/Korean ajooma (married women) friend knocked at the door. Without asking, she decided that she would help me save money by buying a whole box of napa cabbage between the two of us to make kimchi. So she just dropped a 1/2 box of cabbages at my door. I said it was too much and she told me that this was a great deal and did not want to hear anything else.
Now, I was 3 months pregnant at the time. After I was done making so much kimchi-I think it was about 12 cabbages-I had pain in my stomach that evening. I mean, there were so many cabbages, I had to brine them in our bathtub. I was so worried that it might be something serious. Luckily, I was fine the next day. But, ‘never again’, I told myself -‘ this kimchi-making is just too much work.’ So I never made Kimchi while I was attending graduate school.
But recently, I have been wanting to make Kimchi at home because they taste just so much better when it’s made at home. And when we decided to move to Korea, I realized it would be a great opportunity for me to learn the fine art of making Kimchi from my mother-in-law. She makes one of the best Kimchi I have ever tasted. It’s not too spicy or salty but just right.It tastes fresh but also has a deep and complex flavor in the background.
As the Kimjang(김장) [see my No Crazy Kimchi post for more info] season is just around the corner, I am really looking forward to making some real authentic kimchi with her very soon.
In the meantime, I will start my kimchi posts with a somewhat unconventional Kimchi that my mother-in-law will probably never make – Green Cabbage Kimchi.
Green Cabbage (the regular kind used to make coleslaw) kimchi appeared pretty recently in the Korean food scene, probably because many Koreans who lived outside of Korea could not get any authentic Korean Cabbage (Celery Cabbage is the exact one but Napa Cabbage is very close). I first tasted cabbage kimchi in 1976 when we moved to India. With no access to any kind of Korean vegetable, the only vegetable we could get was the good old cabbage. I actually did not like it as a kid. I thought it only made me miss the real Korean kimchi more. But now, I actually like it and enjoy it. There’s a lightness in flavor to Green Cabbage Kimchi that makes it go better with some foods than regular kimchi which can sometimes overpower other dishes.
Making Green Cabbage kimchi is also pretty easy so I think it is a great one to start with if you have never made Kimchi before.
Green Cabbage Kimchi Recipe
Servings: 10 Prep Time: 1 hr Cooking Time: 5 min Difficulty: Medium
Step by Step Directions
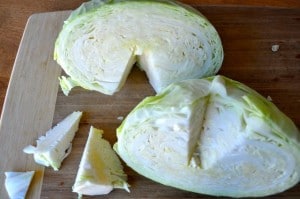
- Cut cabbage into halves and cut out the core.

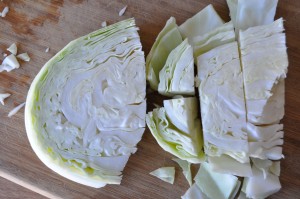
Cut cabbage in half and cut the core - Cut into 1 to 1.5 in width pieces -> into squares.
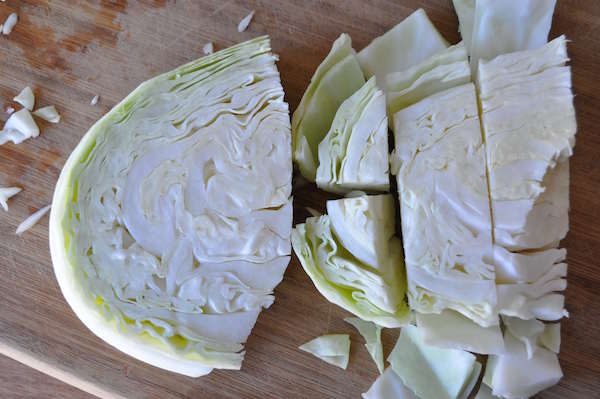
Cutting Cabbage into squares - Rinse cabbage and drain.
- Salt the cabbage by mixing it with saltwater.
- Mix 3 C water and 3 T sea salt.
- In a large bowl, put half of the cabbage and add the saltwater.
- Sprinkle 1 T sea salt on top of the cabbage.
- Add remaining cabbage and toss.
- Let the cabbage sit in saltwater for 1 hour. Tossing 2-3 times to make sure the saltwater reaches the cabbages evenly.
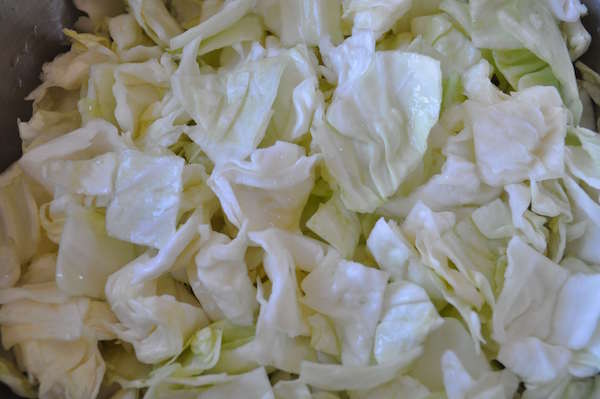
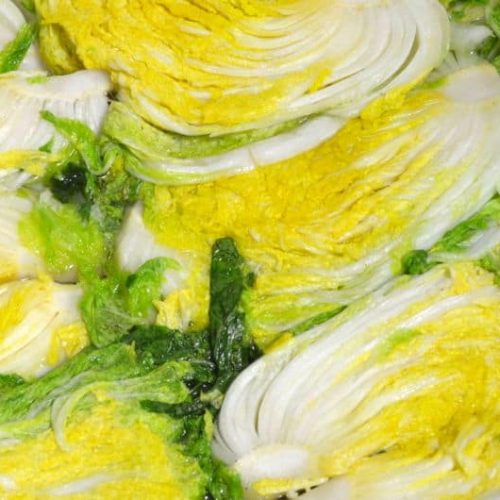
Cabbage pickling in salted water
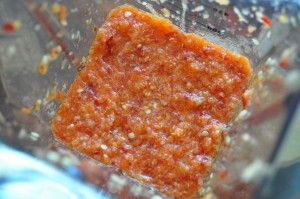
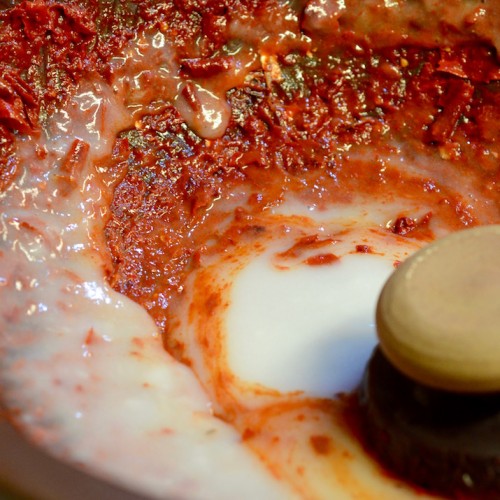
- In the meantime, prepare the kimchi yangnyeom (seasoning) by finely chopping garlic, onion, red pepper and ginger in a chopper. * If using a blender (as in my pic), add 4 T fish sauce because it will not chop without additional liquid.
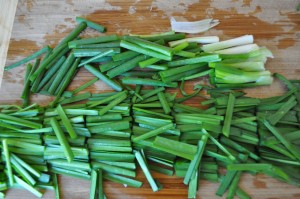
- Wash and clean green onions and chives. Cut green onions and chives into similar length pieces (2 in or so) and set aside.
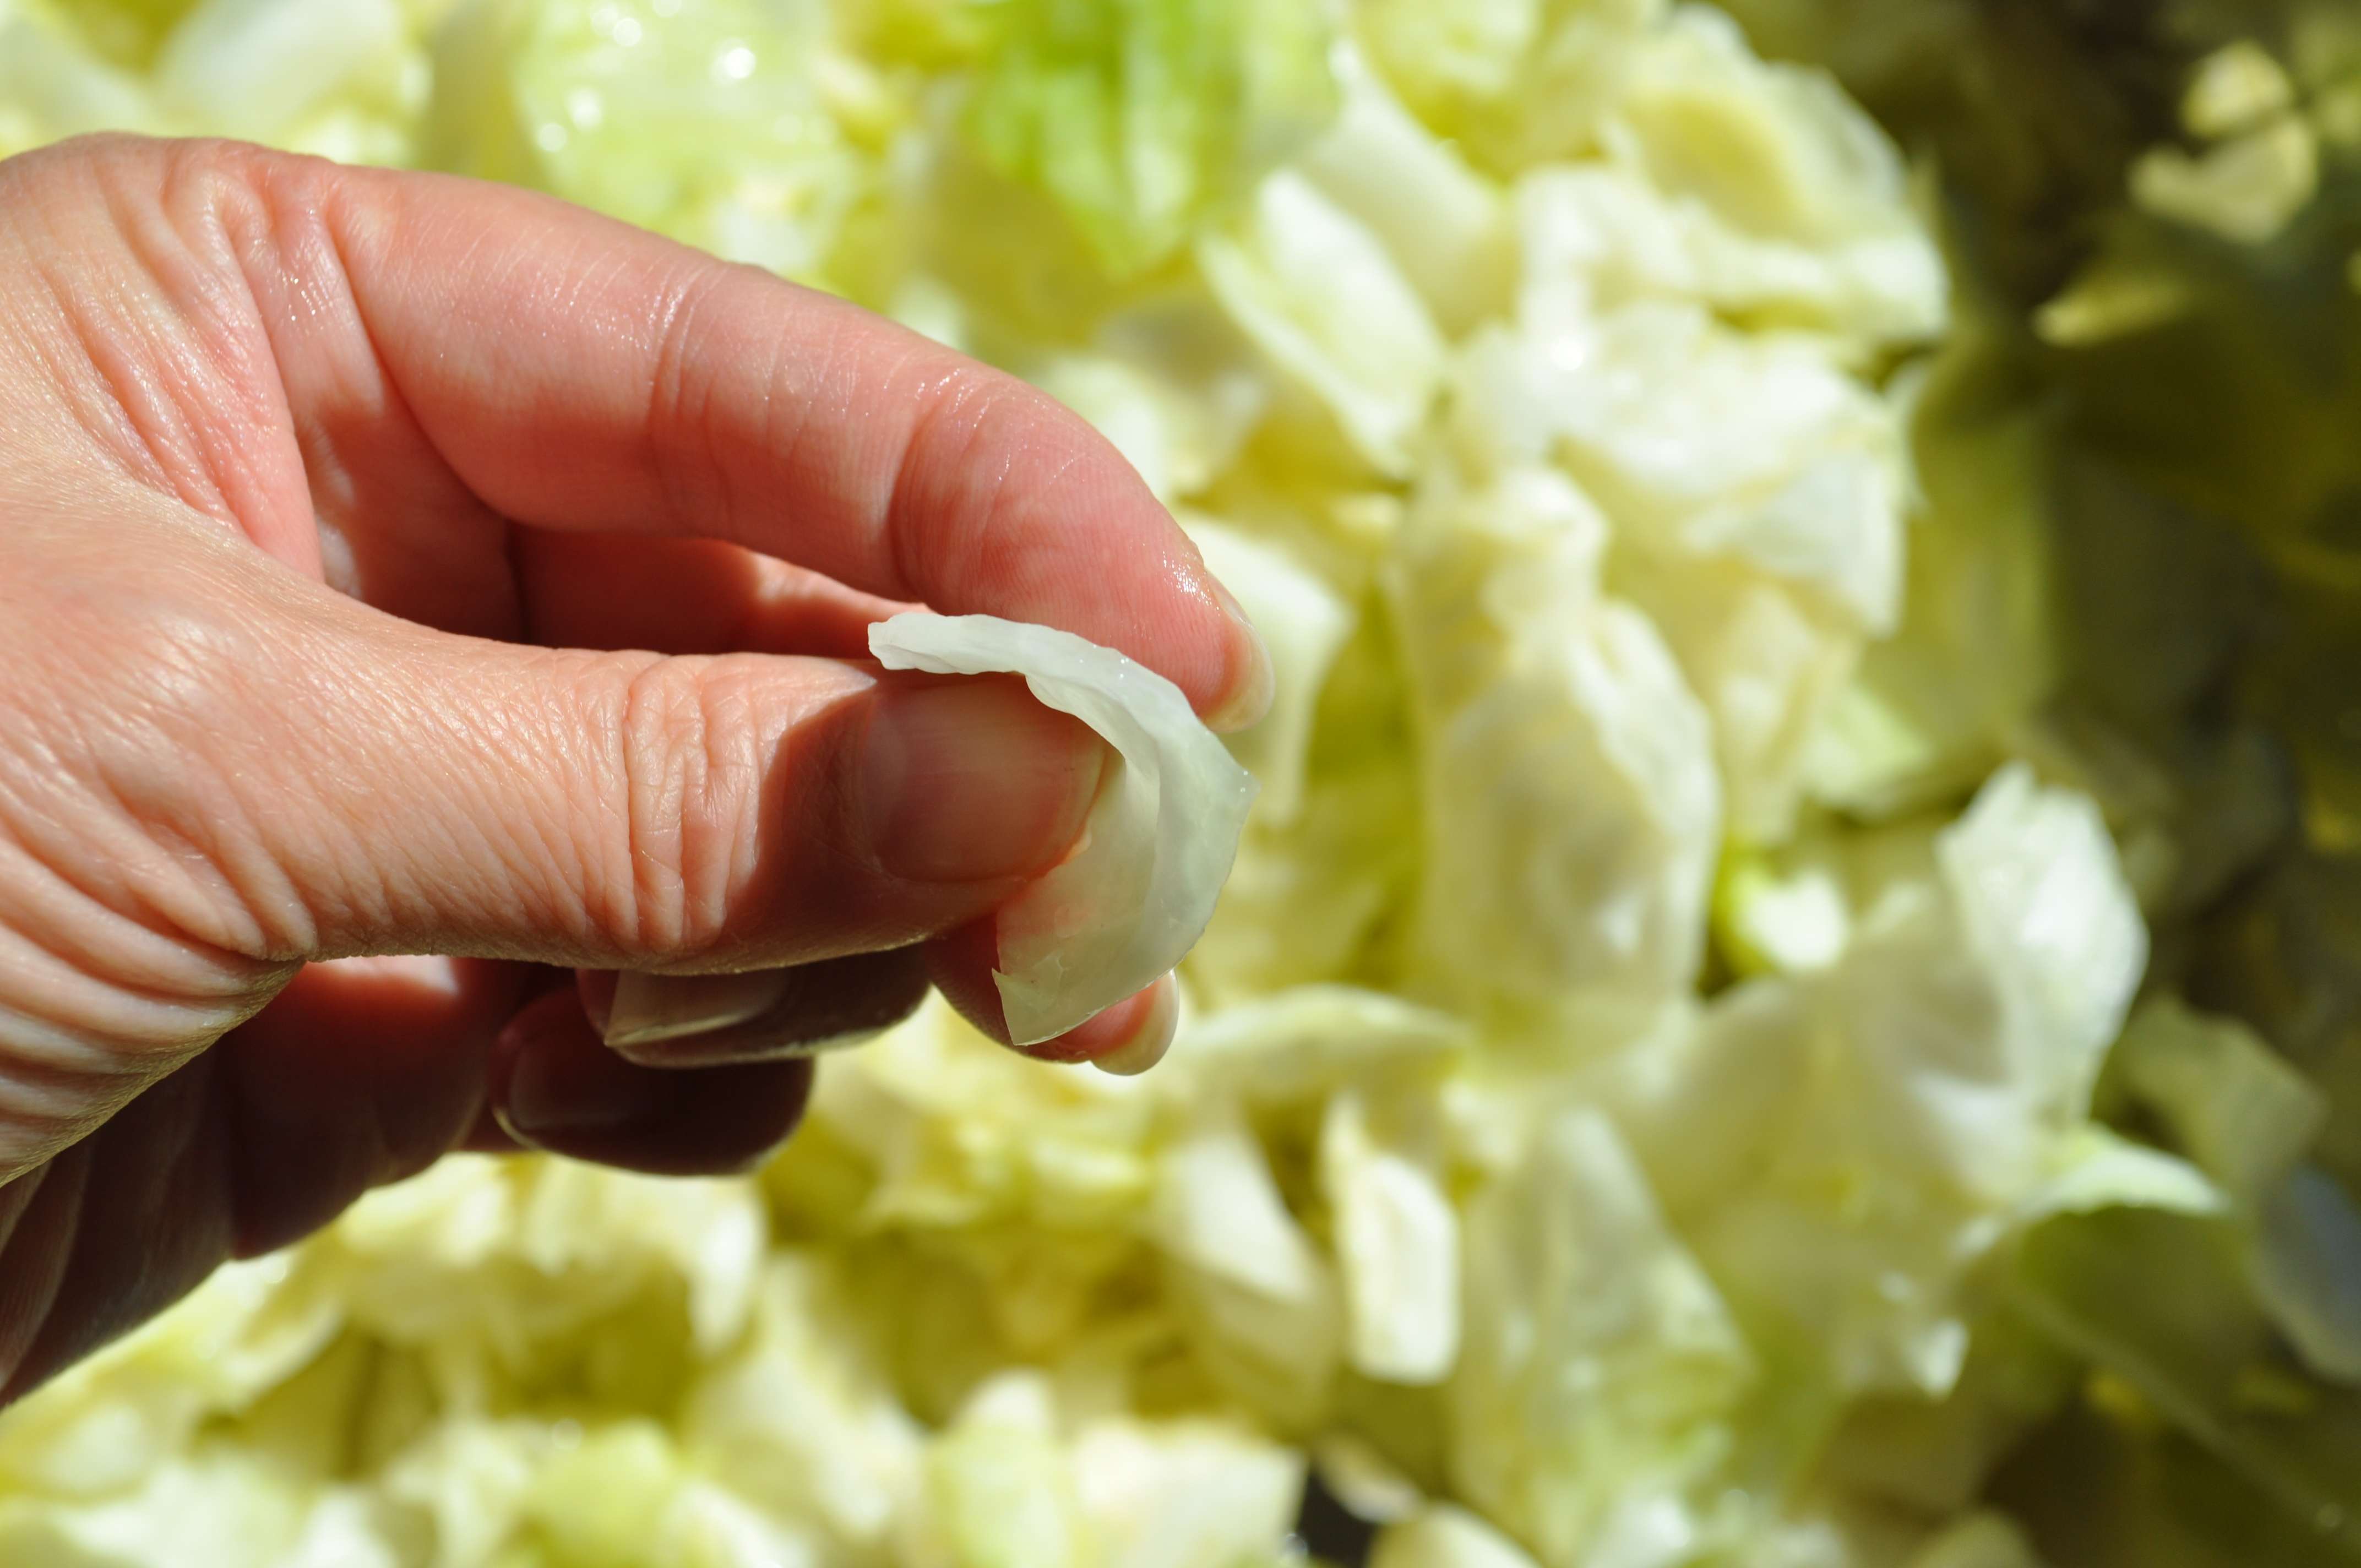
- In about 1 hour, check the cabbage to see if it is ready. Except for very thick pieces, it should easily bend like so –
- Rinse and drain cabbage.
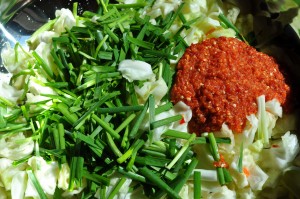
- In a large bowl, add the cabbage, yangnyum, green onions and chives.
- Wear plastic gloves (or your hand will be smelling of kimchi all day) and mix everything together really well. Mix things lightly – trying not to damage the vegetables.
- Finally, taste the freshly mixed kimchi. It should taste very fresh but still pretty good. In my case, the cabbages were not salty enough (depending on the type of salt and cabbage, it comes out a little different each time) so I added extra fish sauce – 2 T. Unfortunately, Kimchi is not an exact science and you have to basically develop a feel for what it should taste like when it’s raw and then when it’s fully ripe and how you like the taste to be. Adjust yangnyum to taste.
- Put green cabbage kimchi in a container and let it ferment at room temperature for 2 days or in the refrigerator for few days. Refer to my No Crazy Kimchi post for more detailed info on fermentation.

")
When chopping the yangnyum, don’t kill it and make it into a smoothie 🙂 . Stop when the you can still see each piece. Add 1 T sugar and 2 T dried red chili powder (고추가루 gochookaroo) and mix. Taste it. Add more or less red chili powder to your taste. It should taste quite spicy, salty and pungent. Don’t worry because this will be blended with the cabbage and the taste will get smoother with fermentation. You can also add more sugar if you like. But adding more sugar will make the kimchi sour faster.


For a more traditional flavor –
- Use 5 T Myulchi Ackjeot(멸치액젓) or 4 T Saewoojeot (새우젓) for more traditional kimchi taste. Because I wanted to make a kimchi with ingredients that you can hopefully buy from your local asian market, I used a commonly found Thai fish sauce and it turned out really good too!
Notes
- I recently (9/27/2018) made this kimchi with my sister and we increased the spicy level by using 3 (instead of 2) fresh red chili pepper and 4 Tbs (instead of 3) red chili powder. And it turned out wonderful!
- The great thing about this kimchi is that it taste great fresh or fermented. So enjoy it on the day you made it or few days after. But remember to avoid the Crazy stage!
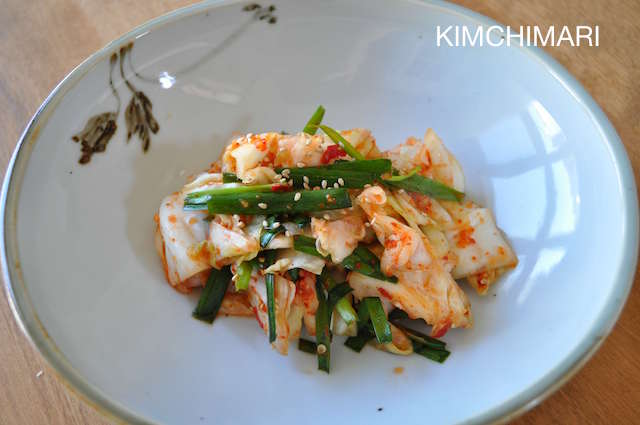
Green Cabbage Kimchi (양배추 김치 Yangbaechoo Kimchi)
This kimchi is made from green cabbage (the regular kind used to make coleslaw) and is a good alternative to traditional kimchi if you can't find authentic Korean cabbage although Napa cabbage is a close substitute.Prep: 1 hourCook: 5 minutesTotal Time: 1 hour 5 minutesserves: 10Ingredients
- 1 green cabbage (approx. 2 lb / 907.18 g)
- 2-3 green onions
- 3 oz Korean (Chinese) chives (optional)
- 4 Tbsp Sea Salt (Trader Joe's)
- 3 cups water
For Yangnyum (Seasoning) :
- 2 fresh red chili pepper
- 2 oz garlic (peeled)
- 1/2 tsp fresh ginger (chopped)
- ½ onion
- 4 Tbsp fish sauce (add 2 more Tbsp if not salty enough)
- 1 Tbsp sugar
- 2 Tbsp dried red chili powder (adjust to taste)
Instructions
- Cut cabbage into halves and cut out the core.
- Cut into 1 to 1.5 in width square pieces.
- Rinse cabbage and drain.
- Salt the cabbage by mixing it with salt water. (Mix 3 cups water and 3 Tbs sea salt and set aside. In a large bowl, put half the cabbage and add the salt water. Sprinkle 1 Tbs sea salt on to of the cabbage. Add remaining cabbage and toss.)

- Let the cabbage sit in salt water for 1 hour. Toss 2-3 times to make sure the salt water reaches the cabbage evenly.
- In the meantime, prepare the kimchi yangnyum (seasoning) by finely chopping garlic, onion, red pepper and ginger in a chopper. *If using a blender, add 4 Tbs fish sauce because it will not chop without additional liquid.
- When chopping the yangnyum, don’t overdo it and make it into a smoothie. Stop when you can still see each piece. Add 1 Tbs sugar and 2 Tbs dried red chili powder (고추가루 gochookaroo) and mix. Taste it. Add more or less red chili powder to your taste. It should taste quite spicy, salty and pungent. Don’t worry because this will be blended with the cabbage and the taste will get smoother with fermentation. You can also add more sugar if you like. But adding more sugar will make the kimchi sour faster.
- Wash and clean green onions and chives. Cut green onions and chives into similar length pieces (2 in or so) and set aside.
- In about 1 hour, check the cabbage to see if it is ready. Except for very thick pieces, it should easily bend.

- Rinse and drain cabbage.
- In a large bowl, add the cabbage, yangnyum, green onions, and chives.
- Wear plastic gloves (or your hand will smell of kimchi all day) and mix everything together really well. Mix things lightly, trying not to damage the vegetables.
- Finally, taste the freshly mixed kimchi. It should taste very fresh but still pretty good. In my case, the cabbage was not salty enough (depending on the type of salt and cabbage, it comes out a little different each time) so I added extra fish sauce (2 Tbs). Adjust yangnyum to taste.
- Put it in a container and let it ferment at room temperature for 2 days or in the refrigerator for a few days.
Tips & Notes:
- For a more traditional flavor, use 5 Tbs Myulchi Ackjeot(멸치액젓) or 4 Tbs Saewoojeot (새우젓). Because I wanted to make a kimchi with ingredients that you can hopefully buy from your local asian market, I used a commonly found Thai fish sauce and it turned out really good too!
- Kimchi is not an exact science and you have to basically develop a feel for what it should taste like when it’s raw and then when it’s fully ripe and how you like the taste to be. Refer to my No Crazy Kimchi post for more detailed info on fermentation.
- The great thing about this kimchi is that it taste great fresh or fermented. So enjoy it on the day you made it or a few days after. But remember to avoid the Crazy stage!
Nutrition Information:
Calories: 52kcal (3%)| Carbohydrates: 11g (4%)| Protein: 2g (4%)| Sodium: 790mg (34%)| Potassium: 297mg (8%)| Fiber: 3g (13%)| Sugar: 5g (6%)| Vitamin A: 1045IU (21%)| Vitamin C: 53.7mg (65%)| Calcium: 69mg (7%)| Iron: 1.1mg (6%)
Follow Me on INSTAGRAM or my Facebook Page to share, support and ask everything about Korean food with others just like you!


I truly enjoy this recipe. The flavors are well balanced for my palate. Just enough spices, saltiness and heat with a hint of sweetness. I followed the recipe and added the salted shrimp for the more traditional taste. Thank you.
I am so happy to hear that!! It really is a great kimchi to have if you want something a little milder. Thank you!!
This turned out so amazing! I love how crunchy the green cabbage is. I used the fermented salted shrimp instead of the fish sauce. I will be making this MANY more times. I find myself just eating pieces from my jar in the fridge. Thank you for the wonderful recipe.
Hi Abby, I know! I was surprised that even my mom and sister (who lives in Korea) really like this green cabbage kimchi recipe. I’m so happy that you enjoyed it. Thank you!!