Homemade gochujang recipe that allows you to have a ready-to-eat gochujang in just a couple hours! What? That’s almost instant in the Korean fermentation world!! Is that possible?? Is it any good? You may ask… And my answer is YES and Yes, I mean, it’s pretty good considering it is ready in just few hours vs months.
BTW, if you want to go all the way and make it the slow, traditional way using yeotgireum, try my very popular traditional gochujang recipe.
So I have to say I was pretty skeptical when I first learned this easy and quick homemade gochujang recipe from a temple food instructor Ms. Han a few years back while in Korea. I first met her while attending a temple food (sachal eumsik 사찰음식) class. Afterwards we kind of became friends… During class, she shared on how temple food helped her regain her health after having suffered with various health issues for so many years. Several years before, she said she was an art student in Italy and because she was so busy with her studies, she did not even have time to grocery shop properly let alone cooking for herself. So she said she ate just canned and instant foods all the time. Little by little, her health started to deteriorate with skin issues and other stomach issues. Things got so bad that she had to give up her studies and come back home to Korea. After coming back to Korea, she tried everything to cure her illnesses but nothing really helped until she decided to totally change her diet and went fully into temple food. She said after 6 months or so of cooking and eating temple food, her health slowly got back to normal and now, although she still has sensitive skin, she told us that she has no other health issues. So, naturally, she became a fan of temple food!
In 2014, when I opened my cooking studio in Seoul, she shared this easy and quick ready-to-eat gochujang recipe as a gift to me. And I was recently reminded of this recipe while I was making my gochujang for this year. I know this instant homemade gochujang recipe will never have the complex flavors that my authentic gochujang recipe (also on my blog) will develop over time but I know that this easy homemade gochujang recipe is still much better than the store bought ones – both in terms of flavor and health (no corn syrup and very little gluten).
The main difference between the two recipes is the milled malt barley. This quick and easy homemade gochujang recipe does not use any milled malt barley but just uses Korean rice syrup (jocheong 조청). But jocheong is made from rice and milled malt barley (yeotgireum 엿기름) so in some ways we are not going too far off the original recipe.
BTW, when I say ‘quick’, I mean quicker than my original recipe. 2 days + months of fermentation VS 2 hrs + few days of fermentation (optionally).
So here’s how you can make your own –
EASY HOMEMADE GOCHUJANG RECIPE
Makes: 4 cups Total Time: 2:40 hrs (Active: 40 min) Difficulty: Easy
Ingredients (** you can buy all the needed ingredients from my store – see Fermentation category)
- 2 C Korean gochukaru for gochujang (fine chili powder for gochujang) 고운고추가루
- 1.5 C meju powder (fermented soybean powder)
- 1/2 C sweet rice flour
- 1/2 C sea salt
- 1 C rice syrup (jocheong)
- 3.5 C water
- 1 Tbs green plum syrup (maesil cheong) – optional
- soju or sake – optionally if too thick
- In a pot (preferable flat bottomed and uniform sides), mix water and sweet rice flour. Mix it well with a whisk. Bring to boil, stirring often to prevent any lumps from forming and to make a paste. (much like sweet rice paste for kimchi)
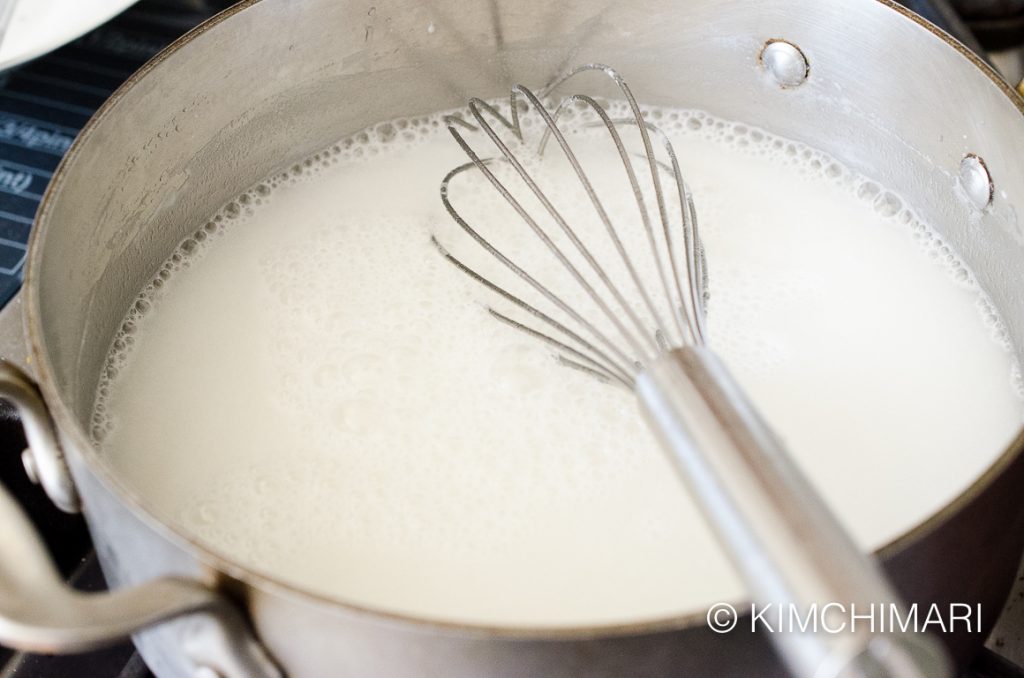
sweet flour and water in pot for gochujang - When it starts to boil, reduce heat and simmer for 10 min. or so until it is fully thickened to a paste. Stirring often to avoid lumps.
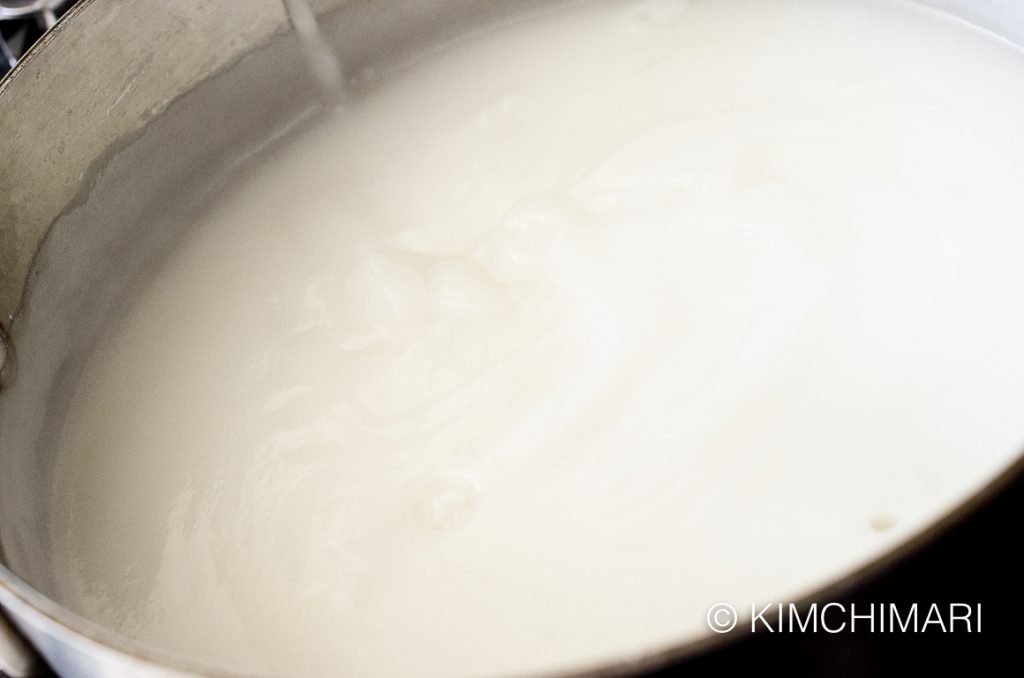
sweet flour paste for gochujang - Add 1 cup rice syrup to sweet rice flour paste and mix. You can add more if you want a sweeter gochujang.

rice syrup in sweet rice paste Once you mix the syrup, the paste will become watery, no longer thick. That’s fine. Just continue to simmer for another 20-25 minutes until the volume reduces about 20%. Tip – you can measure the 20% reduction of liquid by using a chopstick to measure the height of the pot at the beginning and throughout. So if the height was 10 cm to start, you can stop when it is 8 cm. Note this will work only if you have a pot that is uniform in shape i.e. the diameter of the bottom and top of the pot is the same.
- Turn off heat and let it cool.
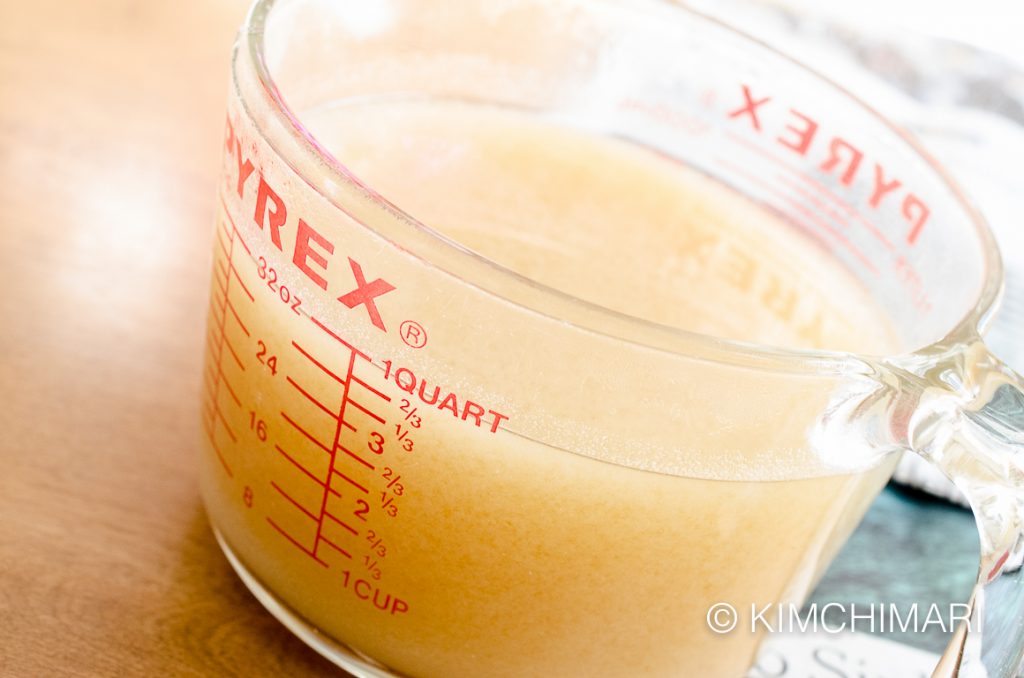
rice syrup sweet flour liquid for gochujang recipe Cooling time will be different based on your room temperature but for me it took about 2 hrs to cool the rice paste + rice syrup mixture from 3. It doesn’t have to be cold, just room temp. I transferred it to this glass measuring cup to cool it more quickly. You can always cool it in the fridge or in an ice bath to shorten the cooling time.
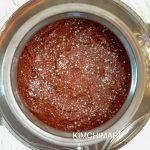
- Add meju powder, chili powder and salt to cooled rice syrup liquid.
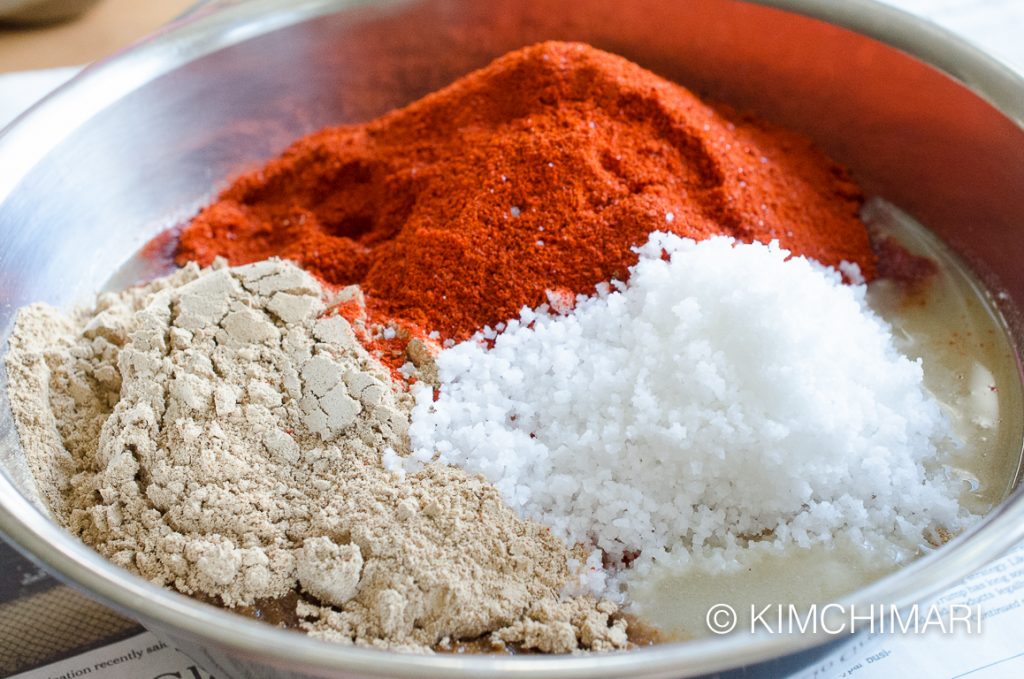
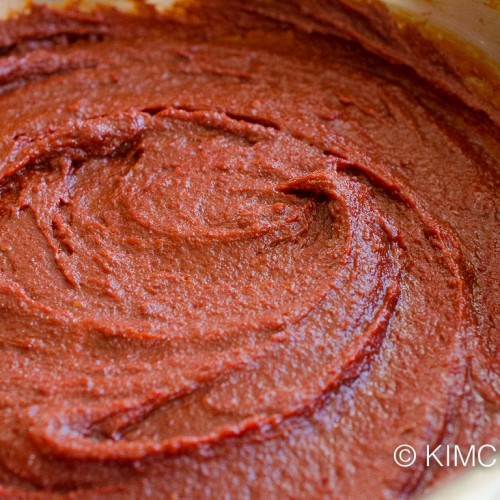
meju chili powder salt for gochujang - Use a whisk and mix everything well until there are almost no lumps.
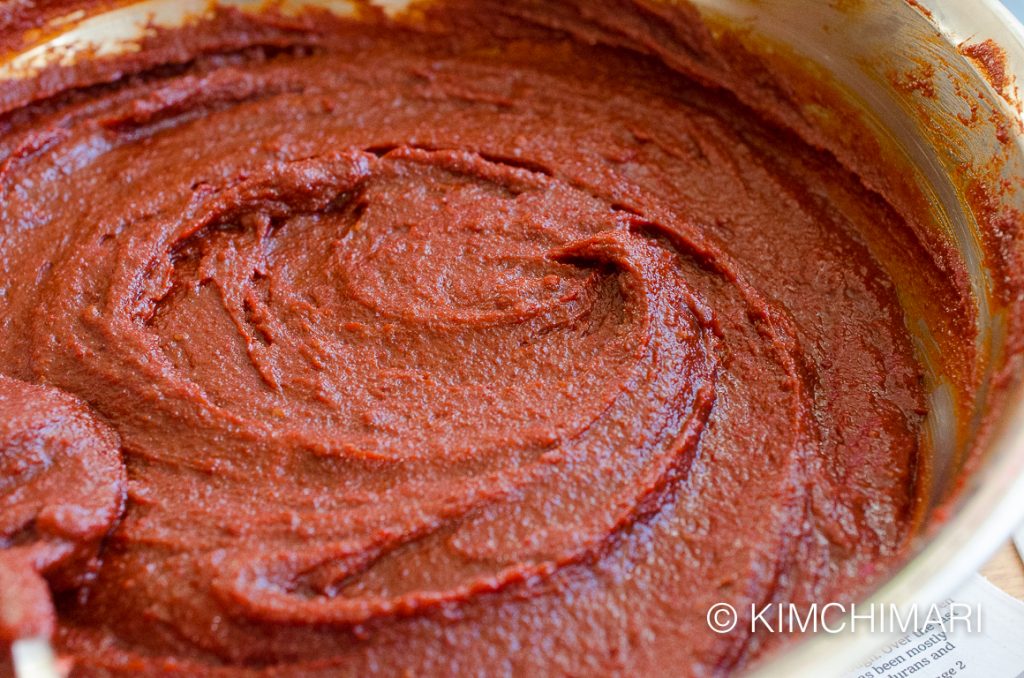
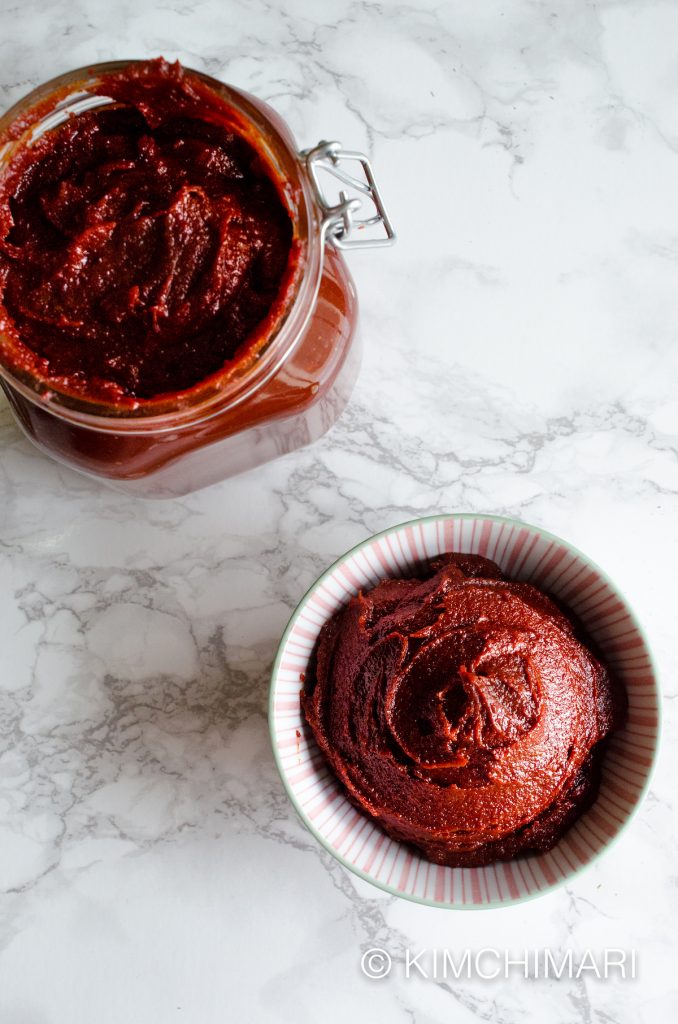
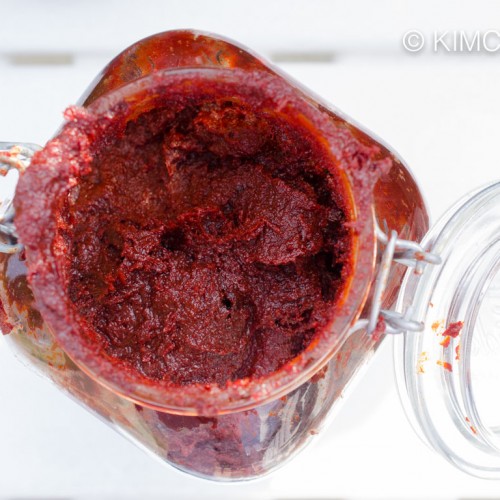
easy gochujang recipe mix - And there you go! You now have instant gochujang that you can use right away!!
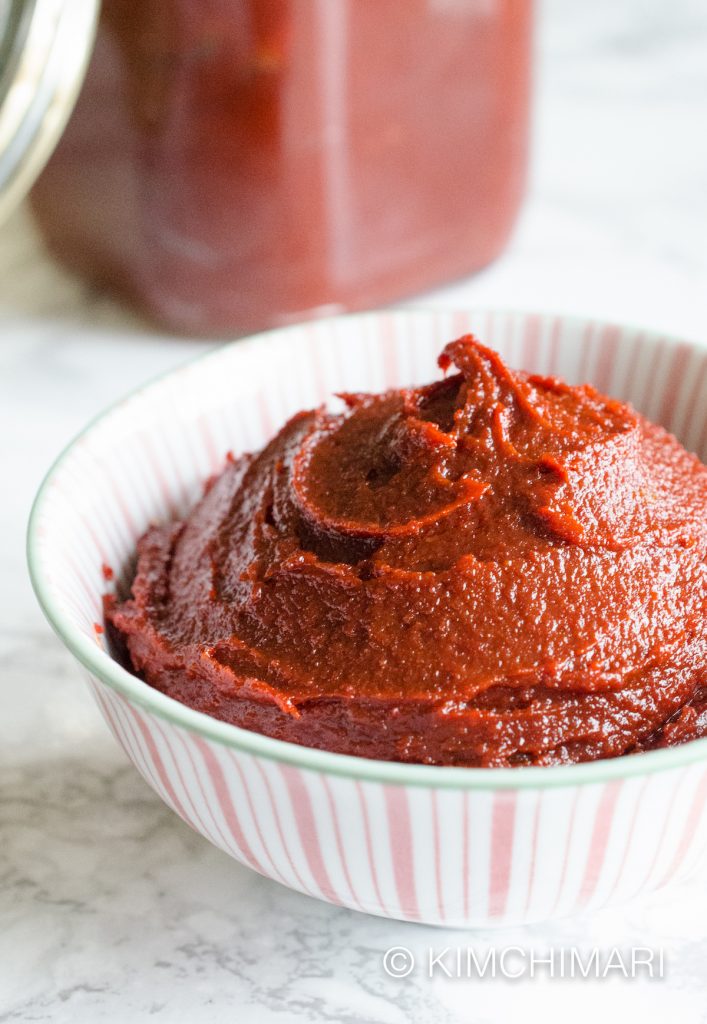
Easy Homemade Gochujang Recipe
Easy Homemade Gochujang Recipe That’s Almost Instant!
Ingredients
- 2 C Korean gochukaru for gochujang (fine chili powder 고추가루 for gochujang)
- 1.5 C meju powder (fermented soybean powder)
- 1/2 C sweet rice flour
- 1/2 C Sea Salt (Trader Joe's)
- 1 C rice syrup (jocheong)
- 3.5 C water
- 1 Tbsp green plum syrup (maesil cheong) – optional
Instructions
- In a pot (preferable flat bottomed and uniform sides), mix water and sweet rice flour. Mix it well with a whisk. Bring to boil, stirring often to prevent any lumps from forming and to make a paste. (much like sweet rice paste for kimchi)
- When it starts to boil, reduce heat and simmer for 10 min. or so until it is fully thickened to a paste. Stirring often to avoid lumps.
- Add 1 cup rice syrup to sweet rice flour paste and mix. You can add more if you want a sweeter gochujang.
- Turn off heat and let it cool.Cooling time will be different based on your room temperature but for me it took about 2 hrs to cool the rice paste + rice syrup mixture from 3.
- Add meju powder, chili powder and salt to cooled rice syrup liquid.
- Add meju powder, chili powder and salt to cooled rice syrup liquid.
- Use a whisk and mix everything well until there are almost no lumps.
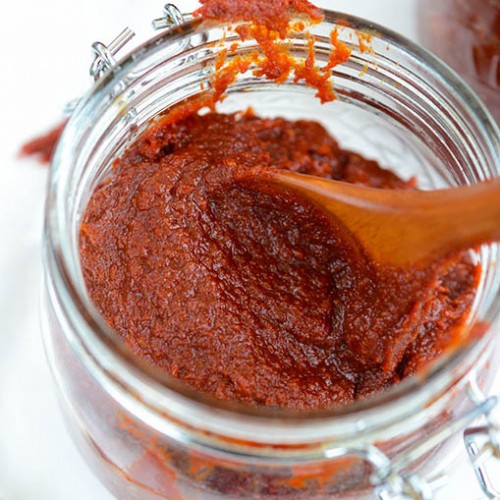
- Let your gochujang mature a little more for 2-3 days in the fridge or at cool temperature before using it for even more flavor.
Tips & Notes:
- This is NOT the traditional gochujang recipe where it's meant to ferment for months outside in the sun. This is meant to be consumed pretty quickly and will not change much in flavor over time and may not last very long (i.e. will not have the deep ripened flavor)
- Buy special fine chili powder that is made specifically for gochujang (고추장용) or grind it very fine, like ground black pepper.
- It is important that the rice paste is cooled (not cold but room temp). If you add meju powder to hot liquid, the smell of meju powder will be too strong.
- If gochujang mixture seems to be too thick, you can add 1-3 Tbs of sake or soju. Mine came out a little on the thick side - I like mine that way.
- If you have maesil cheong (green plum syrup), you can add 1-2 Tbs for added flavor and sweetness. Now, you have Maesil flavored Gochujang. You can make your own maesil cheong or buy it. Substitute corn syrup or Oligodang syrup instead if you can't get maesil syrup.
Nutrition Information:
Notes
- This is NOT the traditional gochujang where it’s meant to ferment for months outside in the sun. This is meant to be consumed quickly.
- Buy special fine chili powder that is made specifically for gochujang (고추장용) or grind it very fine, like ground black pepper.
- It is important that the rice paste is cooled (not cold but room temp). If you add meju powder to hot liquid, the smell of meju powder will be too strong.
- If gochujang mixture seems to be too thick, you can add 1-3 Tbs of sake or soju. Mine came out a little on the thick side – I like mine that way.
- If you have maesil cheong (green plum syrup), you can add 1-2 Tbs for added flavor and sweetness. Now, you have Maesil flavored Gochujang. You can make your own maesil cheong or buy it.
Well, I hope you enjoy this easy gochujang recipe!
XOXO,
JinJoo


Quick question, as I get ready to order the ingredients….roughly how much does the 2 cups of gochugaru (fine) weight? Will ordering a pound be enough? Looking forwards to trying this, since I keep running out of the store-bought stuff!
And out of curiousity, if I were to use the long recipe, which calls for saccharifying the malt barley and rice flour instead of using more rice syrup, is there any reason I could not start using it immediately same as the quick version?
p.s. Have you tried holding the barley/rice flour mix at different temperatures? Say, 148*, where the beta amylase enzymes are most efficient? Or even up in the 150*s, where you should get more complex sugars?
1 cup of gochukaru weighs about 96 grams (3.3 oz) so 1 lb is more than enough. I don’t see why you could not start using the long recipe version right away – it’s just that the full deep and complex flavors will not be there. I have not tried holding the barley mix at higher temperature because 60 C has worked well for me. But you are welcome to try a bit more higher temperatures but I believe a too high a temperature (like 150’s ) will most likely degrade the fermentability of gochujang (since it starts to degrade after 149). Fermentability is probably more important in gochujang than regular brewing situation. In Korea, the traditional recipe has always said to hold it somewhere between 60C (140) to 62 (143.6 F) so I assumed that worked best for gochujang fermentation. Thank you so much for asking and would love to hear back any results if you try something different!
Thank you for the response, and that does make complete sense. I can’t wait to taste it (and yes, maybe experiment with future batches).
Hi. I lived in Korea in 1980 for one year. I adopted my daughter from there. I had a Korean friend there that taught me to cook several Korean dishes. She. Taught me any easy way to make gonchujong but I can’t remember all of it. I know it didn’t use all the stuff you use but I know it used the chilli powder and a lot of salt. I just can’t remember the wetting agent and if there was any sweetener in it. Please help me if you can. Thanks Diane
HI Diane,
Well, the recipe I have here is pretty easy to do and tastes pretty good too. I know some people make it with Deonjang or with MIso but that would not require a lot of salt because that’s already salty. As for the wetting agent, it would be some kind of syrup (corn syrup maybe if not rice syrup) and soju. Without meju powder or Doenjang/Miso, I am not sure how you would make gochujang because you cannot get the funky taste without these ingredients. Hope this helps. Thanks for asking.
I wasn’t really looking for a gochujang recipe, but once I came upon this I HAD to make it. So, thanks so much JinJoo! It was so satisfying to stir in the final ingredients and have the mix turn into something I’d only seen in bright red containers.
I’d like to provide a little cost breakdown if you’ll indulge me. I live in New York City and purchased all my ingredients from H Mart- even though I could have found them in Flushing for cheaper. Since this is a Korean market in America, my size choices were limited. 1-3lb. bags were my only option, except for the salt, but I could use that for other things. Also, I copied down the Korean translations for the ingredients from your traditional gochujang recipe and that really helped me find the exact ingredients. The stockers at the store were really helpful:
$5.99 700gm rice syrup
$9.99 2 lb. fermented soybean powder
$5.49 1 lb. fine Korean chili powder
$5.99 1 lb. sweet rice flour
$3.99 3 lb. coarse Korean sea salt
Total cost: $31.45
Just some tips for anyone else trying this. Don’t leave the water and sweet rice powder alone to heat up to a boil. I did this and came back to a clumpy mess. Luckily I whipped the heck out of it and was able to get it evenly distributed again. I got impatient and took it off the flame after simmering for just 8 minutes and I used an ice bath to cool the mixture to room temperature. I estimate it took about 20 minutes. I stuck a thermometer in it and stirred until it reached 70*F. Then I used it immediately for a rub. Sorry, the rest that went into the fridge can mature for 2-3 days. If I’ve got fresh homemade gochujang, I’m gonna use it!
Thanks again JinJoo.
Hi!
Thank you so much for all the info and feedback. I think I do say to “stir often to prevent lumps and burning” when cooking sweet rice powder. Perhaps I need to make that more clear. It sounds like you got all the right ingredients. BTW, you mention that you are going to mature in the fridge for 2-3 days..?? I state that it should be fermented outside (if possible) for few months. At least for 2-3 months. I just wanted to make sure you have that info. BTW, I saw that you gave it only 4 stars. Can I ask how I can improve this recipe? I mean I know the recipe def. works – since I have been using this recipe time and time again with great results but wonder if there are some info that seems to be missing for you. Thank you!
Hi,
I would just like to make sure, from looking at your comment, how long yo think we should leave the paste outisde. Your recipe and instructions say 2-3 days, but in this comment you say this is wrong, and it is 2-3 months.
Which is better ? thankyou 🙂
So there are two different versions (traditional and then this easy almost instant version) It’s 2-3 days at room temp for this instant version and then 2-3 months outside for the traditional version (different recipe). Hope that’s clear. Thanks for asking.
Hi Jinjoo,
Thanks so much for this recipe. I’m going to try it soon and super excited!!
I saw that one ofthe recipes is finely ground gochugaru, but is it possible to just use the regular kind? Or would it not turn out the same?
Yes, it would not really turn out the same. You will notice the gochugaru pieces in your gochujang if you use the regular kind. If you cannot buy fine gochugaru for gochujang, you should at least grind it further with a blender at home. Good luck!
Useful info. Fortunate me I discovered your web site accidentally, and I am stunned why this accident did not took place in advance! I bookmarked it.
Great to hear that! Thank you for bookmarking. Better yet you can even follow my blog and you can get all the latest posts and newsletters that contain great info. Thanks for commenting!