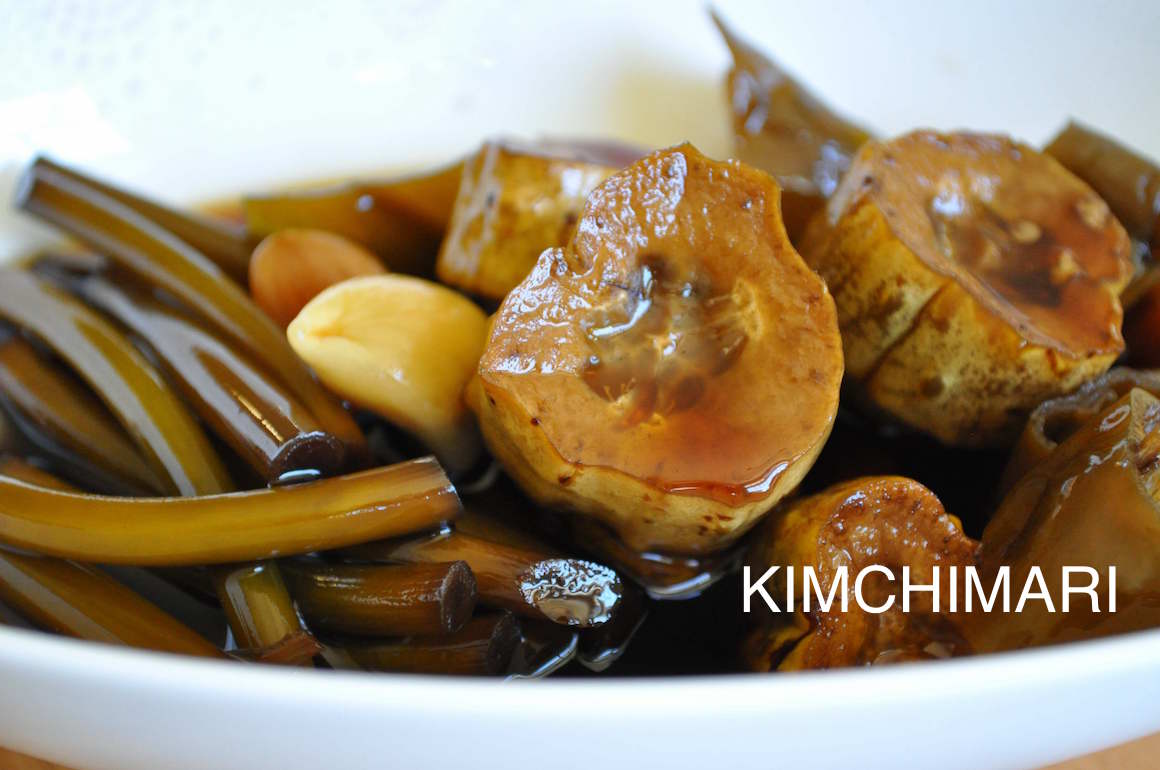
Korean Pickles (Jangahjji 장아찌) can be made with cucumbers, garlic scapes, chili peppers, onions and even broccoli stems.
Pickles..pickles…so delicious, so crunchy, tangy, sweet, salty and even a hint of chili flavor it simply tastes divine. Summers are pretty hot in Korea and when it’s so hot, you often don’t have much of an appetite. But..get a bowl of ice cold water, put some rice (room temp) in it and eat the rice in water with these Korean pickles. Yum! This was a true summer time staple in the good old days.
So, I decided to make some Korean pickles or Jangahjji/Jangajji this summer, from a recipe I got from my mother-in-law during my last visit to Korea. BTW, there are many kinds of Jangajji – check here for a list. It was pretty simple and quite easy to do.
There are many different ingredients you can make pickle out of and here are a few very traditional and authentic ingredients : cucumbers, garlic, garlic scape(stems), onions, green chili peppers and radishes. Broccoli stems and chayote are some new ingredients that Korean Americans discovered and began to pickle very recently.
Depending on their flavors, you can mix various vegetables and pickle them in the same jar. Note that adding garlic or garlic stems will add a garlic flavor to the whole pickle jar so think about it before you mix garlic with other ingredients. I wanted to keep my cucumbers separate from the garlic so I made two jars – one with cucumbers and green peppers and another with garlic and garlic stems.
So here’s what I did:
Korean Pickles Recipe
Prep Time: 10 min Cooking Time: 10 min Pickling Time: 7 days
Ingredients for Korean cucumber pickles (오이 장아찌 Oyi Jangahjji)
- 4 Korean cucumbers (오이 Oyi) (Persian or Pickle cucumbers also OK)
- 5 green chili peppers (optional)
- 3 C soy sauce (approx)
- 3 C sugar (approx)
- 3 C rice vinegar (approx)
- handful of rough Korean sea salt
- glass jar for pickling (I reused a Kimchi jar)
Directions
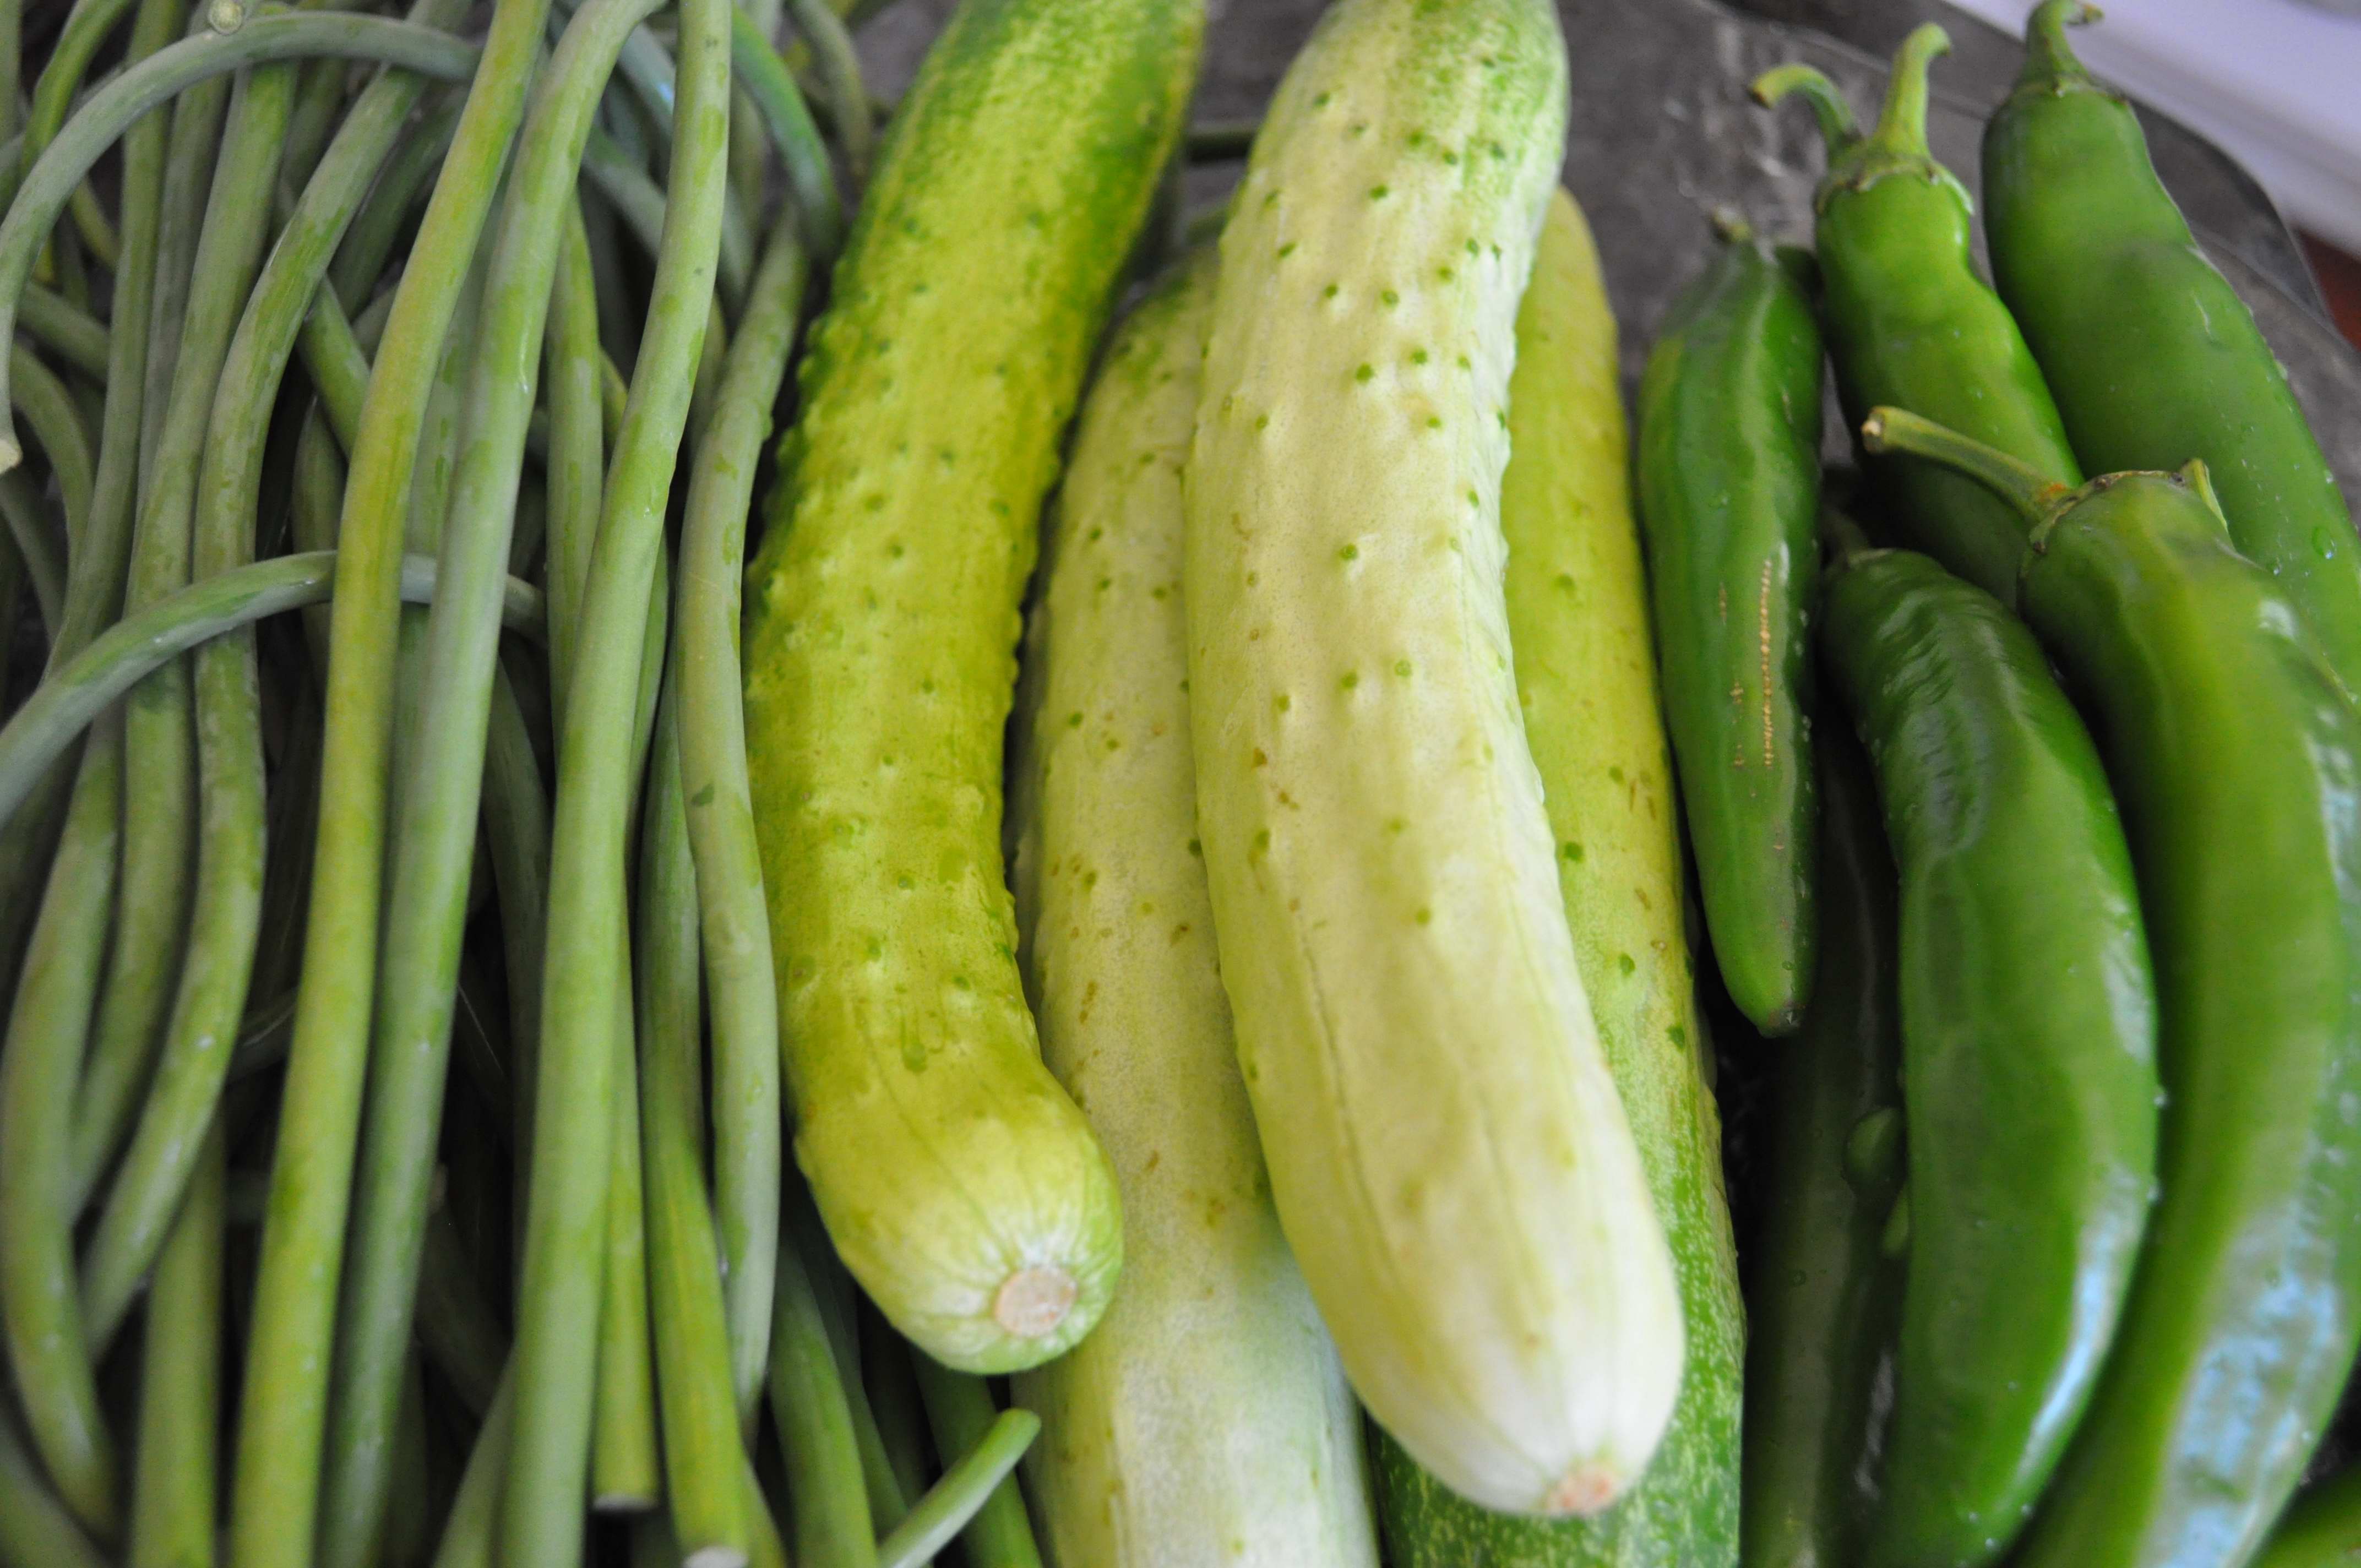
The amount of pickle juice needed varies based on the amount of ingredients and the size and shape of your glass jar. All of the vegetables must be totally submerged in liquid for them to be pickled properly without getting mushy. So the best way to determine how much pickling liquid you will need is to actually put the vegetables in the jar first, then pour enough water in the jar to totally cover all the vegetables. The amount of water poured is the amount of pickle juice you will need then measure the amount of water you used. Then you can calculate back from that how much pickle juice you will need to prepare. For the amount of cucumbers I had, I needed about 6 cups of liquid which then made me figure out that I needed 3 cups of soy sauce and vinegar each to make the 6 cups. The amount of sugar needed just follows the 1:1:1 ratio of soy sauce, vinegar and sugar.
1. Mix soy sauce, vinegar and sugar in a pot and let it come to a boil. When it boils, turn the heat off and let it sit.
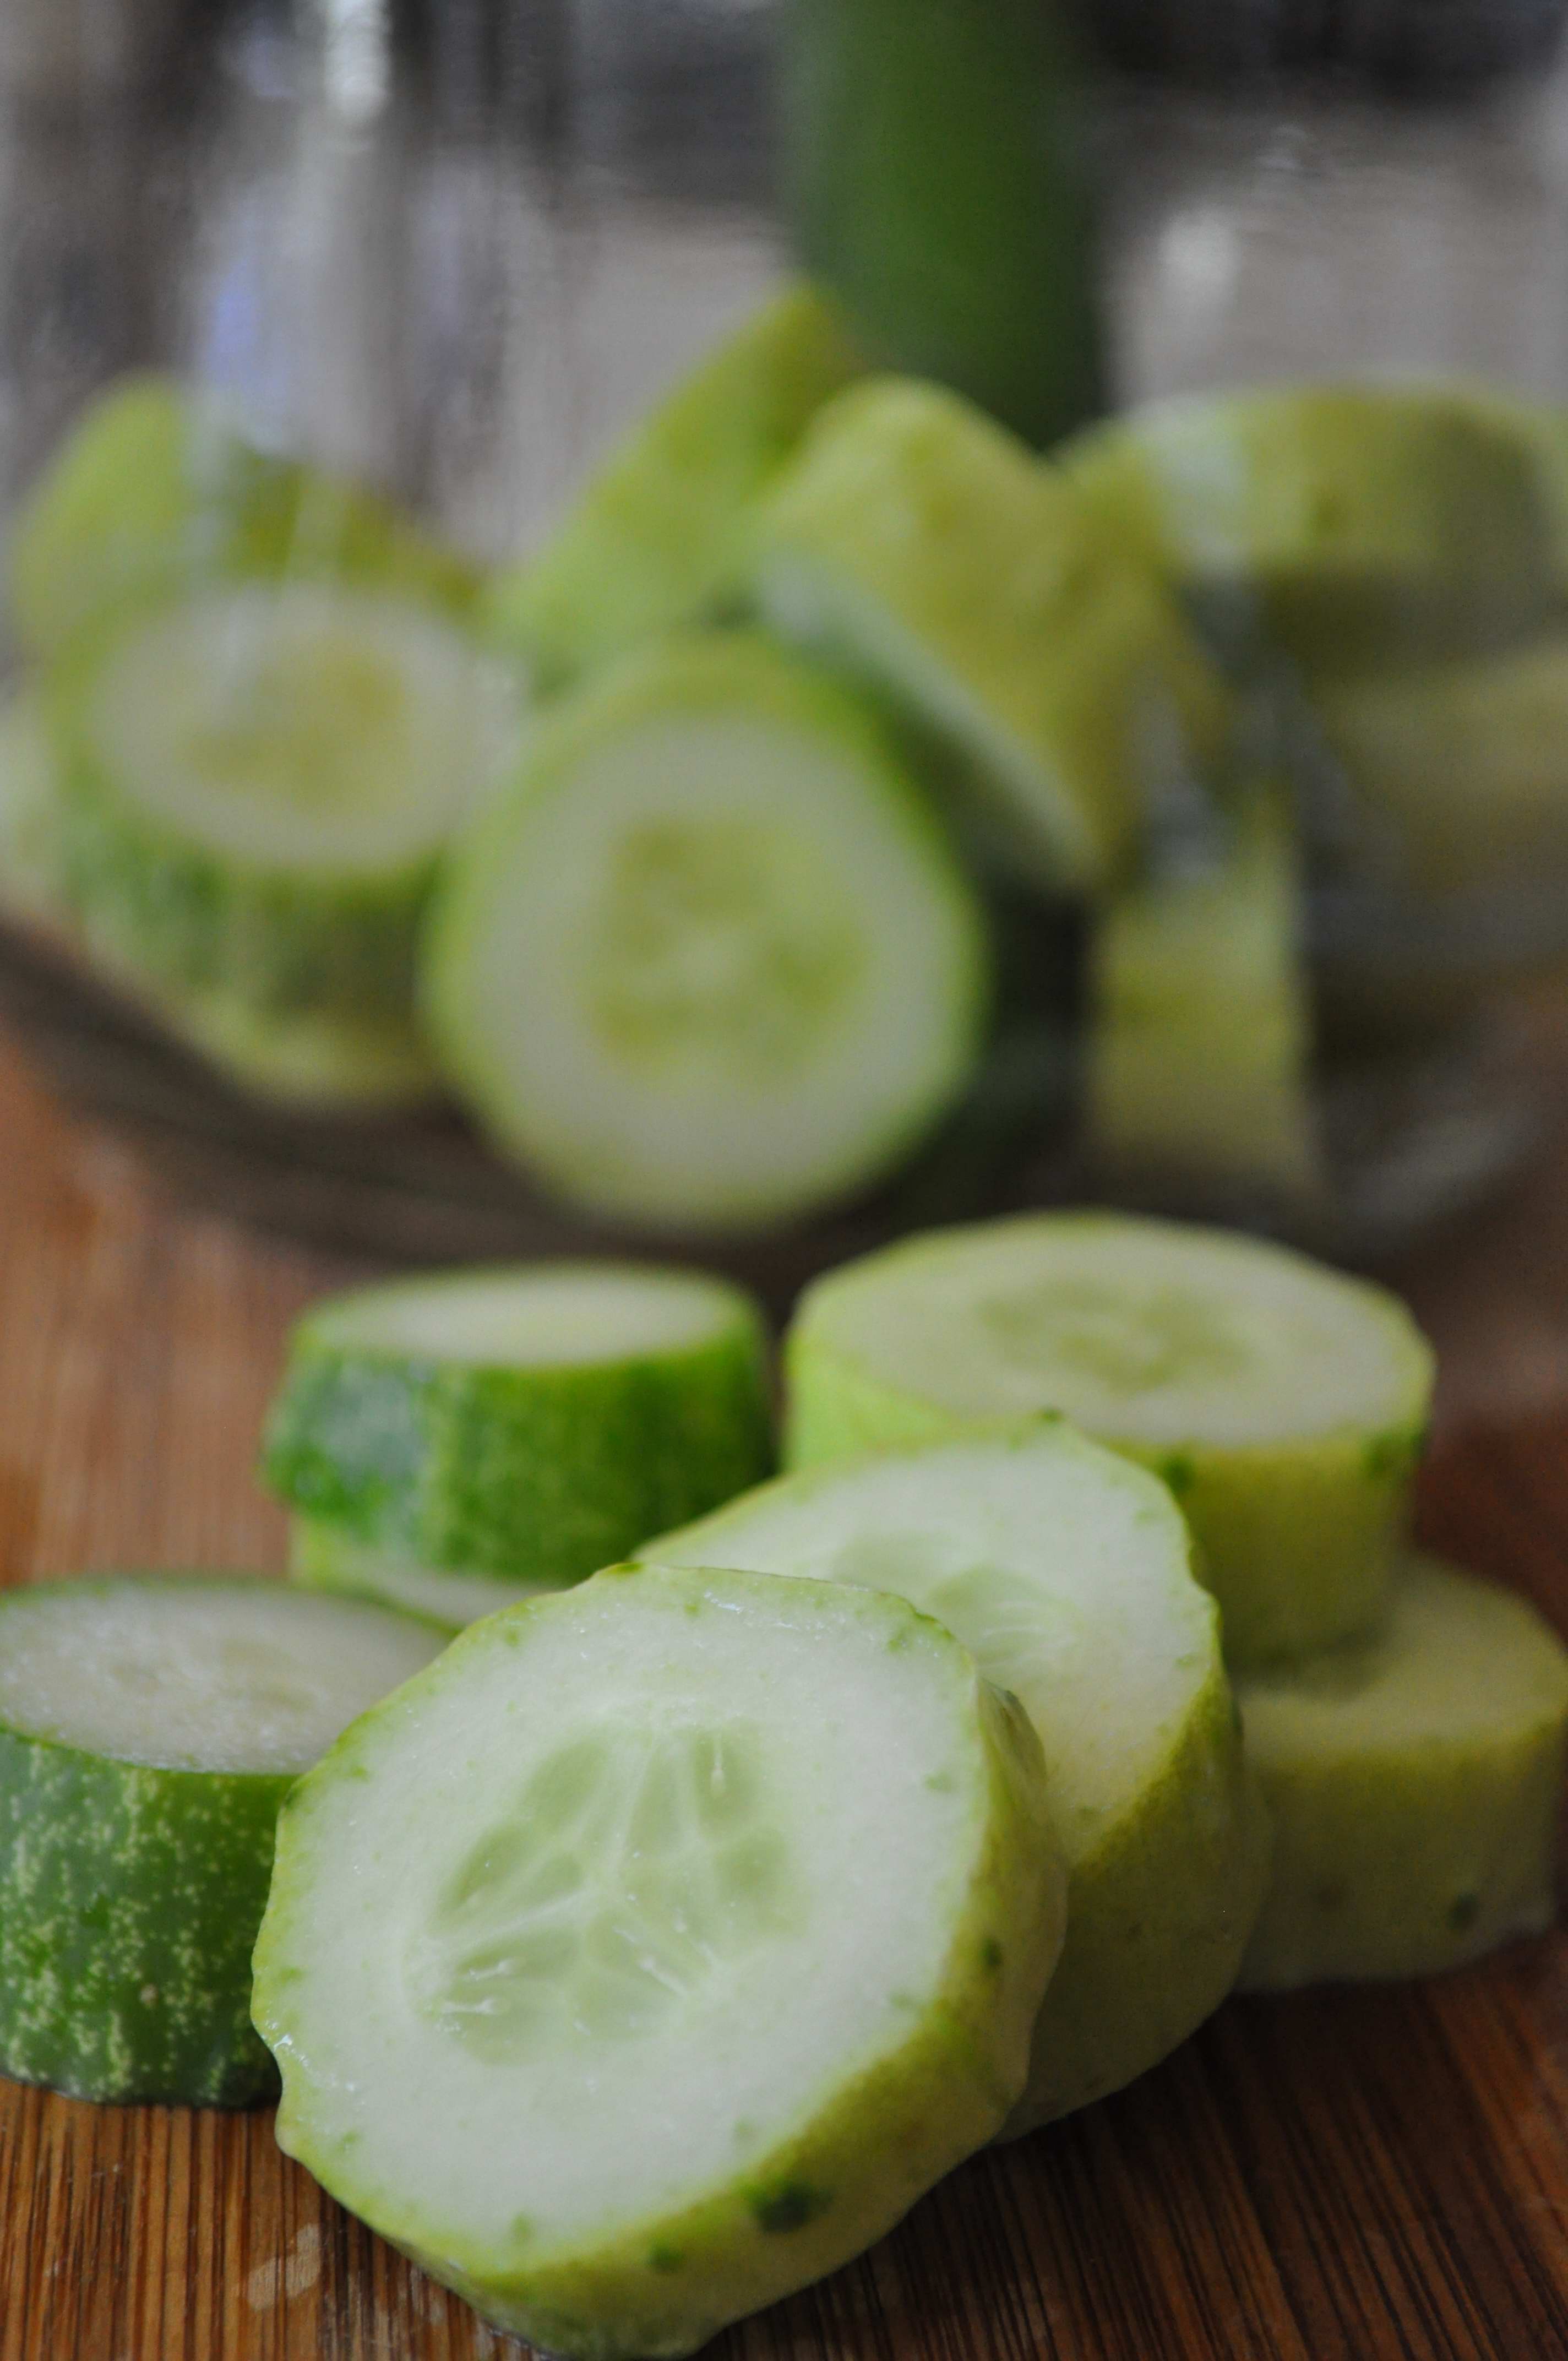
2. In the mean time, grab a generous pinch of sea salt and clean the cucumbers by rubbing each one with salt. This is like giving the cucumbers a good exfoliating massage. 🙂 Rinse the cucumbers with water and pat them dry. You can then cut the cucumbers into bite size pieces or keep them whole. I like cutting them because it saves me the trouble of cutting them later. Traditionally, whole cucumbers are used – I have heard that it keeps the cucumbers crunchy longer.
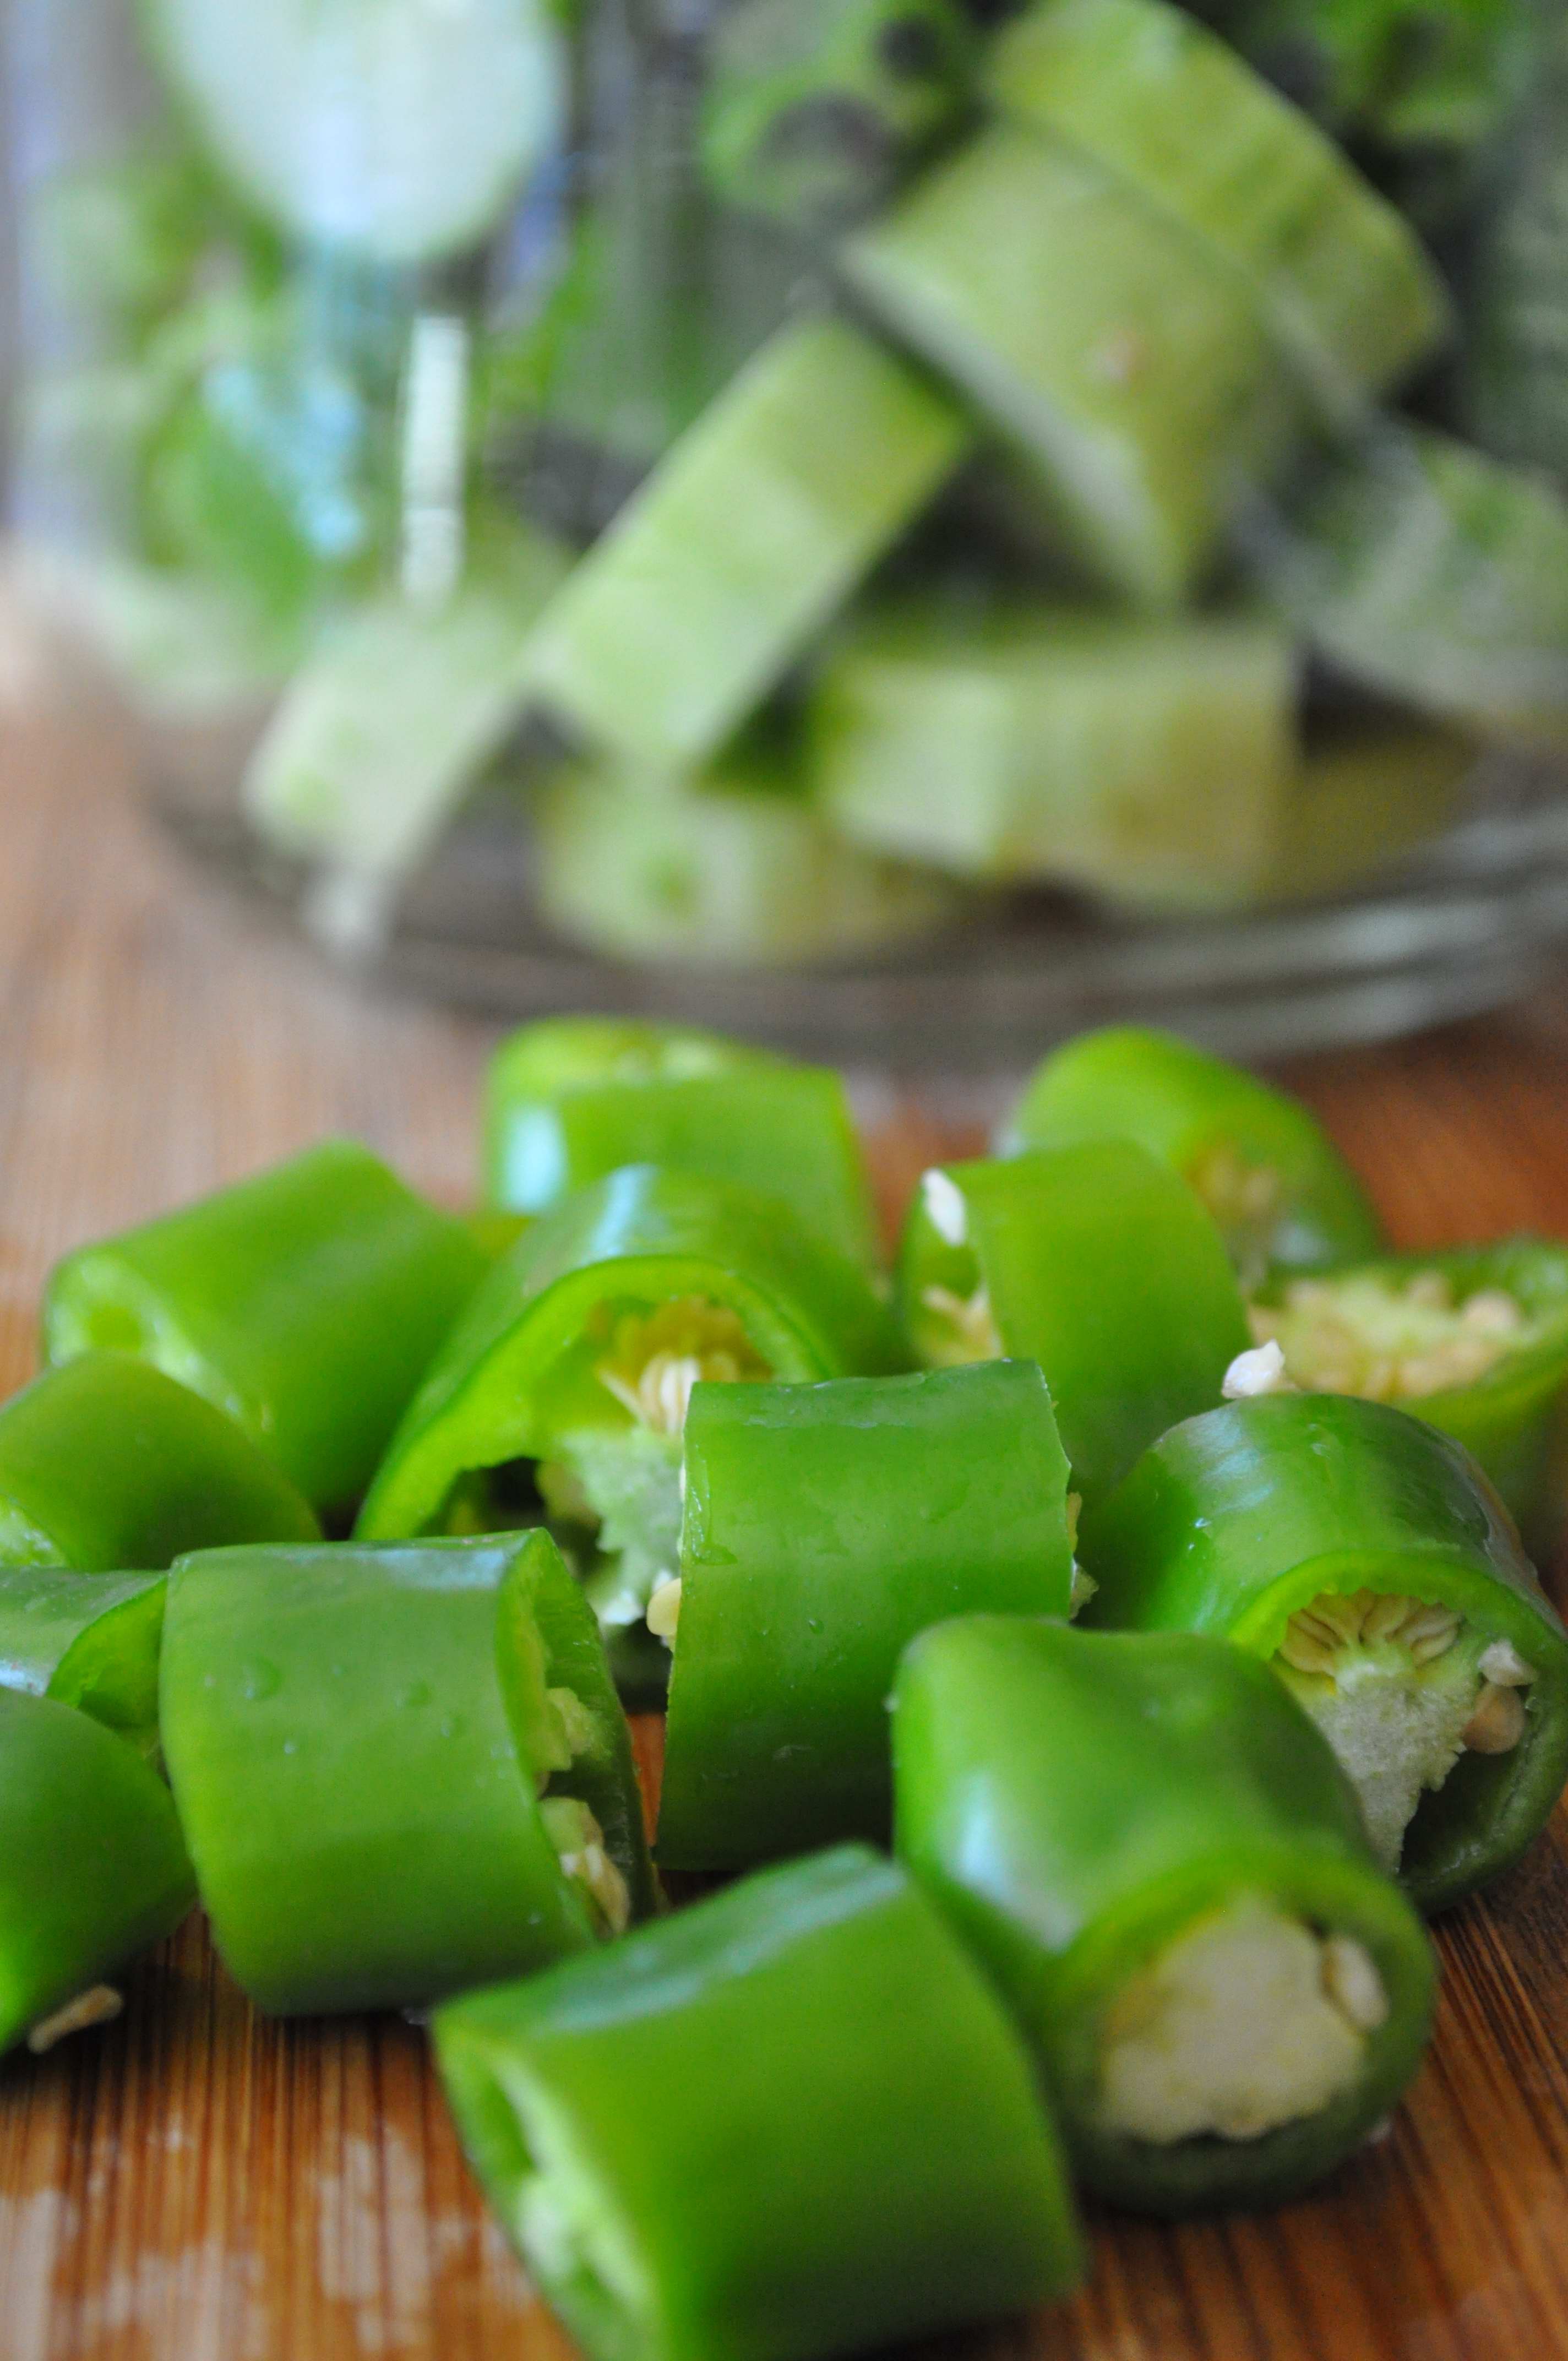
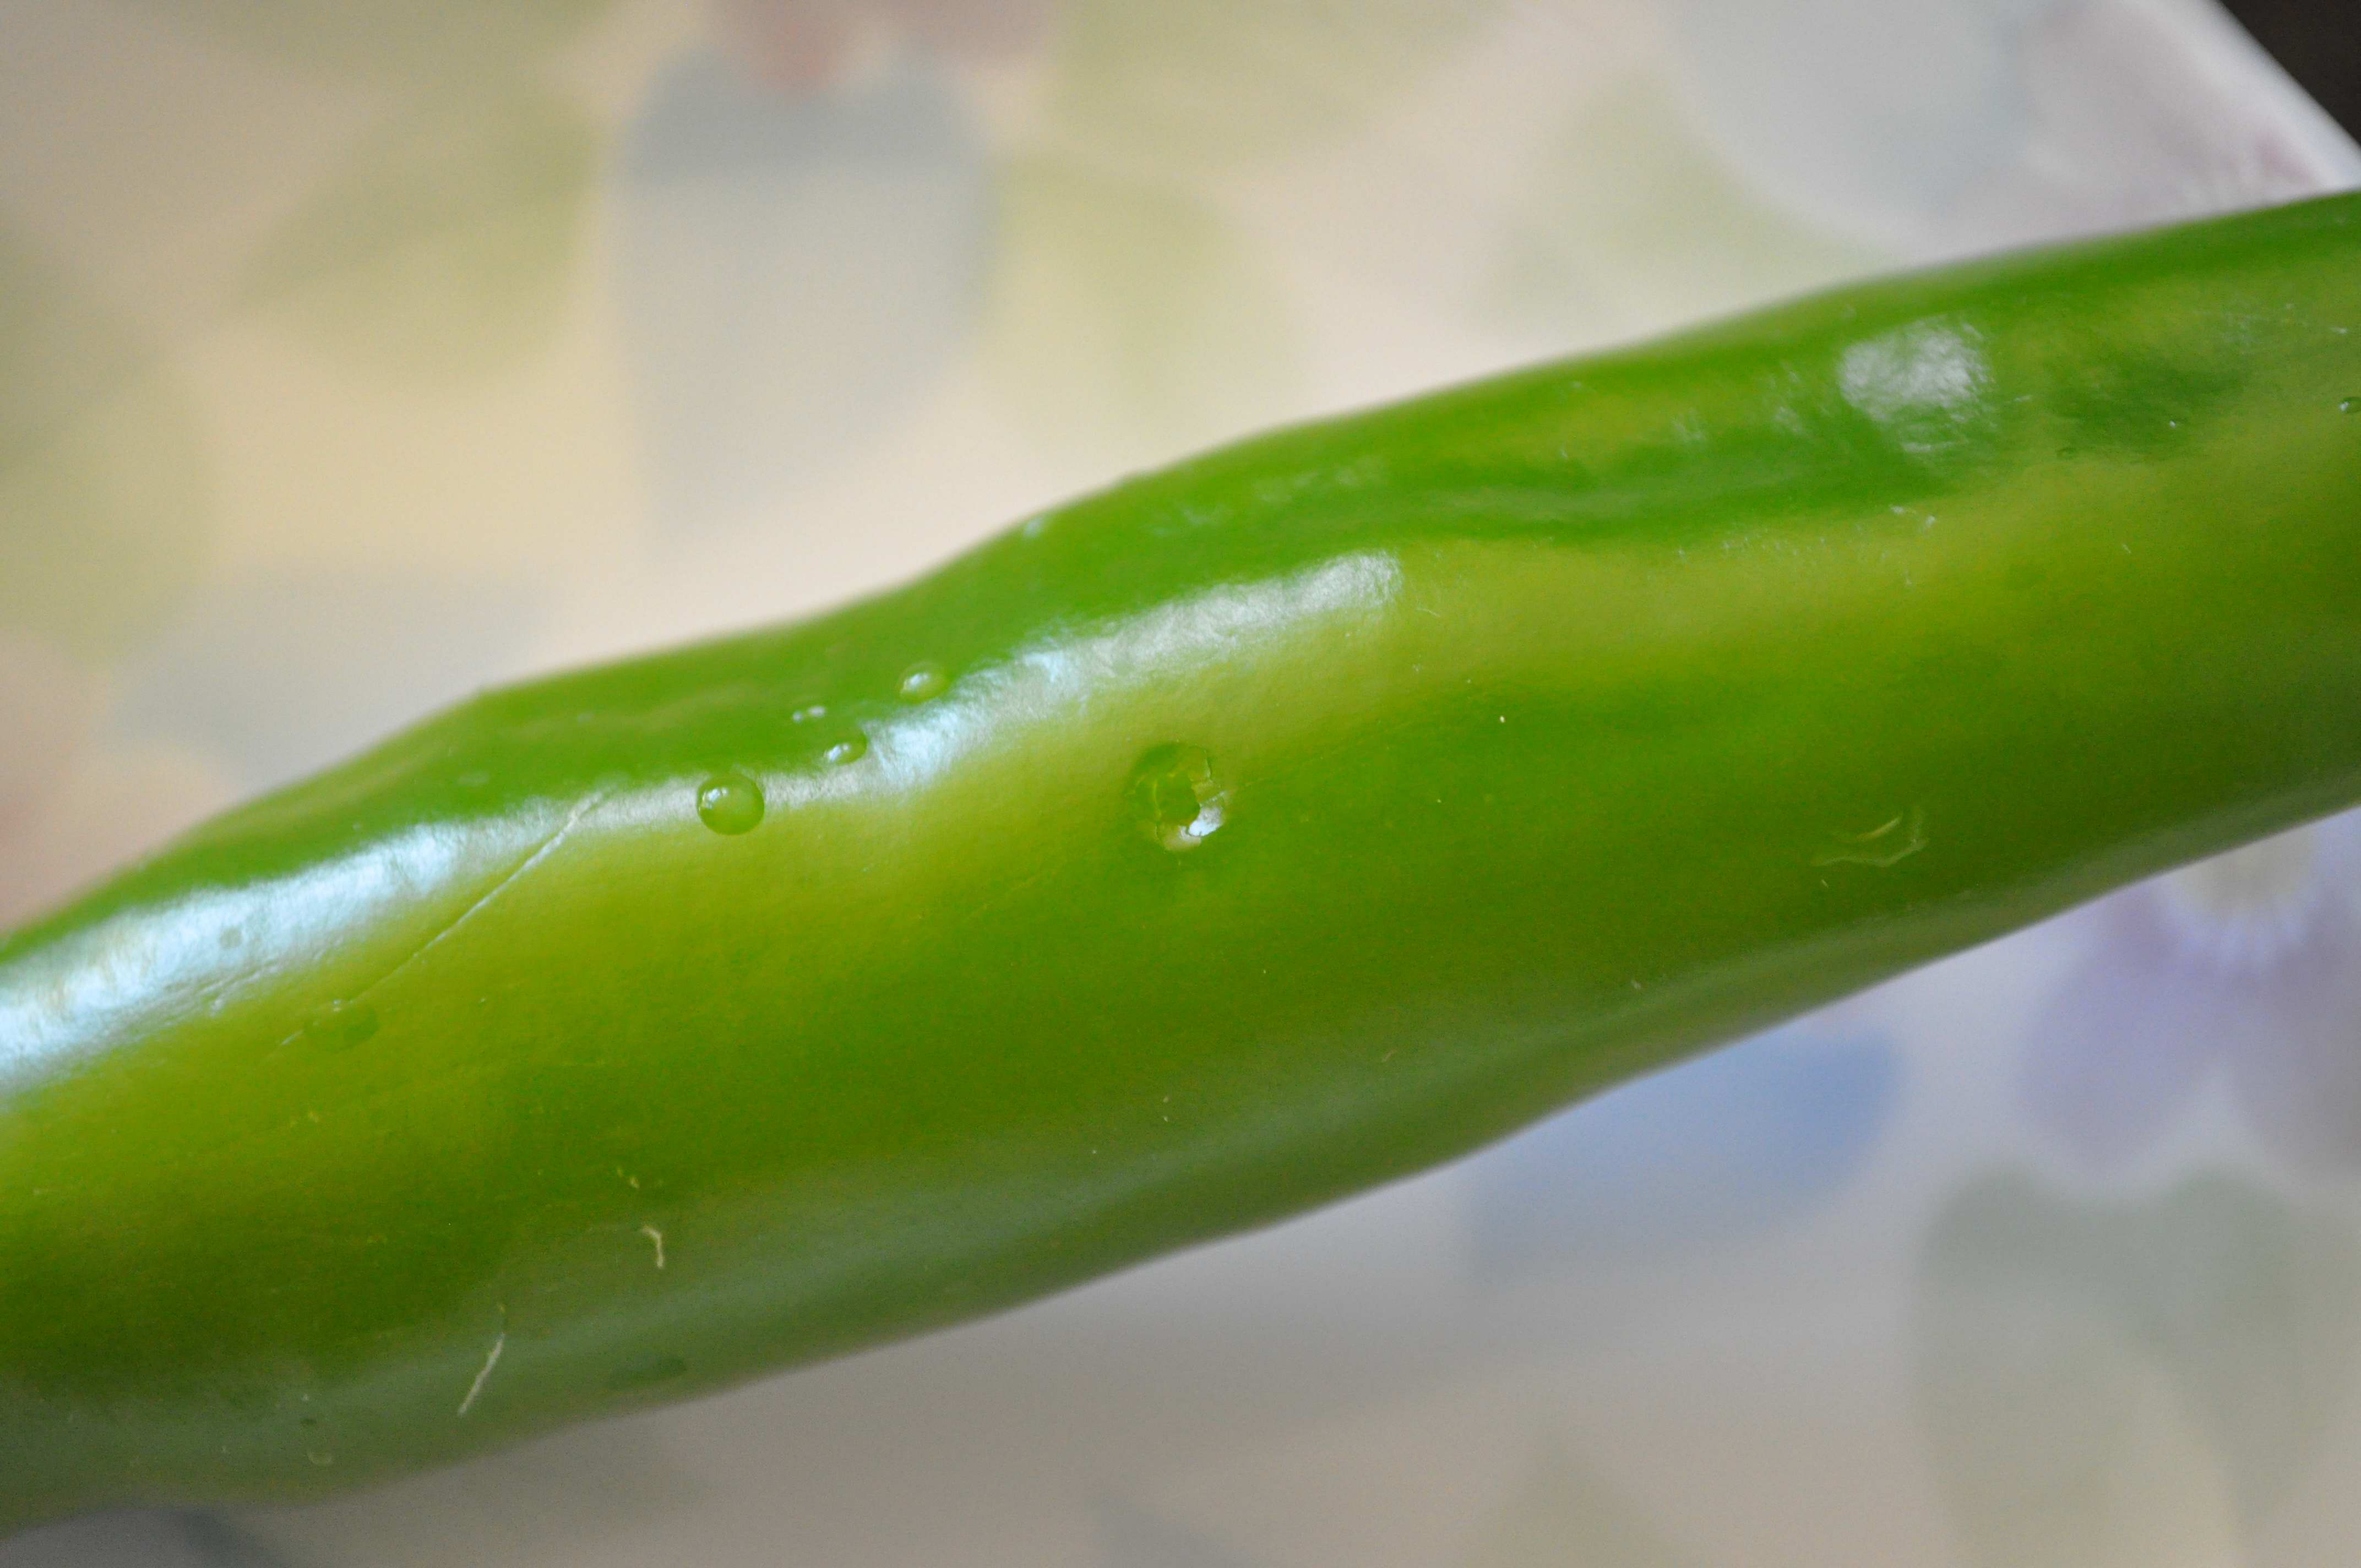
3. Wash the green chili peppers. Whole peppers can be used or can be cut into pieces. When using whole peppers, make a hole in the pepper by piercing it with a sharp skewer or toothpick. This helps the pickling juice to be evenly absorbed into the pepper. I like using Korean green chili peppers because they are not as spicy but you can also use Jalapeno peppers or other peppers. A good substitute for a Korean chili pepper is the Anaheim green chili pepper.
5. Put both the cucumbers and chili peppers into the jar. Now pour the soy sauce mixture onto the vegetables. The sauce should be quite hot – the hot temperature of the sauce shocks the vegetables and makes them crunchy so make sure it’s nice and hot!
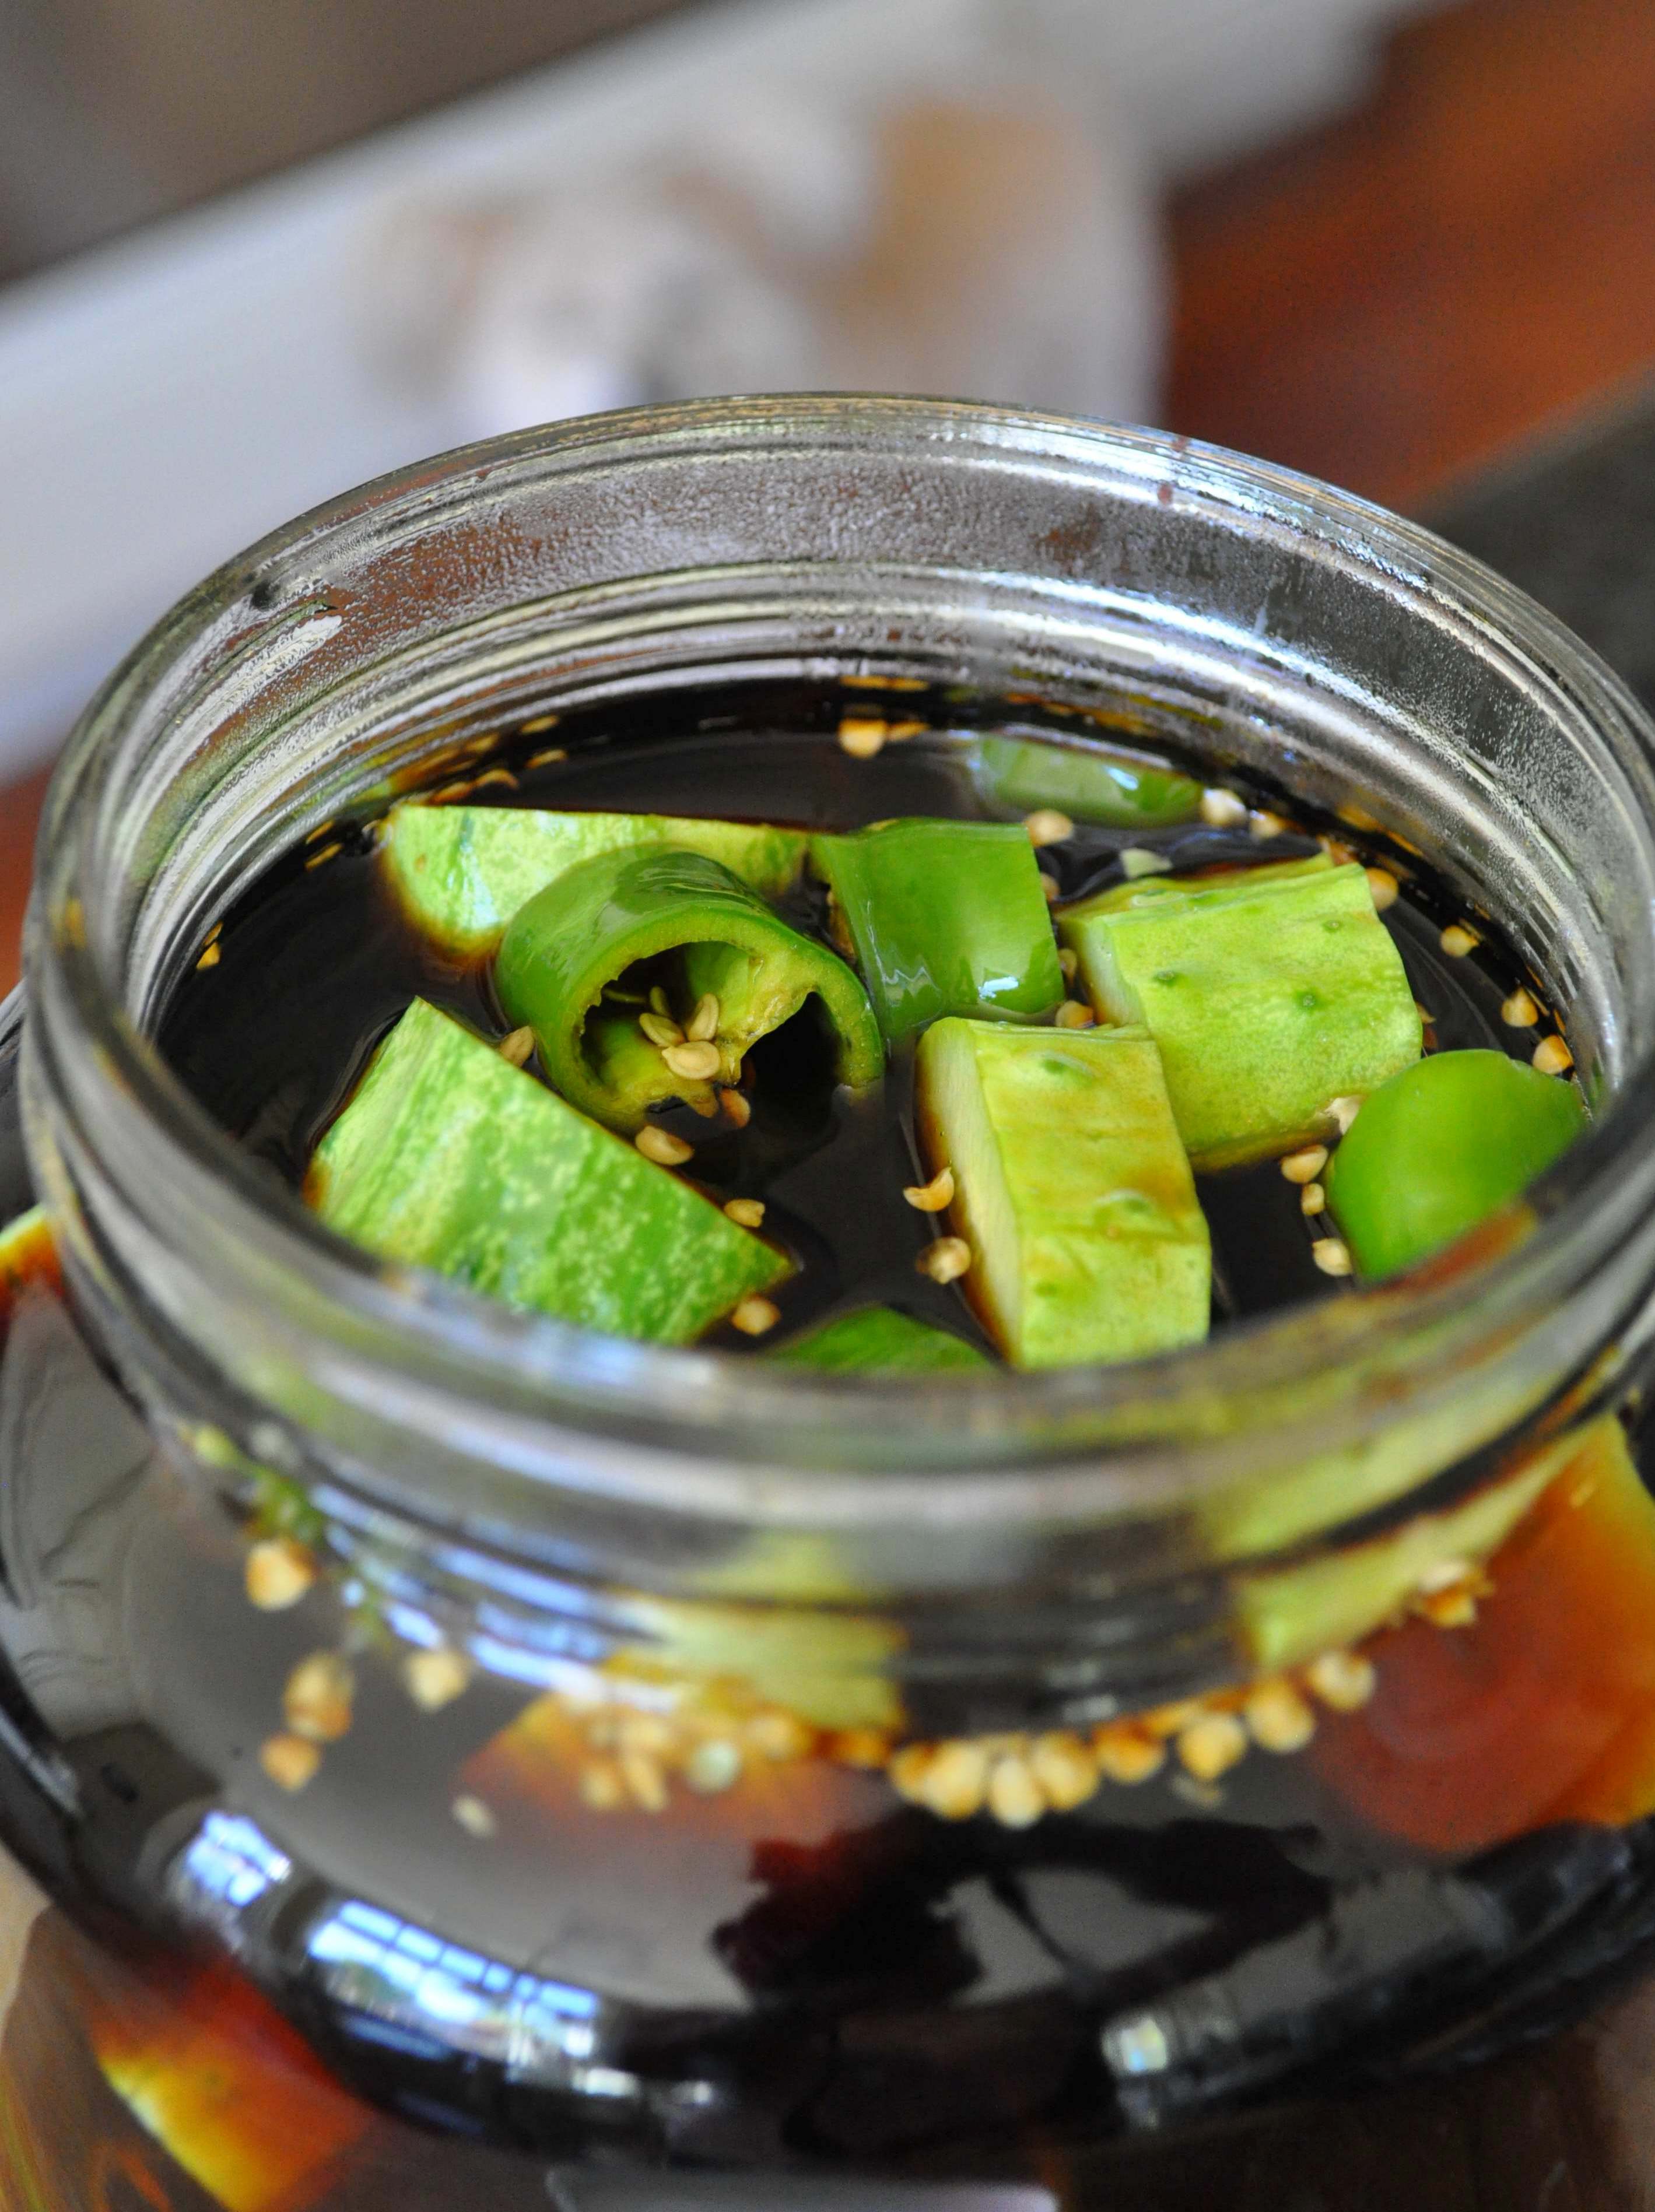
6. Just find something to weigh the vegetables down and you are almost done! When I was little I saw my mom use a stone to push everything down into the liquid. She would just get a clean smooth stone from the garden, then wash and boil it in water before using it. You can still do that – I’m sure there are benefits to using a natural stone..If you don’t feel comfortable using a stone, just find a saucer or little sauce dish to push things down before putting the cover on.
7. Let it sit for 3 days in room temperature and then drain the liquid out, boil it and then add it back to the jar while it is still hot. Leave it for 4 more days.
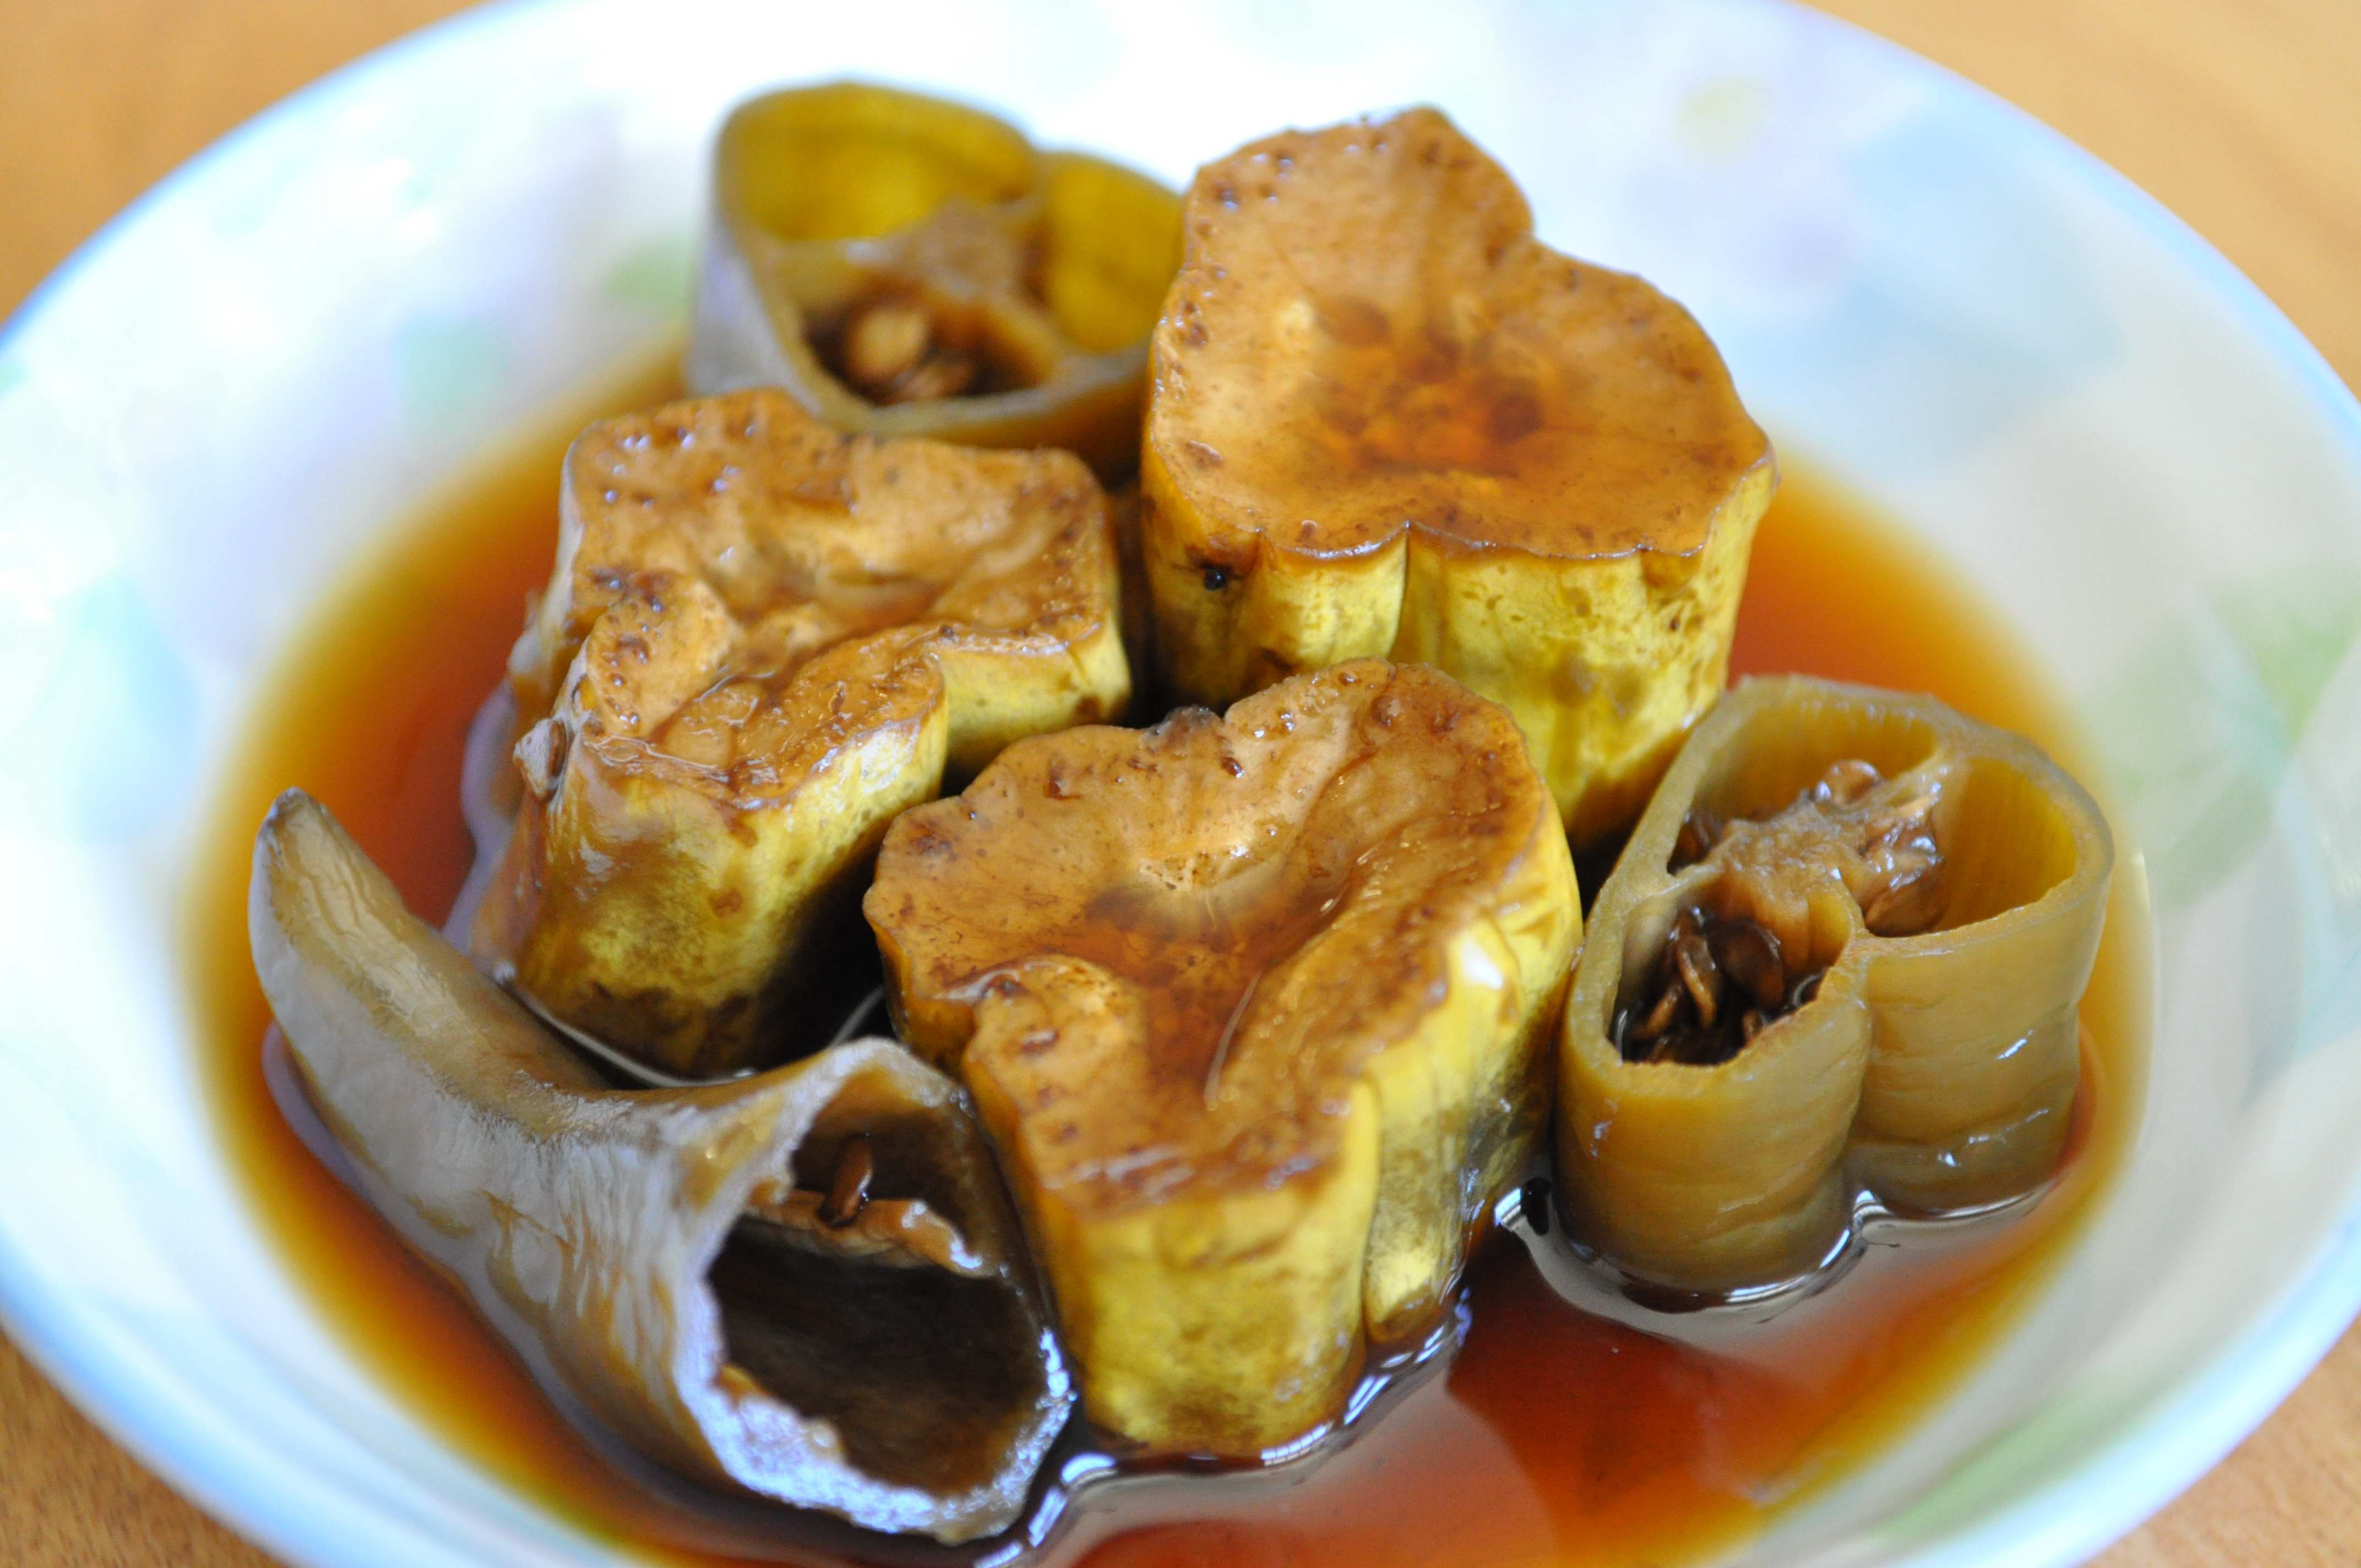
Here is how the pickles look after a week or so. Yum… my mouth is watering just looking at this picture.
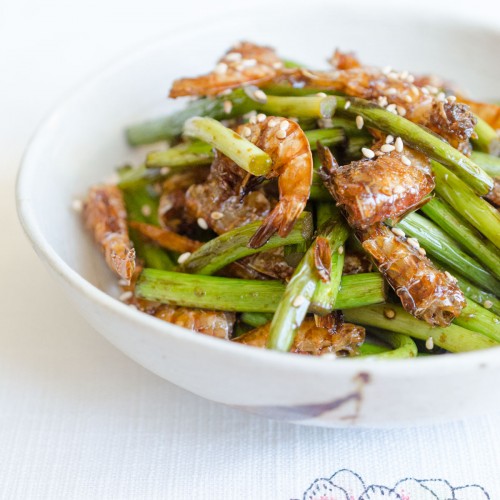
Garlic pickles (마늘 장아찌 Mahneul Jangahjji) and garlic scape pickles (마늘쫑 장아찌Mahneul jjong Jangahjji) are another favorite pickle among Koreans and they go really well with grilled meats such as Kalbi, Bulgogi or Ssam-gyeop-ssal. Fresh garlic scapes are not always available, but my local Korean market was selling them few weeks back so I grabbed a whole bunch! Garlic scapes are immature flower buds that form on garlic plants that (when harvested young) have a wonderfully delicate garlic flavor.
1. Prepare peeled garlic cloves and garlic scapes. Wash them in water and let them dry. Cut the garlic scapes into 1 1/2 in length pieces:
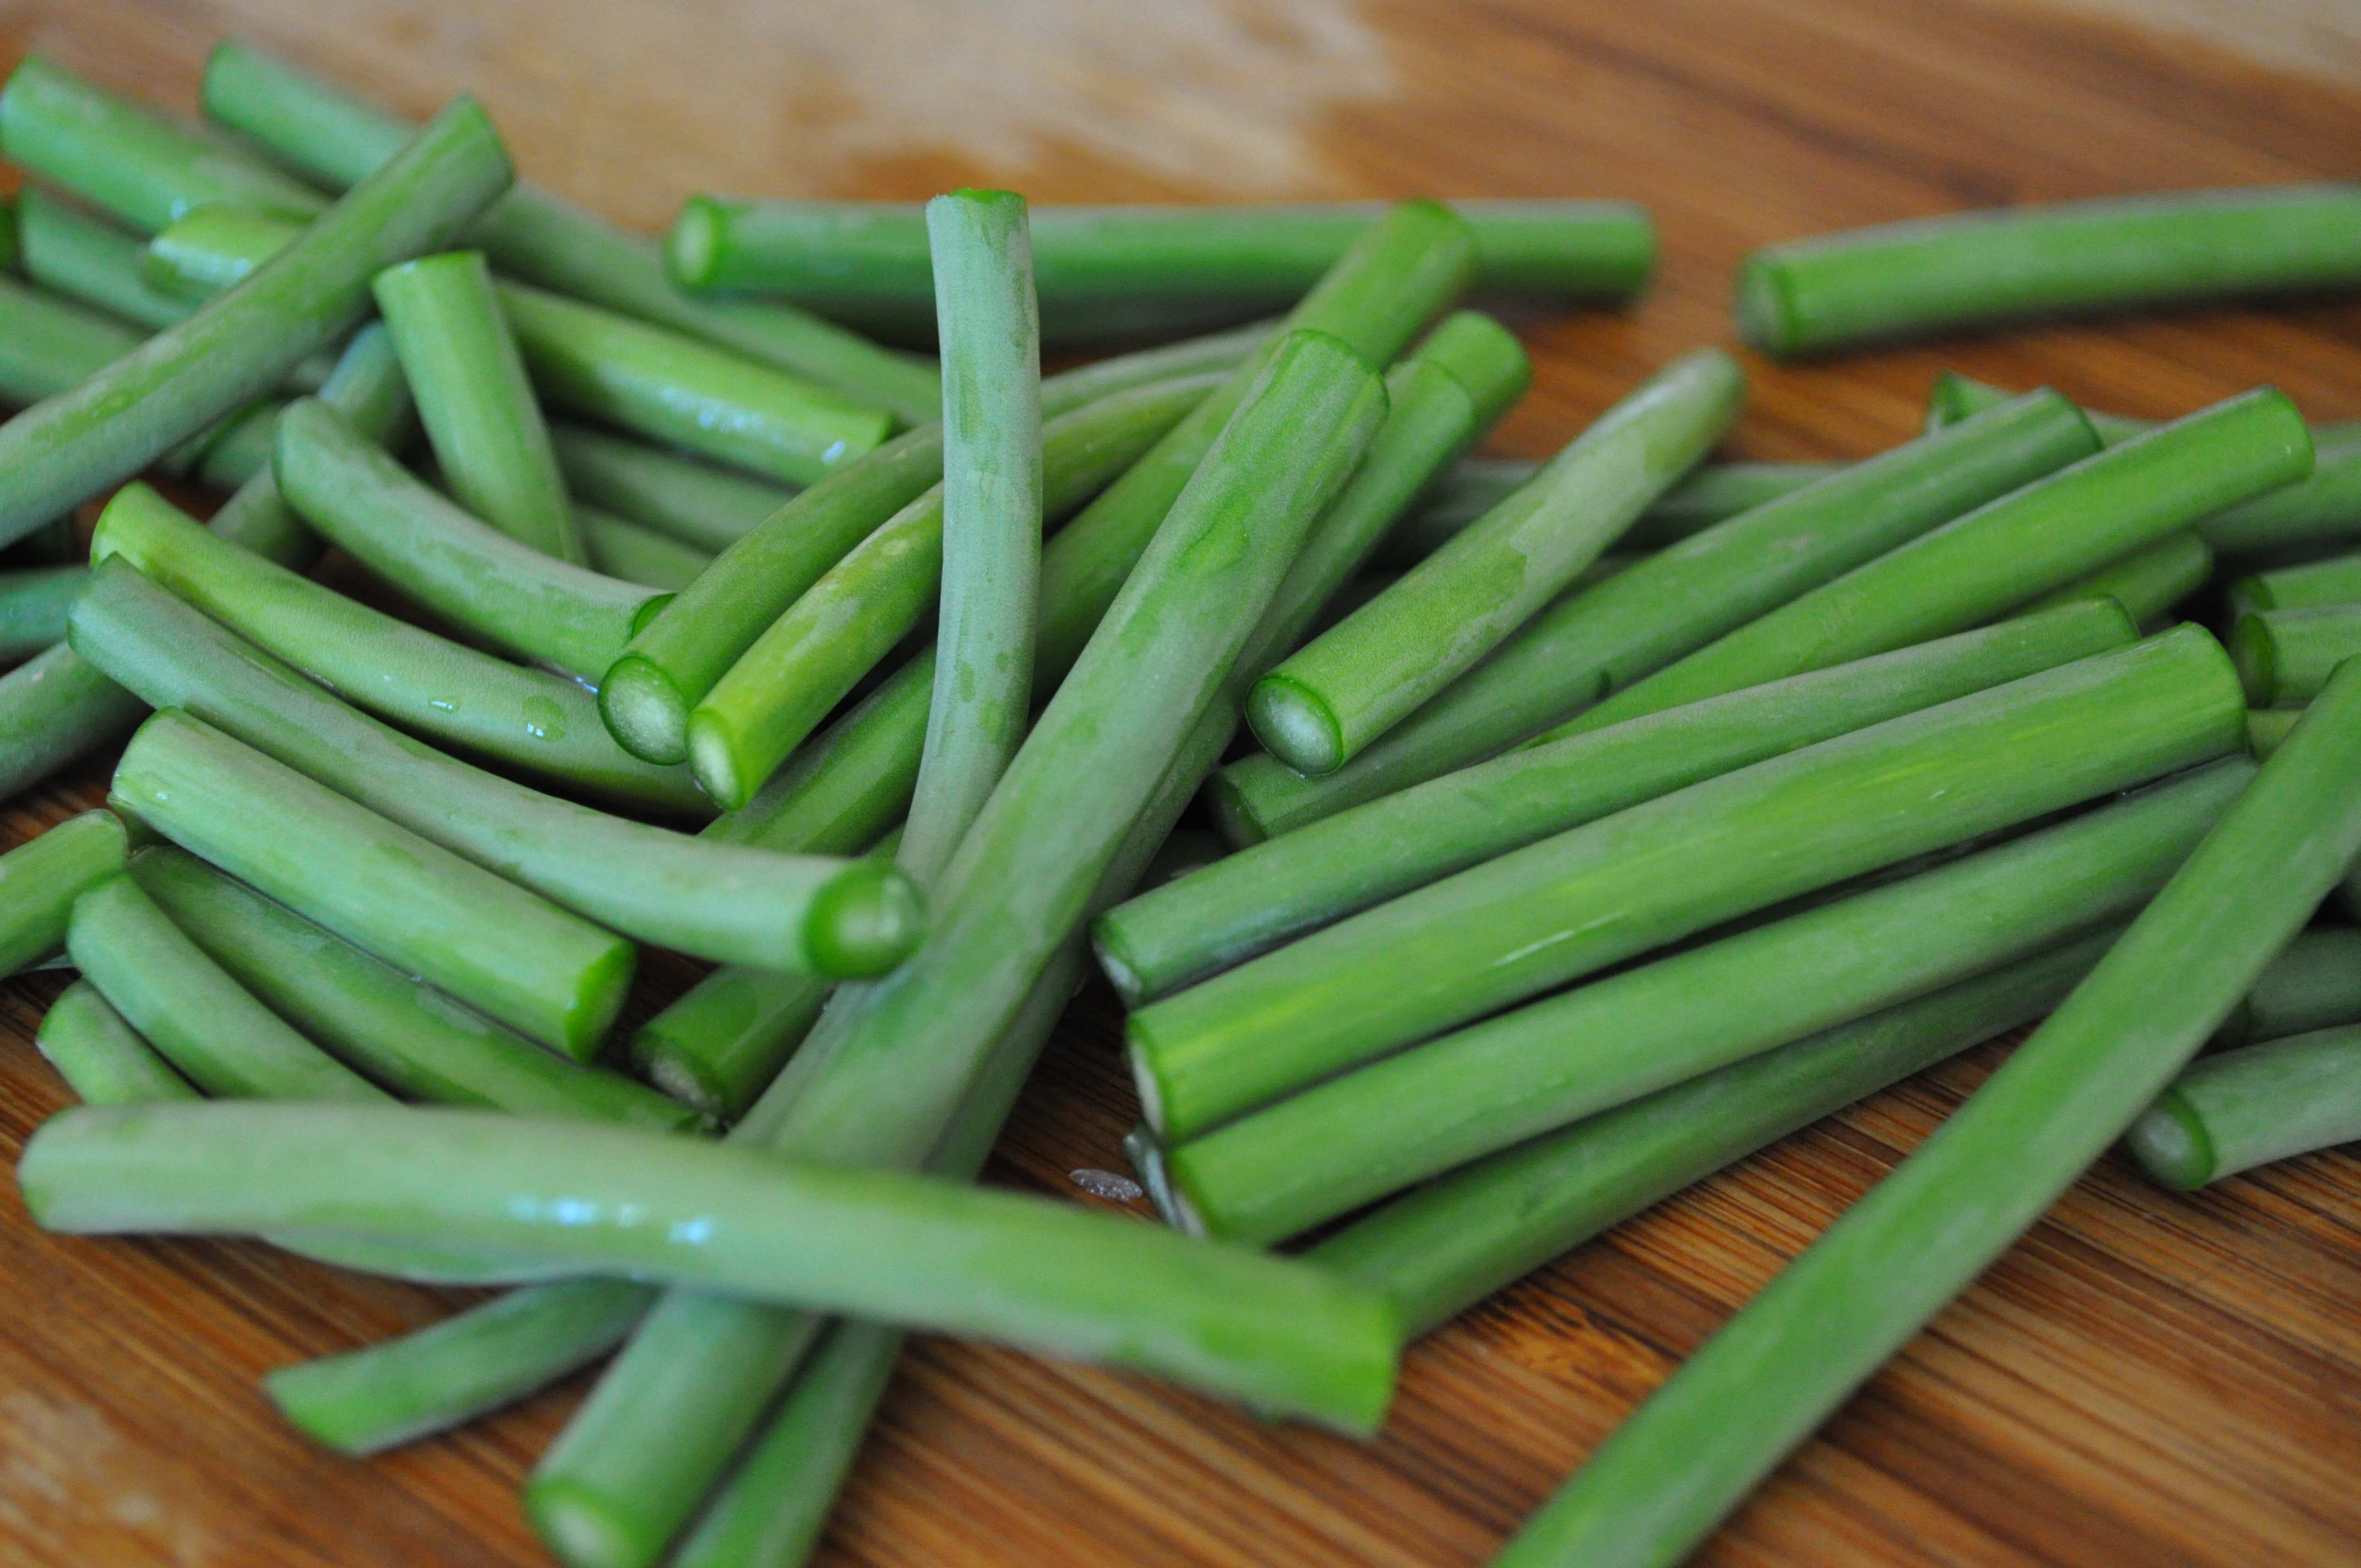
2. Get a glass jar or container, add the cut scapes and garlic cloves and pour the hot soy sauce+vinegar+ sugar mixture:
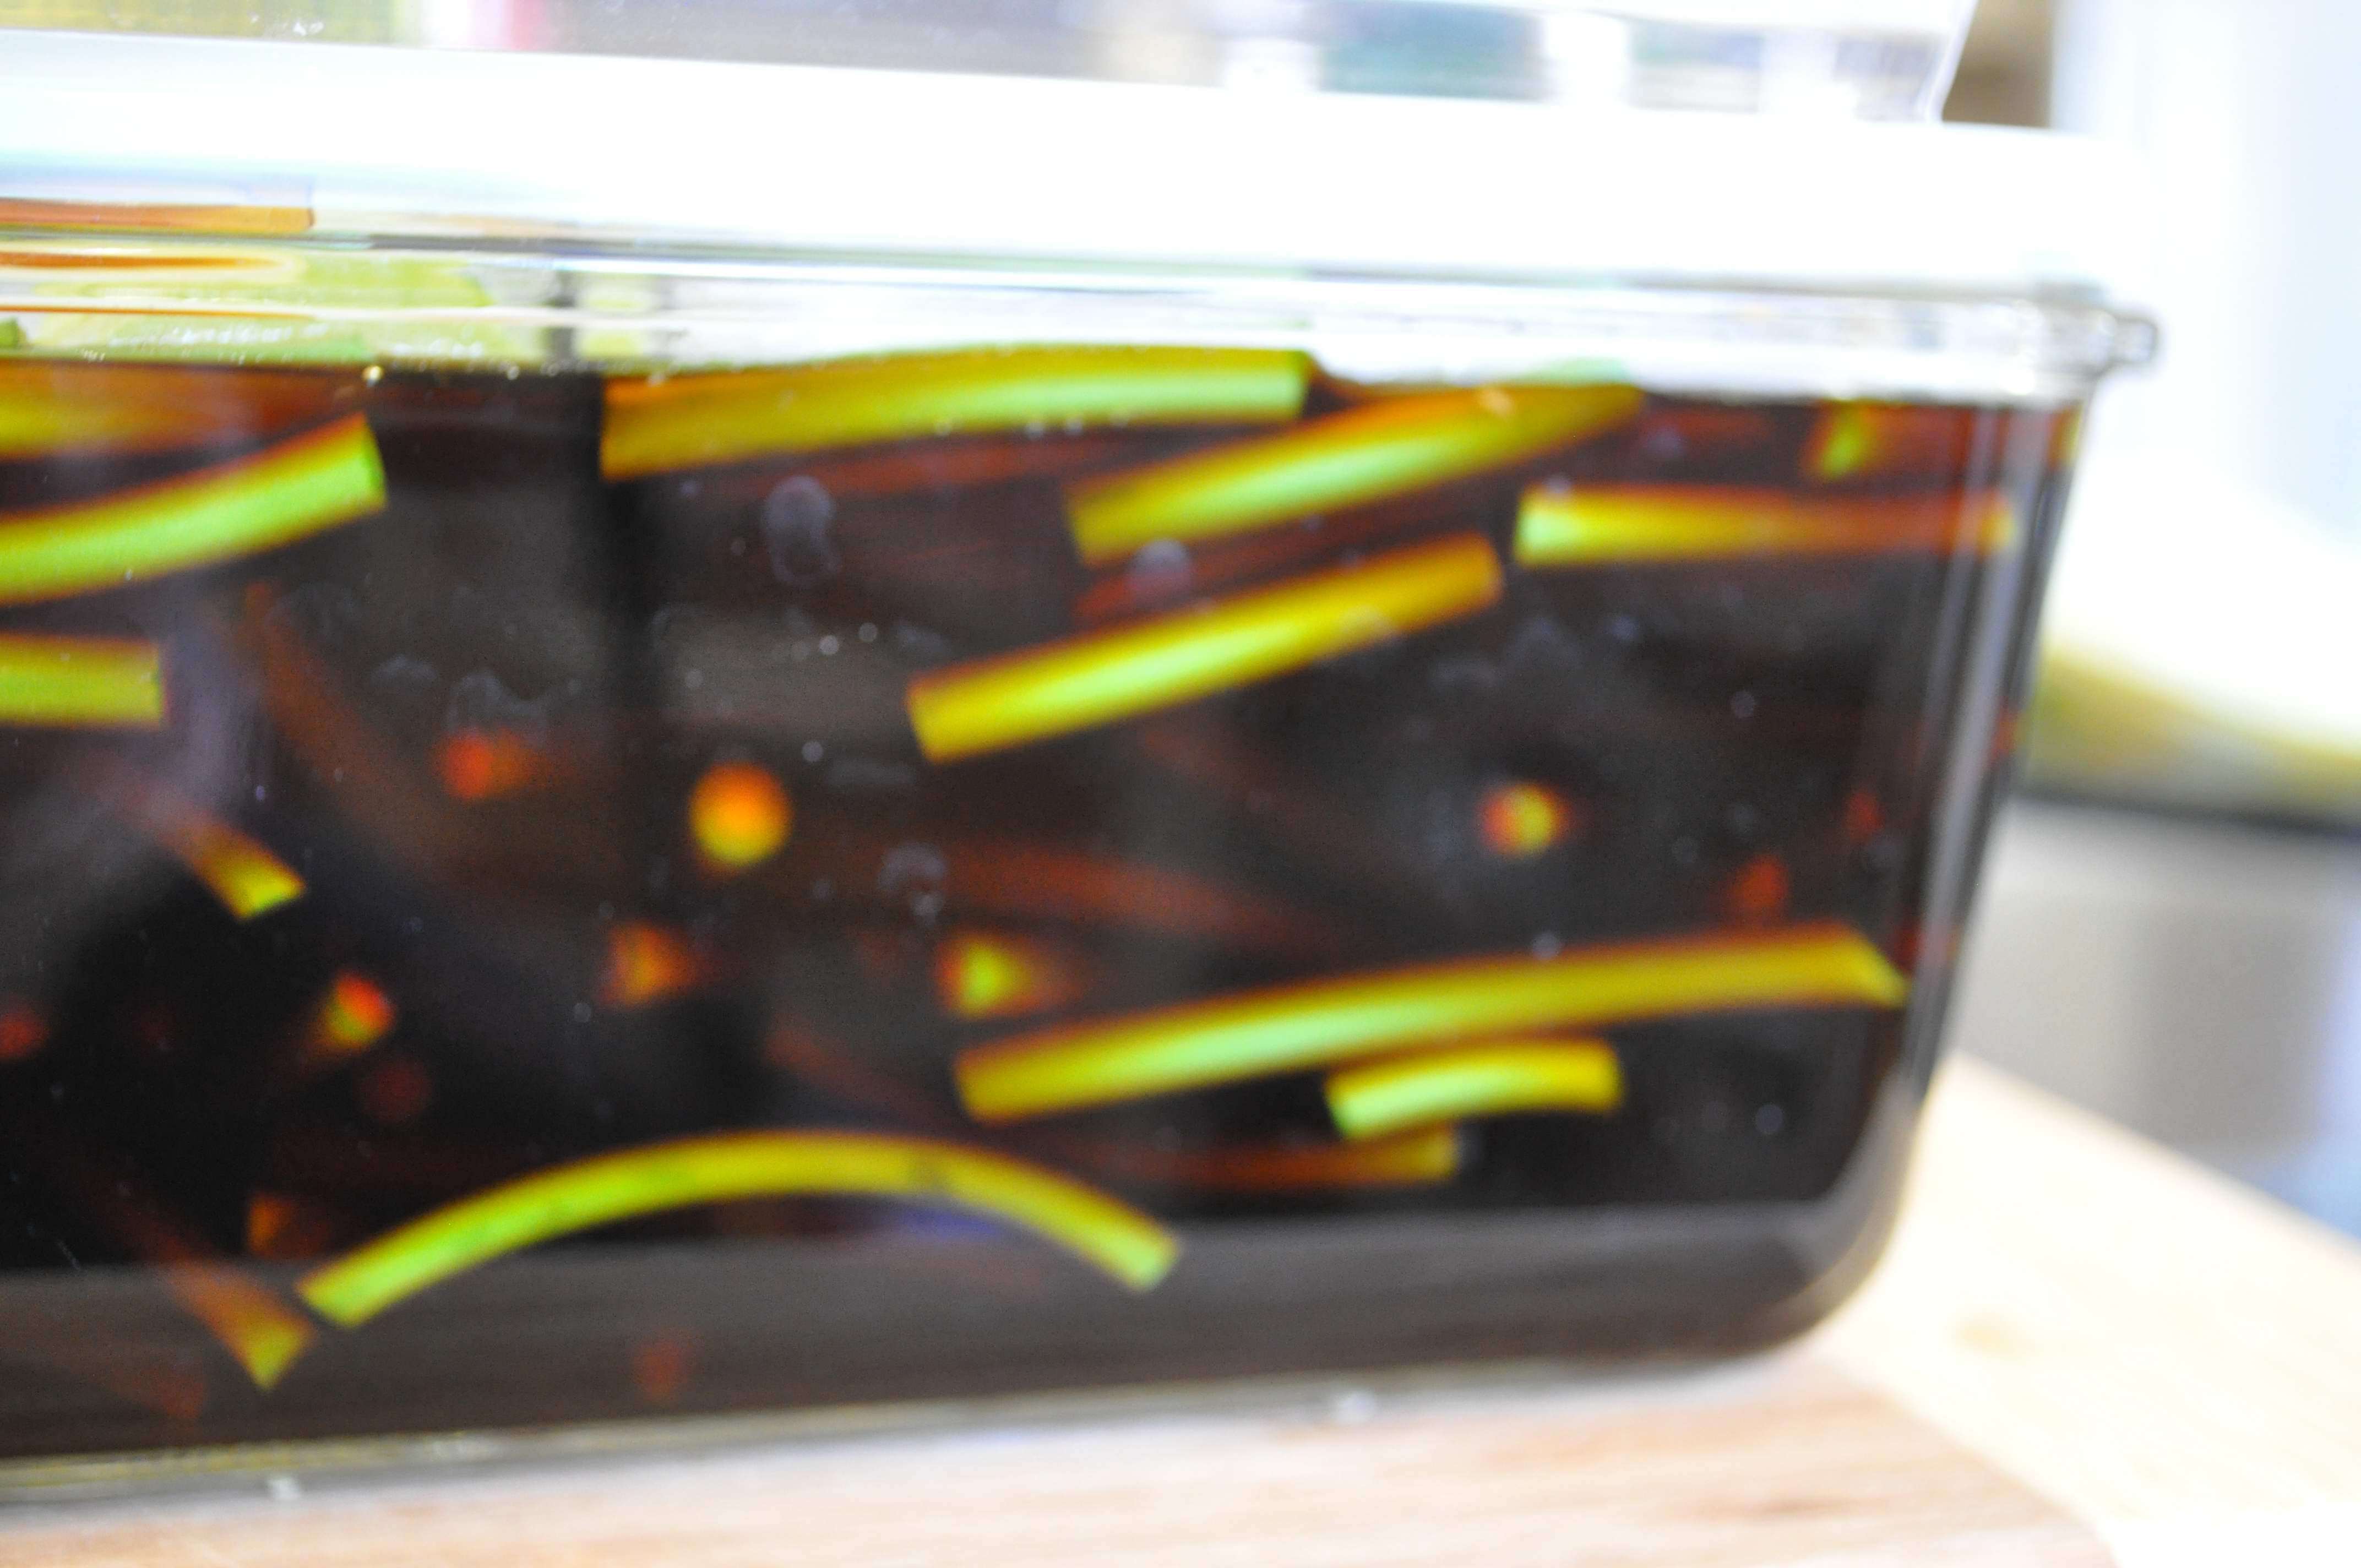
3. After 3 days, drain the liquid, boil it and add it back. Leave it for 4 more days.
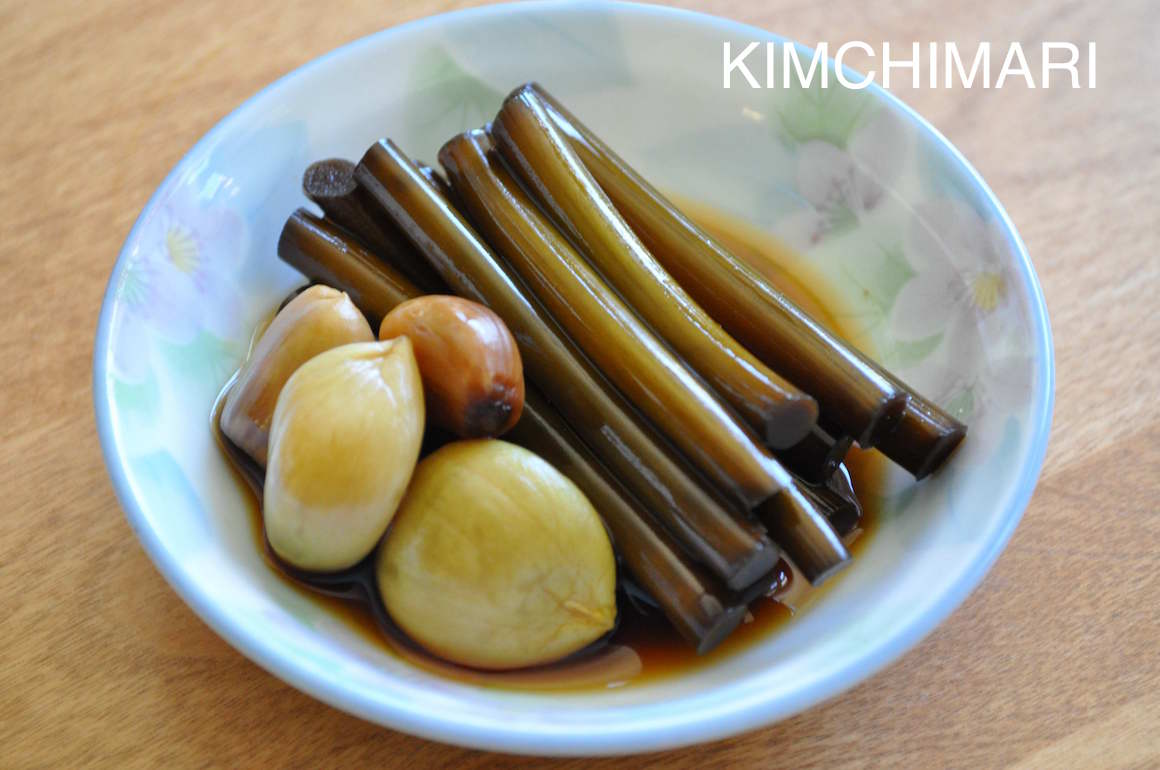
This is how it looks after a week! You have to try this – the garlic scape has such a beautiful delicate garlic flavor with a perfect crunch in every bite.
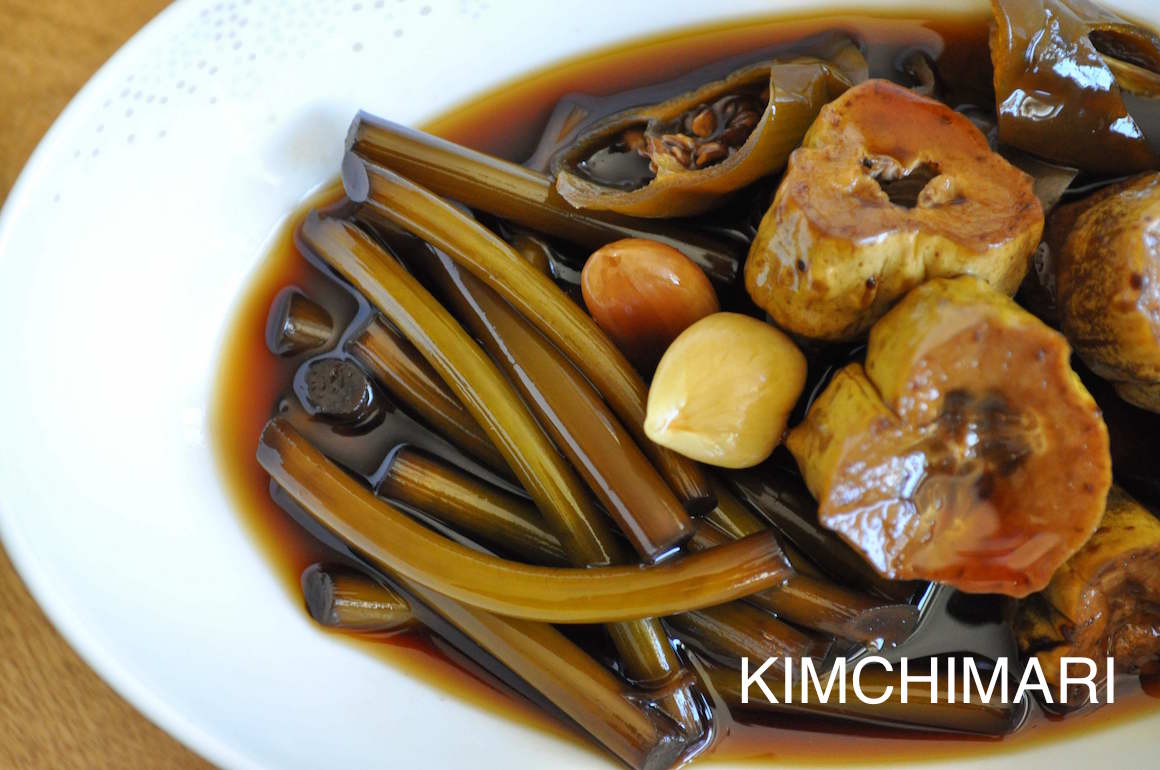
Korean Pickles (Jangajji)
Ingredients
- 4 Korean cucumbers (오이 Oyi) (Persian or Pickle cucumbers also OK)
- 5 green chili peppers (optional)
- 3 C soy sauce (approx.)
- 3 C sugar (approx.)
- 3 C rice vinegar (approx.)
- 1 handful of rough sea salt
Instructions
- Mix soy sauce, vinegar and sugar in a pot and let it come to a boil. When it boils, turn the heat off and let it sit.
- In the mean time, grab a generous pinch of sea salt and clean the cucumbers by rubbing each one with salt.
- Rinse cucumbers with water and pat them dry. You can then cut the cucumbers into bite size pieces or keep them whole.
- Wash green chili peppers. Whole peppers can be used or can be cut into pieces. When using whole peppers, make a hole in the pepper by piercing it with a sharp skewer or toothpick. If you cannot find Korean chili peppers, you can also use Jalapeno peppers or other peppers. A good substitute for a Korean chili pepper is the Anaheim green chili pepper.
- Put both cucumbers and chili peppers into the jar. Pour soy sauce mixture onto the vegetables. The sauce should be quite hot – the hot temperature of the sauce shocks the vegetables and makes them crunchy so make sure it’s nice and hot!
- Find something to weigh the vegetables down and you are almost done!
- Let it sit for 3 days in room temperature and then drain the liquid out, boil it and then add it back to the jar while it is still hot. Leave it for 4 more days.
Tips for Korean Pickles
* Serving: you can just serve as is or sprinkle some roasted sesame seeds on top. You can also add some seasoning such as sesame oil, red chili powder and chopped fresh green onion.
* Storage: you can store these Korean pickles at room temperature for weeks without the taste changing at all. No fridges in the old days.
* Taste: adjust the amount of vinegar and sugar to taste. I have seen recipes which uses less vinegar and sugar (1/3 of amount used here). I personally prefer the 1:1:1 ratio since these are meant to be sweet and sour.
* What do you do with the leftover Korean pickle juice? : make more pickles by just getting more vegetables and then re-boiling the juice before making a new batch. The soy sauce mixture does seem to become less salty with the water coming out from the vegetables during the pickling process so you may want to add additional soy sauce mixture to bring up the level of salt.
Happy Summer!
XOXO ❤️
JinJoo




Hello- I made this recipe. I did a batch of garlic scapes and added a few bitesized cucmber pieces. I used an oven-safe temptations casserole dish as my vessel for pickling. Today marks the 7th day of pickling so around 6:30 tonight, I am free to enjoy! My question is, am I safe to transfer the entire pickled batch into mason jars now easier storage? IF so, do I need need to treat the jars in a special way before I just just simply pour the vegetables and liquid Into the jars? OR would I need to reboil the liquid again upon upon transfering them into the jars?
Hi! I’m so happy to hear that you made the recipe!! If you followed my recipe (you reboiled the liquid on day 3?) then you should not need to reboil the liquid again. And it would be safe to transfer the pickled batch into mason jars as long as you sterilize them before. Boil the mason jars for good 10-15 minutes and then let it dry out and then use them as soon as the it’s dry. Good luck and enjoy!! They are fantastic with Korean grilled meats!
Thanks so much for your reply! And I apologize for the errors in my grammar; I was leaving my initial comment on my phone which lags like crazy.
Anywho – yes I did follow your recipe to the tee; so I did reboil the brine at the mark of day 3. I’m in the process of boiling my mason jars this very moment as I type! Thanks so much for this recipe! My mom is 100% Korean and I’ve been trying to follow in her footsteps as far as cooking goes. There is nothing like a Korean moms home cooking. I did cheat a little and brought a few pickled scapes and a few of the cucumber pieces to her house while I visited her (on day 5 of pickling). I wanted her to taste what I had so far. She was impressed – which in turn – impressed me lol. There was NO pause or ANY reservations in her comments whatsoever. As soon as she dropped a cucumber piece in her mouth, it’s like her eyes got brighter and she shook her head in yes motion and as fast as she put it in her mouth, she so “Oh yeah – this is good!” I wondered if she even had a chance to fully taste it; as she commented so quickly! So in my eyes, that was a success, which made me feel like a success, which is definitely owed to you; give credit where credit is due. So thank you once again! Truly!
Hi Elizabeth!! Wow – your comment totally made my day!! maybe even my week!!! Thank you so much for sharing your mother’s reaction to my pickles. I am so happy to hear about your mom’s response – that’s all I needed to hear. You should feel very proud of yourself for your success! Not everyone can follow a recipe and succeed. 😉 And please, NO need to apologize for the grammar errors – it happens to us all the time! Thank you SOO much for your kind comment and with you all the best always. Take care,
I’m a little confused. At the end, do you keep them in the brine or remove the brine and keep them in a jar without any liquid so you can use the brine for making more pickles? Just want to make sure, thanks.
Um, I’m kind of confused about your question. 🙂 So, you make the soy sauce mixture, keep the veggies in them for 3 days then pour out the liquid, boil them and then put liquid back into the bottle with the veggies. Pickle for 4 more days and then enjoy them. Once you are finished eating the pickles, you can reuse the leftover soy sauce mixture. See the last instruction on my post about how. Hopefully this helps. Thanks!
Just saw this on your Instagram, going to do it! You really made me laugh above talking about giving the cucumber an exfoliating massage LOL. xAnnie
Yay!! So glad to hear that. Hehe..and I hardly ever do any exfoliating massage myself..hahaha.. BTW, if you want to make a less salty, less strong tasking pickles, you can dilute the pickling liquid by mixing in equal parts water – so 3 c soy sauce, 3 c sugar, 3 c vinegar and 3 c water. Both are good in their own way. Good luck!
After the second boil. Will the veggies be crunchy? I like crunchy veggies. It’s crunchy right now on the 3rd day after first boil. Why do you do a second boil? I used cucumber and jalapeño in my pickled veggie.
The second boil takes ensures that your pickle will not turn bad from any new bacteria that was introduced into the pickle by adding the vegetables. If you think about it, liquid from your vegetables would have leaked into the liquid through the process of osmosis and will dilute your pickling liquid which means it is more susceptible to it turning bad sooner. By boiling the second time, you kill off any existing bad bacteria, reduce the liquid and also adds another layer or crunch! Cucumber and Jalapeno sound great!! You can also add some onions – my daughter’s favorite! 🙂 Thanks for asking and good luck!
What happens if the pickle juice is left to boil a little longer? I got distracted while I was hearing it, and probably left it boiling for almost a minute, rather than turning it off right away. Does the sugar break down too much or get scorched? Should I start over? (This seems like a dumb question, but I’m full of dumb questions when it comes to cooking.)
Hi, sorry for the late response. I’m traveling right now so I didn’t see this until now. No, there is no such thing as a dumb question – I’m happy to answer any questions you may have. so if it’s a minute, I wouldn’t worry about it all. If it was more like 10 minutes and the liquid had reduced, I would be a little worried that it may be too salty or too sweet. No need to start over. Just enjoy your pickles!!