
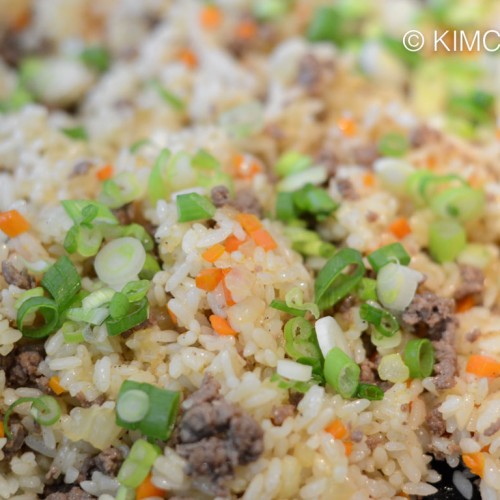
Kimchi Fried Rice is the ultimate comforat food that’s bursting with flavors of sour kimchi. It is the perfect one-dish meal anytime but especially if you don’t feel like cooking or need that something to hit the spot! An amazingly delicious meal in 20 minutes or less!
Because I have been eating this from when I was in high school, this dish always brings back so many memories for me.
This dish is also one of the first Korean food that I learned to make for myself as a grad student living in the US. I made it for myself often whenever I had the time or needed some Korean food fix. This is such a satisfying dish and yet it’s so easy to make that you should definitely give it a try even if you have NEVER cooked Korean food before!!
During grad school days, I usually had it straight from the frying pan – no need to get another dish dirty, right?? 😜 😝 If you want to know, eating Kimchi Fried Rice straight from the pan, especially after the bottom is well burnt, is truly the BEST way to eat it. But ssshhhh… don’t tell my mom that because she always yelled at me if I ever tried to do that. Don’t eat like that – she said. That’s no way for a lady to eat – she said.
What is Kimchi Fried Rice?
It’s Korean fried rice that’s made by sauteeing sour over-ripened cabbage kimchi with leftover cold rice in oil. Sometimes it is seasoned by the addition of gochujang (and I usually do it) but it’s is not a must. Especially if your kimchi is already spicy and salty. Some Kimchis are milder and some are seasoned more aggressively so it’s all a personal taste.
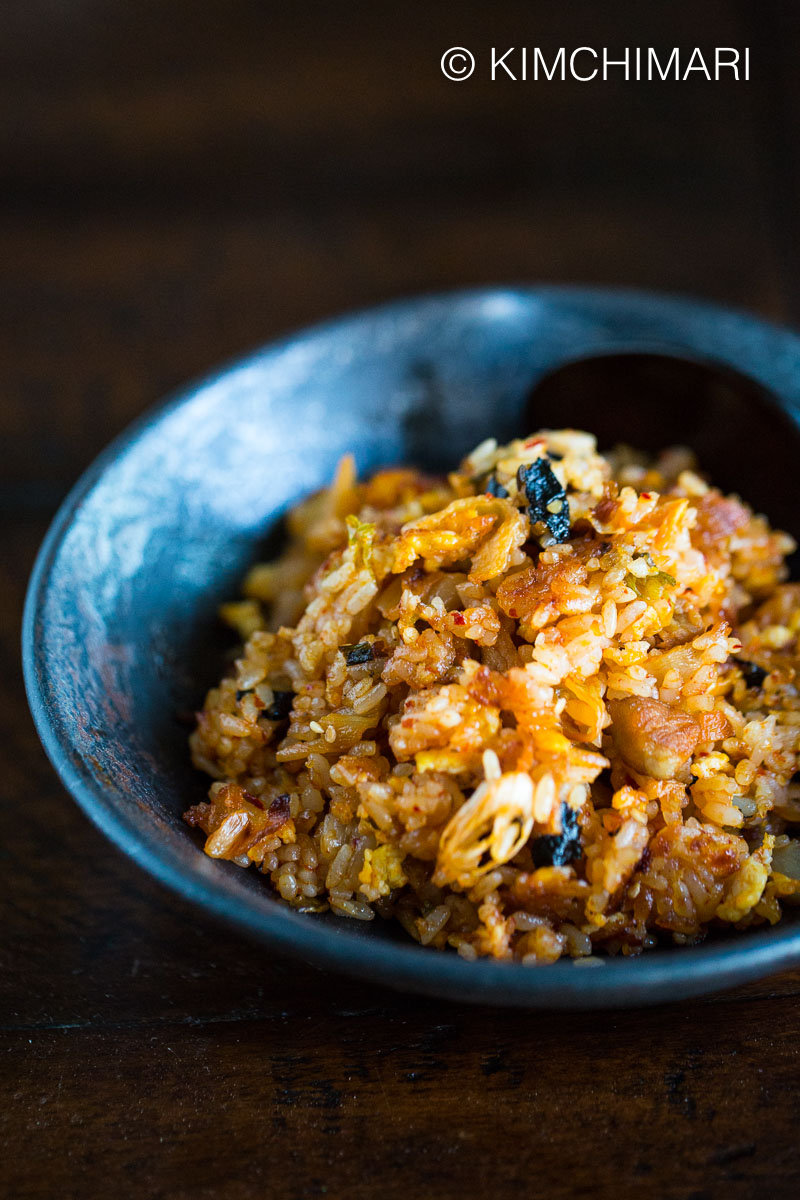
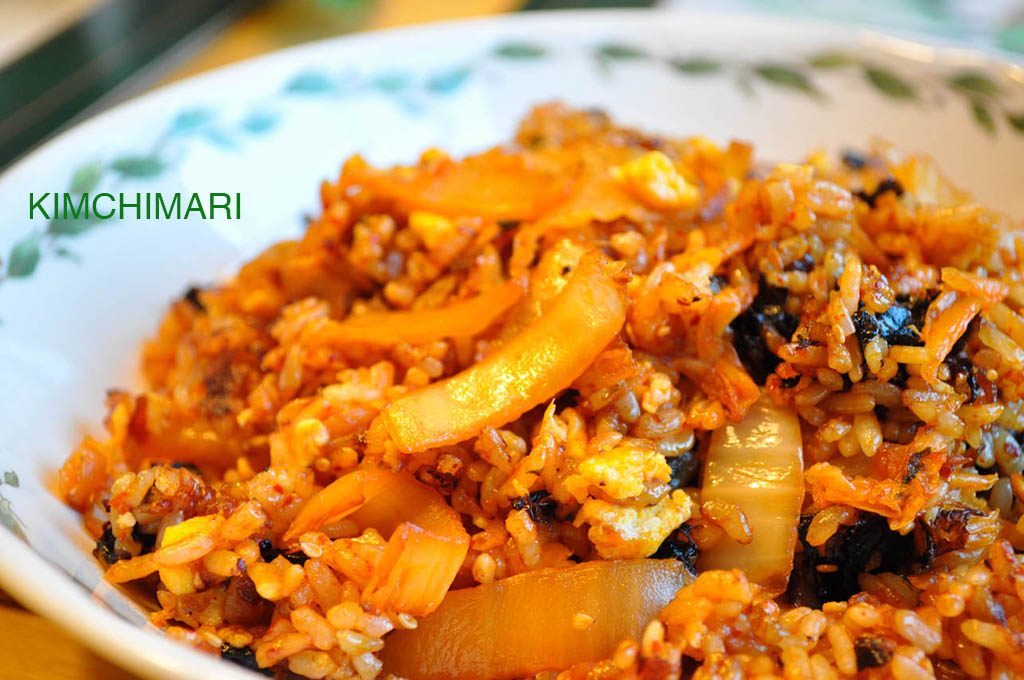
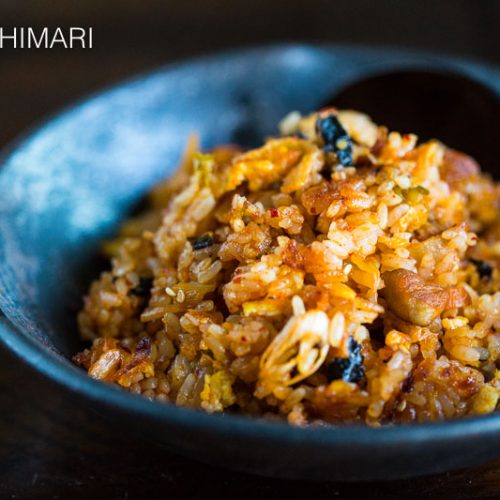
This dish is a fabulous mix of sour, funky, umami, spicy, rich savory and salty flavor. The bits of kimchi gives it a punch of sour, spicy and funky taste while the egg and pork break up the intense flavor with savory richness. Texture-wise, the kimchi also gives a contrasting slightly crunchy texture and if you made the bottom burnt they you will even have a bit of crunchy every now and then. It’s one of those dishes that makes you go back for more and more.
Rice for Kimchi Fried Rice
Just like a day old rice is best to use for fried rice recipes, the best rice to use for Kimchi Fried Rice is also day old or refrigerated cold rice. The cold rice from the fridge breaks apart easily with your hands so use your hands instead of a spoon or spatula.
But if you don’t have any cold rice, you can certainly freshly cooked rice while it is hot. My tip is to use 2-3 T less water when cooking the rice so you make it more dry which won’t stick together as much.
You can use white short grain rice, brown rice, mixed grain rice but probably not Japgokbap. The beans kind of get in the way.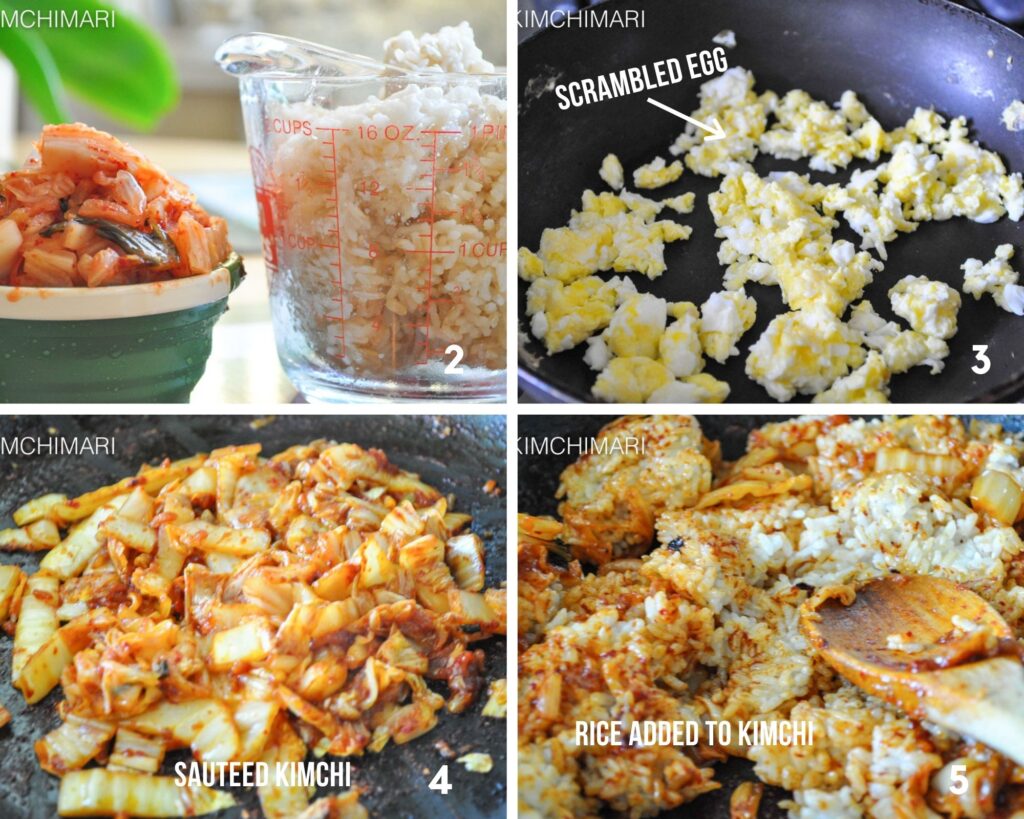
Chef’s Tips
- Don’t make it SOGGY – So many people make the mistake of adding too much kimchi liquid and having the rice get too wet which makes it too soggy.
- Use mature Kimchi – Kimchi should be at least couple weeks old for it to taste good when cooked. If you don’t have well-ripened mature kimchi, you can add a bit of maesil syrup or even a little vinegar to add some tartness to it.
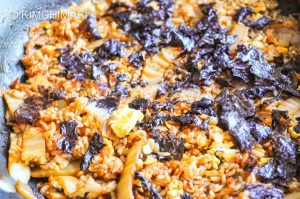
- Make BURNT rice – The key to making the most perfect kimchi bokkeumbap is to let some of the rice burn in the pan. There’s nothing better than burnt rice!! So, after it’s all cooked, let it sit in the pan on medium-low heat for few minutes until they become nicely brown and burnt.
- Cook your favorite EGG style – everyone has a different preference for eggs. Hard cooked, soft or runny..if you like runny eggs, then instead of scrambling the eggs like I do here, top the rice with an over-easy or sunny-side-up pan-fried egg. The runny yolk will it extra rich and unctuous!
- STORAGE/REHEATING – you can store any leftovers in the fridge for up to a week and just reheat in the frying pan on medium heat or in the microwave. You can also freeze it and it reheats well.
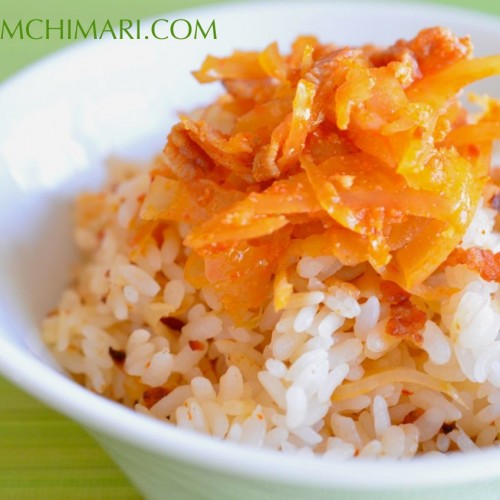
It is totally good as a one-dish meal, you really don’t need anything else. But you can serve with some mild soups like Kongnamul Guk, or Bugeo Guk to balance out the spiciness and saltiness.
Variations
Kimchi Fried Rice is made in so many different ways by using different kinds of protein.
- Tuna – canned tuna is a great easy addition. Just drain tuna from can and add it after adding rice.
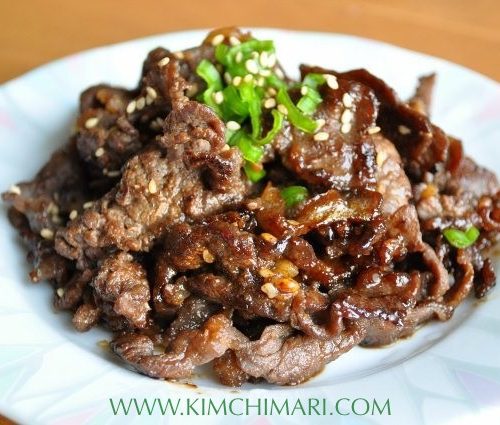
- Bulgogi – if you have leftover bulgogi, stir fry bulgogi with kimchi first then add rice. This version will taste a bit sweeter and richer but soo good.
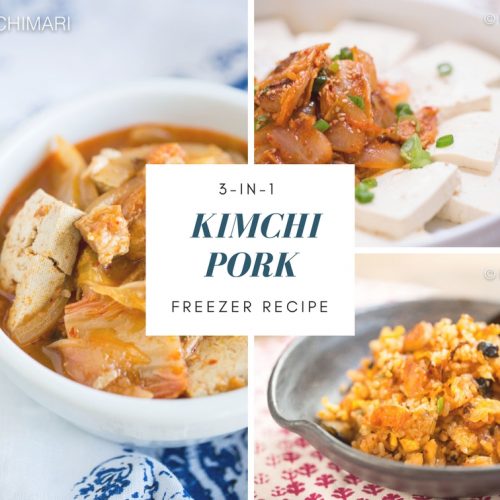
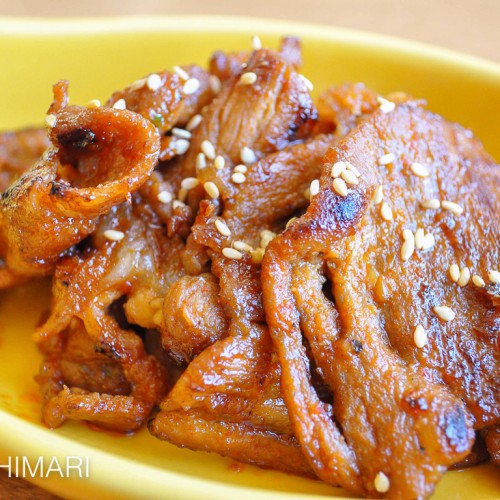
- Pork – you can also stir fry raw pieces of beef or pork and kimchi together. If you like pork, you can use my 3-in-1 Kimchi Pork Freezer Recipe to make it anytime!
- Spam – cut up some spam and stir fry it together. Note, Spam is quite salty so you may want to add more rice to balance the flavor.
- Bacon – add bacon and you have got a great dish because you know..bacon just makes everything better. Cut bacon into small pieces and saute with kimchi first then add rice. Remember to reduce or omit oil since you will get quite a bit of oil from the bacon.
- Cheese – make it as usual then add a slice of cheese (mild cheddar or mozzarella) on top and let it melt on top while the bokkeumbap is getting browned on the bottom. YUM!
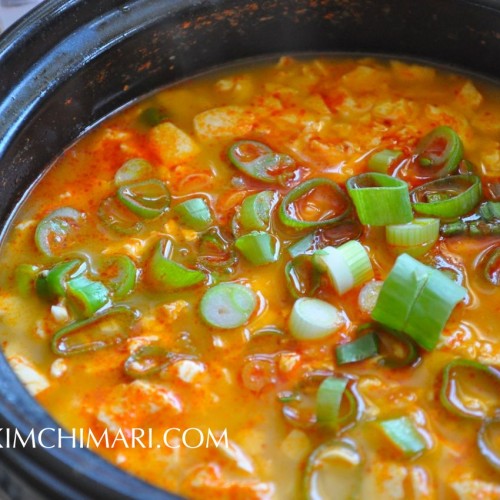
Also, if you want to watch a video of how I make the 3-in-1 Kimchi Pork Dishes (Kimchi Jjigae with Pork Belly, Kimchi Pork Tofu and Kimchi Bokkeumbap with Pork) here it is!
If you enjoyed this recipe then please leave a rating (☆☆☆☆☆) and a comment! I’d LOVE to hear from you!!! 😍
You can also FOLLOW ME on FACEBOOK, PINTEREST and INSTAGRAM or join my FACEBOOK GROUP to see other Korean recipes to ask and share everything about Korean food with others just like you!
Happy Eating!
XOXO ❤️
JinJoo
KIMCHI FRIED RICE
Ingredients
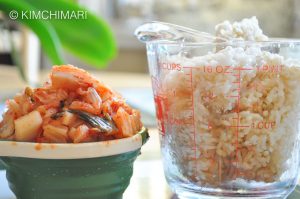
- 2 cup cooked rice (leftover cold rice is best)
- 1 1/2 cup old kimchi (신김치 shin kimchi)
- 2 Tbsp canola or vegetable oil
- 1-2 tsp korean red chili paste (고추장 gochujang, optional)
- 1 tsp sugar
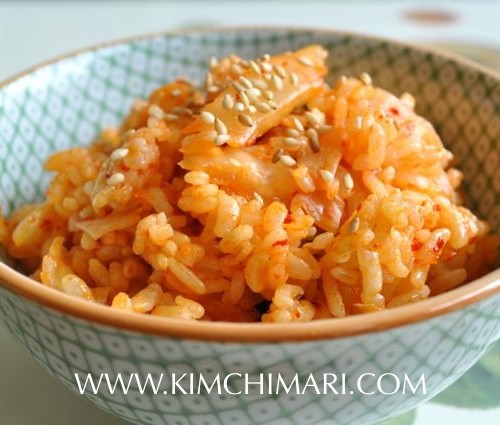
- 1 tsp toasted sesame seeds (볶은깨 Bokeun Kkae)
- 1 sheet dried seaweed or nori (김 Kim, optional)
- 1 egg (optional)
Instructions
- Cut up kimchi into bite size strips.
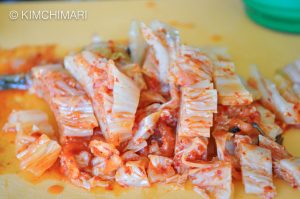
- Measure about 1 1/2 C of cut kimchi (more or less to taste) and 2 C of leftover rice.
- If you want to add eggs to your fried rice, cook them first. Just add little oil (1 tsp) and an egg to pan, break it up and cook until they are done. Set aside.

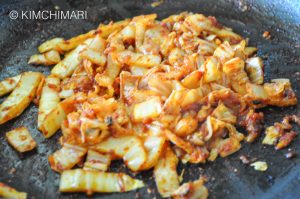
- Heat 2 T of oil in frying pan over medium high heat. Add kimchi, sugar and gochujang and stir fry for 5 min. or until the kimchi becomes soft and a slightly translucent. Omit gochujang or use less to make it less spicy.
- Turn heat to low and add rice to pan. Break up and press down the rice with a spatula or spoon to mix it with the kimchi.
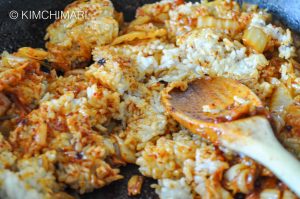
- Once kimchi and rice are all mixed in, add the scrambled egg. Taste a bit of the rice – you can add more rice if it’s too salty or spicy. Be sure to add a bit more oil if you add more rice.
- Add toasted sesame seeds and torn pieces of toasted seaweed/nori to rice mixture. Use plain, unsalted dried, toasted seaweed(kim) if you can. The roasted seaweed with oil and salt can make the fried rice too salty so be careful not to use too much. Increase the heat back to medium and leave it unturned for 3-4 min to make the bottom part a little burnt.
Tips & Notes:
- Tuna - Just drain tuna from can and add it after adding rice.
- Bulgogi - if you have leftover bulgogi, stir fry bulgogi with kimchi first then add rice. This version will taste a bit sweeter and richer but very yummy.
- Pork - you can also stir fry raw pieces of beef or pork and kimchi together before adding rice.
- Spam - cut up some spam and stir fry with kimchi. Note, Spam is quite salty so you may want to add more rice to balance the flavor.
- Bacon - add bacon with kimchi and you have got a great dish because you know..bacon just makes everything better. Cut bacon into small pieces and saute with kimchi first then add rice. Remember to reduce or omit oil since you will get quite a bit of oil from the bacon.
- Cheese - make it as usual then add a slice of cheese (mild cheddar or mozzarella) on top and let it melt on top while the rice is getting browned on the bottom. YUM!
- Don't make it SOGGY - Don't add too much kimchi liquid because it will make it soggy. Keep it on the dry side.
- Use leftover cold rice that comes cold from the refrigerator. The cold rice breaks apart easily with your hands. When cooking rice, just use 2-3 T less water when cooking the rice.
- Use old sour Kimchi - If you don't have well ripened sour kimchi, you can add a bit of maesil syrup or even a little vinegar to add some tartness to it.
- Cook your favorite EGG style - everyone has a different preference for eggs. Hard cooked, soft or runny..if you like runny eggs, then instead of scrambling the eggs like I do here, top the rice with an over easy or sunny side-up pan-fried egg. The runny yolk will make the fried rice extra yummy!
- STORAGE/REHEATING - you can store any leftovers in the fridge for up to a week and just reheat in the frying pan on medium heat or in the microwave. You can also freeze it and it reheats well.


This was so good. I used aged cheddar and 2 fried eggs. I loved how the crispy fried rice gave it more flavor and did not stick to the pan.
Yay!! The crispy rice does make a big difference doesn’t it? I love it. Thanks so much!!
Nice clear directions. But at my house, this would probably end up being 1 serving! My son’s favorite comfort food is fried rice. I usually add bacon, leftover pork chop or pork belly. And, I pump up the veges, a lot!
Yes, bacon or pork always makes it even better!! Thank you for the comment. Cheers!
Hi Jinjoo,
I have a pack of green onion kimtchi on hand.
Can that be used to make this recipe?
Hmm.. so it’s kimchi with nothing but green onions? Is it sour enough? As long as it’s over ripened and sour, I don’t see why not. It will probably be missing the crunchy texture and using a lot of the green onion kimchi may make it too salty or too pungent so you amy want to try adding some sauerkraut in addition. Try it and let me know! Thank you!
Hi JinJoo,
I’m a native New Yorker living in Manhattan so am lucky to have all kinds of ethnic foods at my fingertips. There’s a Korean supermarket close by where I bought my kimchi and other ingredients and followed your rice recipe tonight. My results were delicious! Used a cast iron frying pan that made bits of crusty rice and I added shrimp instead of eggs -loved it!! 🙂
One question, could I used other kinds of seaweed in place of nori? My friend gave me a bunch of different seaweeds from Japan that I really would like to use up.
Adding shrimp is brilliant! I’m sure it was yummy. So.. what kind of seaweed? Dried kind, right? It’s hard for me to tell you without knowing what exactly they are but because Kimchi is so robust, I think most seaweeds should taste fine with it. thank you so much for asking and BTW, I see that you rated it 4 stars. Any reason why? I would just like to know if there’s any improvement to make.
The little crispy bits on the bottom are THE BEST. Shh.. don’t tell our mom’s we are still eating it straight out of the wok even now. LOL Sharing, of course!
HAHA..Yes, I won’t tell if you won’t!! Thank you for sharing!